How to Make Luminaries
Learn how to make a luminary using metal plates from the hardware store that will last all year, even through the weather.
Yield: 1 luminary
Cost: $10
Equipment
- Clamp(s)
- Toothpick
Materials
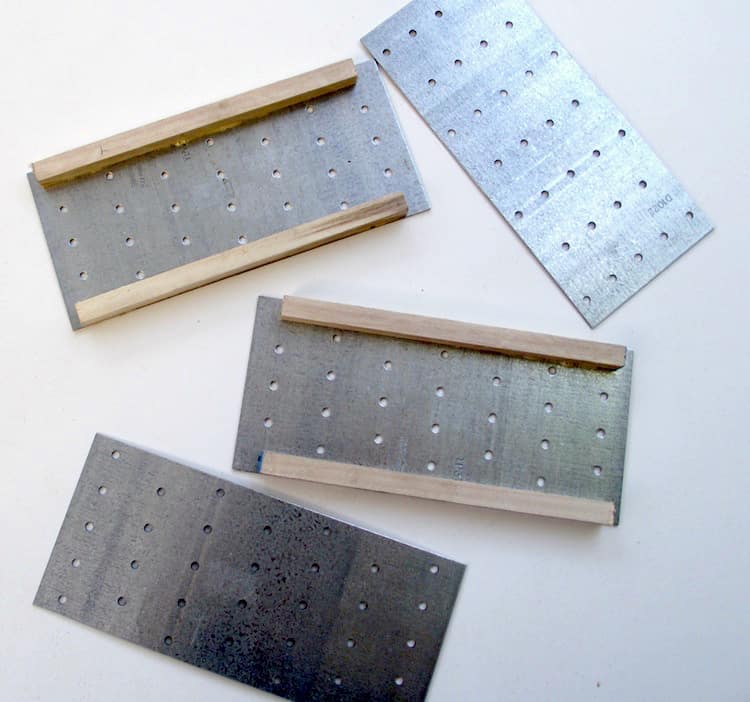
- 4 pieces tie plates galvanized, 3 1/8 x 7"
- 4 pieces square dowels cut to 6 1/4" length
- 1 piece scrap wood 3 1/8” x 3 1/16"
- Gorilla Glue
- Mod Podge Matte
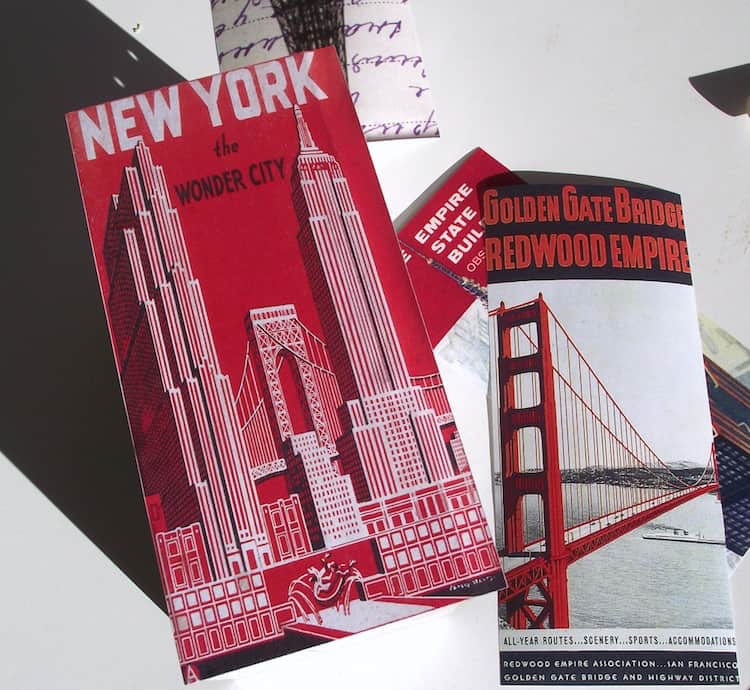
- Paper
Instructions
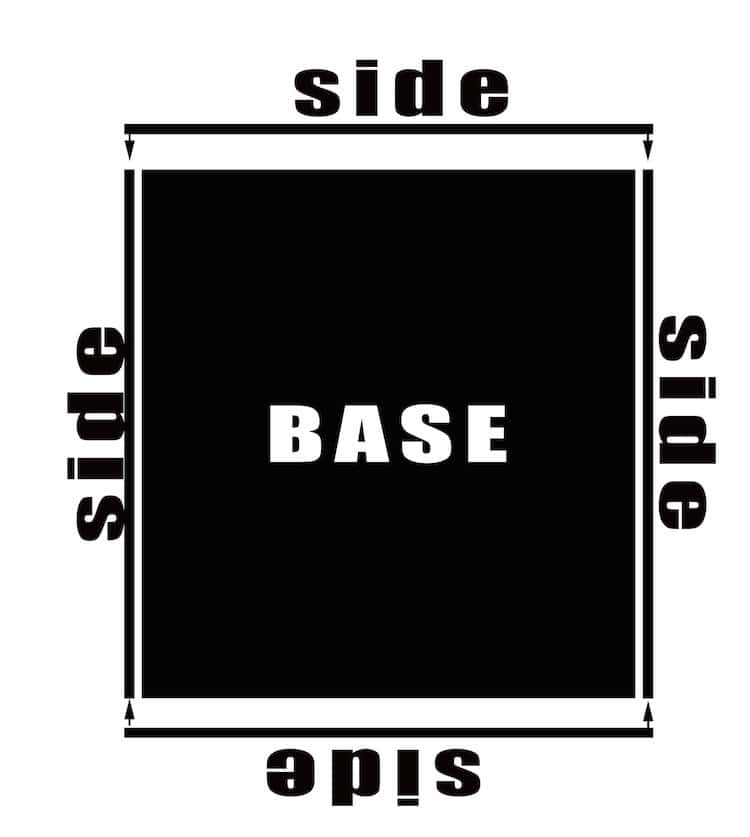
- Cut a square wood base sized so the metal plates overlap neatly at the corners. For the 3 1/8" x 7" galvanized tie plates used here, cut the base approximately 3 1/8" square.
- You want the dowels to rest on the base but not stick out the top. Measure the height of the tie plates and subtract the thickness of the base. For 7-inch plates and a 1/2-inch base, cut the dowels to approximately 6 1/4 inches long so they sit flush inside the structure.
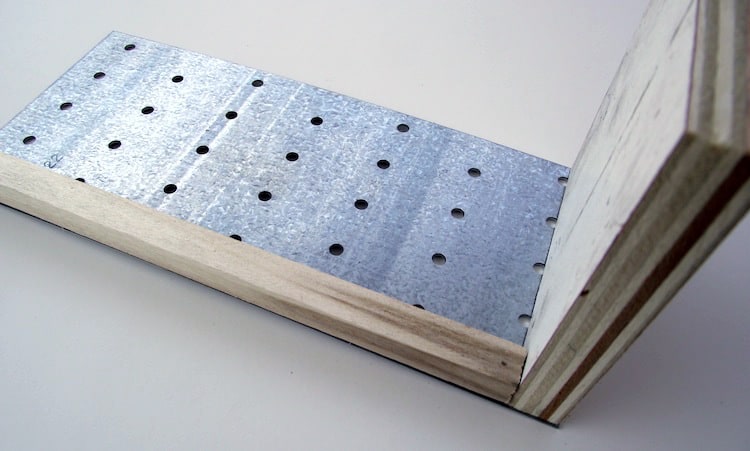
- Glue two dowels to one metal plate using Gorilla Glue, with the base as a guide so that the dowels are at the right height.Repeat with the second pair of dowels and another plate. Allow the glue to become slightly tacky before positioning the pieces.
- Glue the dowel-and-plate sections to the wood base.
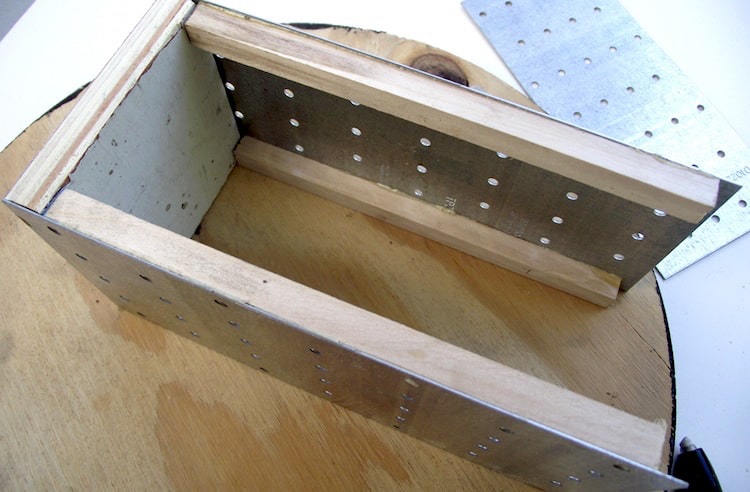
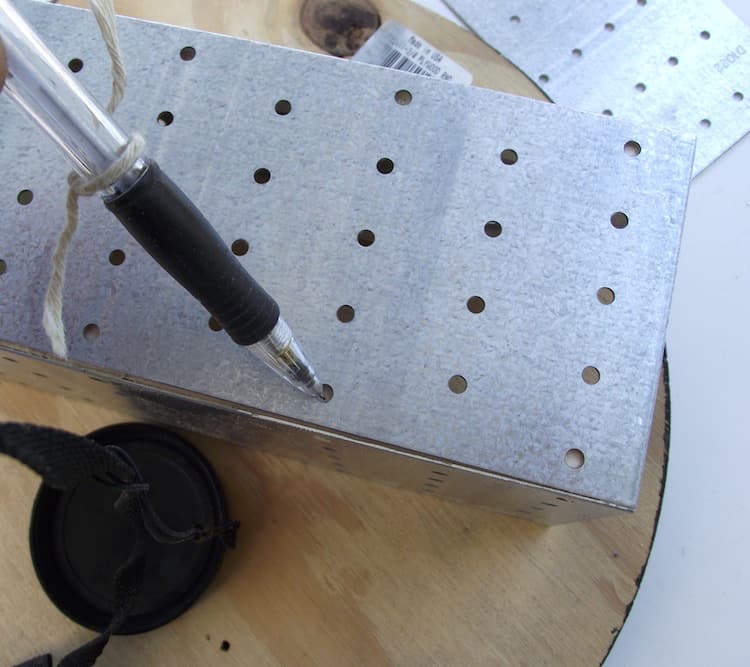
- Position the remaining tie plates on the open sides and mark where the holes align with the dowels.
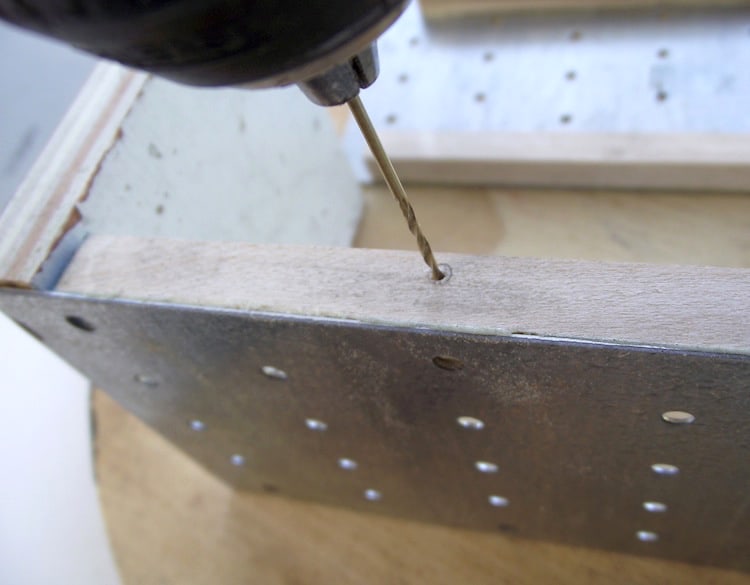
- If desired, drill pilot holes and temporarily secure the plates with small screws while the glue dries.
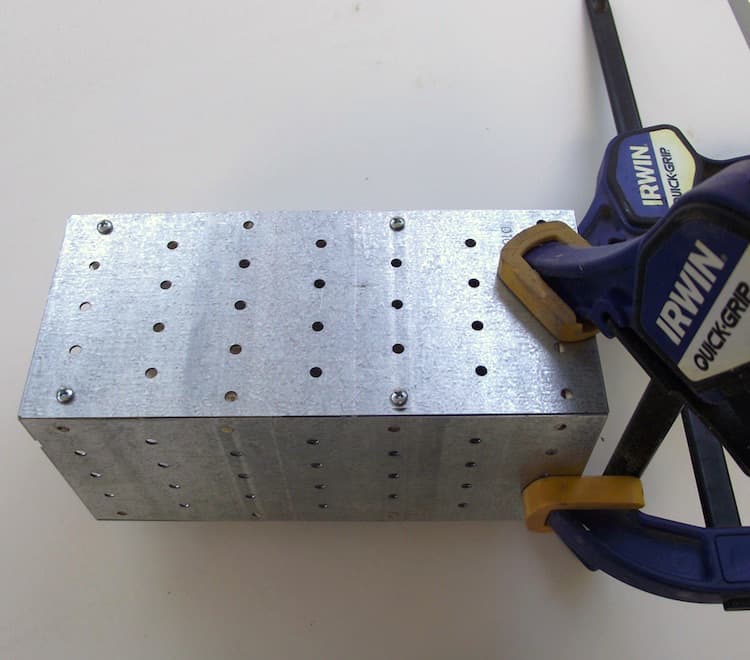
- Use clamps to hold everything in place until fully cured.
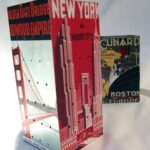
- Apply decorative paper or printed images to the metal plates using Mod Podge Matte. Allow to dry completely, then brush on a sealing coat of Mod Podge. Trim away excess paper.
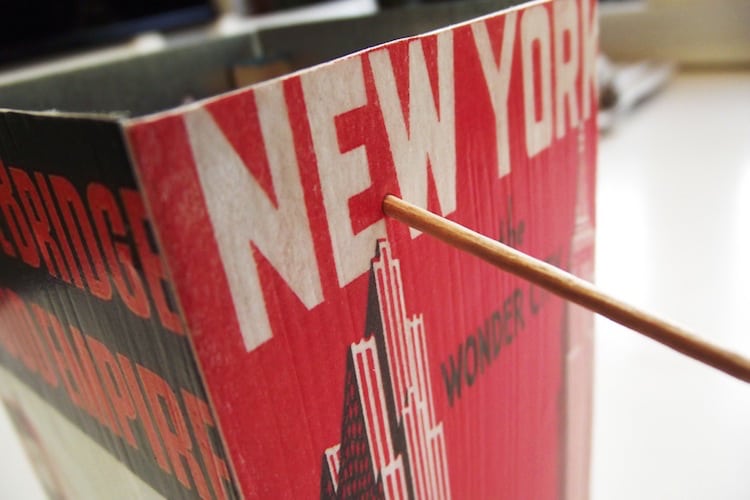
- Using a toothpick, carefully poke through the paper anywhere it covers the existing holes in the galvanized plates. Gently widen the openings so light can pass through.
- Place battery-operated tea lights inside each luminary. A tea candle look is perfect for creating ambiance, though battery-operated tea lights are the safest choice.
The glue against the metal is slippery at first – I found that if I let it sit for a few minutes to get tacky I could make sure it was in the right place and then pile some weight on top to ensure a good bond without anything slipping.
Remove any temporary screws when glue is dry – they just serve to hold the plate in place while the glue dries.
If these are going to be out in the snow or intense sunshine then I would use Mod Podge Outdoor.
Notes
- In this case I realized that I could have used the screw trick from step six when I attached the dowels. Just apply the glue, lay the metal down and screw it into place until it dries. Much simpler.
- Also I realized that I should have painted the insides as it wasn’t too attractive when all was said and done. Since it was too late to paint, I instead cut a square of Plexiglas the same size as my base, hand sanded one side of it to make it opaque and dropped it in the top of the luminary. It looks great and gives it a nice, finished look.
- If you’ve got a drill press you can drill even more holes through the sides to create more light.