
Give Thanks Sign
Learn how to make a unique DIY Give Thanks sign with Mod Podge, stain, and vinyl lettering! Perfect for fall and Thanksgiving.
Yield: 1 sign
Cost: $10
Equipment
Materials
- Mod Podge Matte
- 1 piece Wood 12" x 12"
- Cutting machine and vinyl OR a stencil
- Craft paint
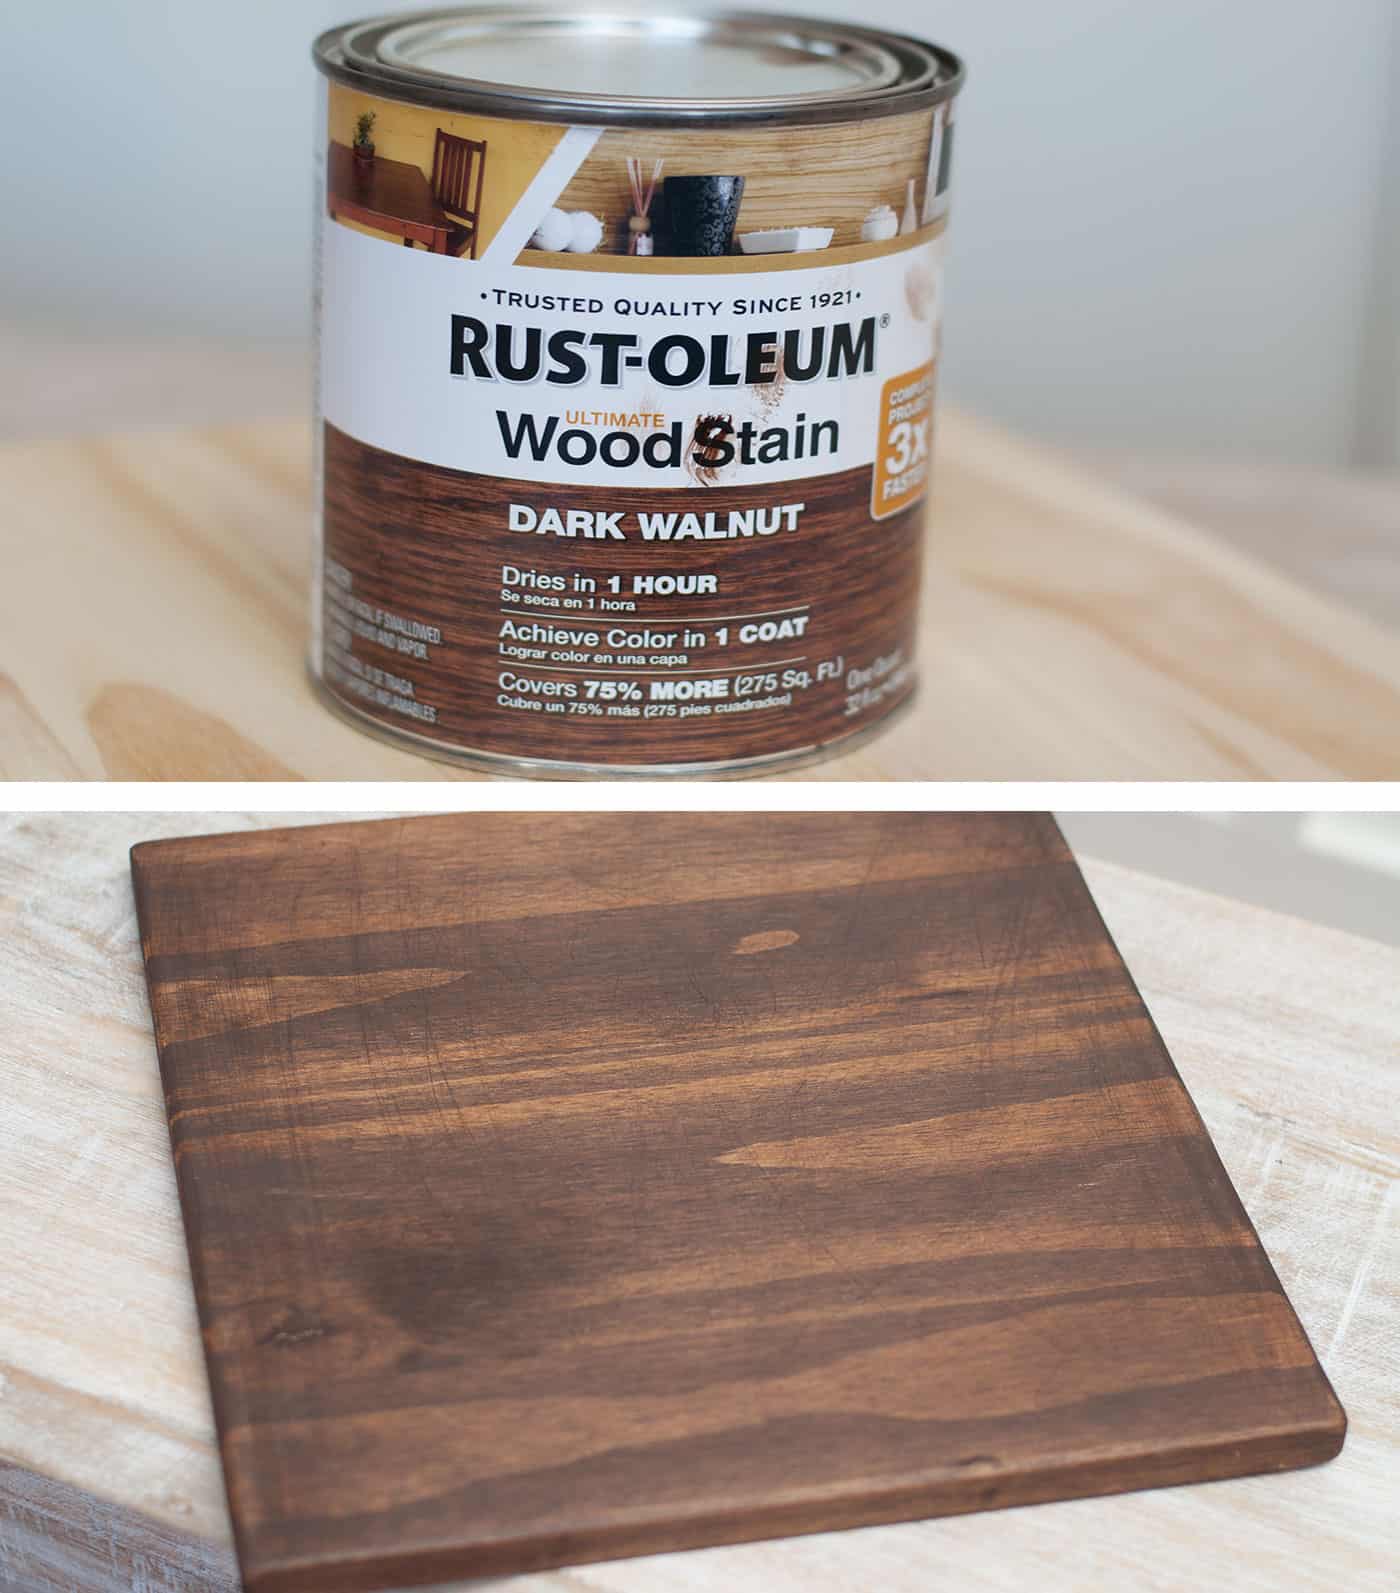
- Stain
- Sandpaper
- Glitter
- Rags optional
Instructions
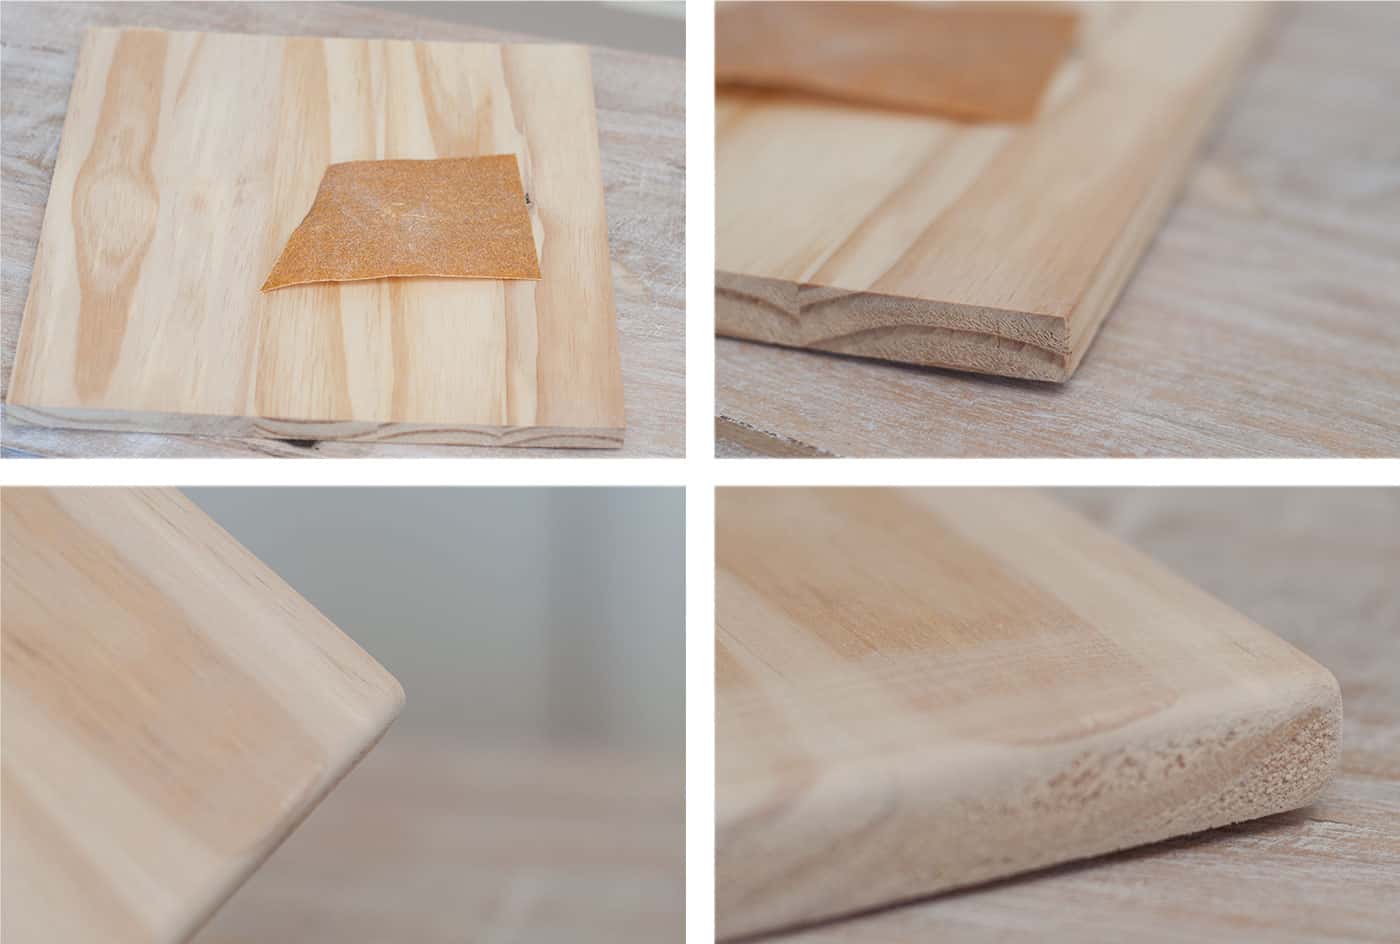
- Get a piece of wood sized 12" x 12" from your local hardware store (I have them cut it for me). Sand and round out the edges of the sign with sandpaper.
- Stain the wood using either rags or a sponge brush. Rub on until you get the desired effect and let dry. I went over the wood twice with a sponge brush. It dried in an hour.
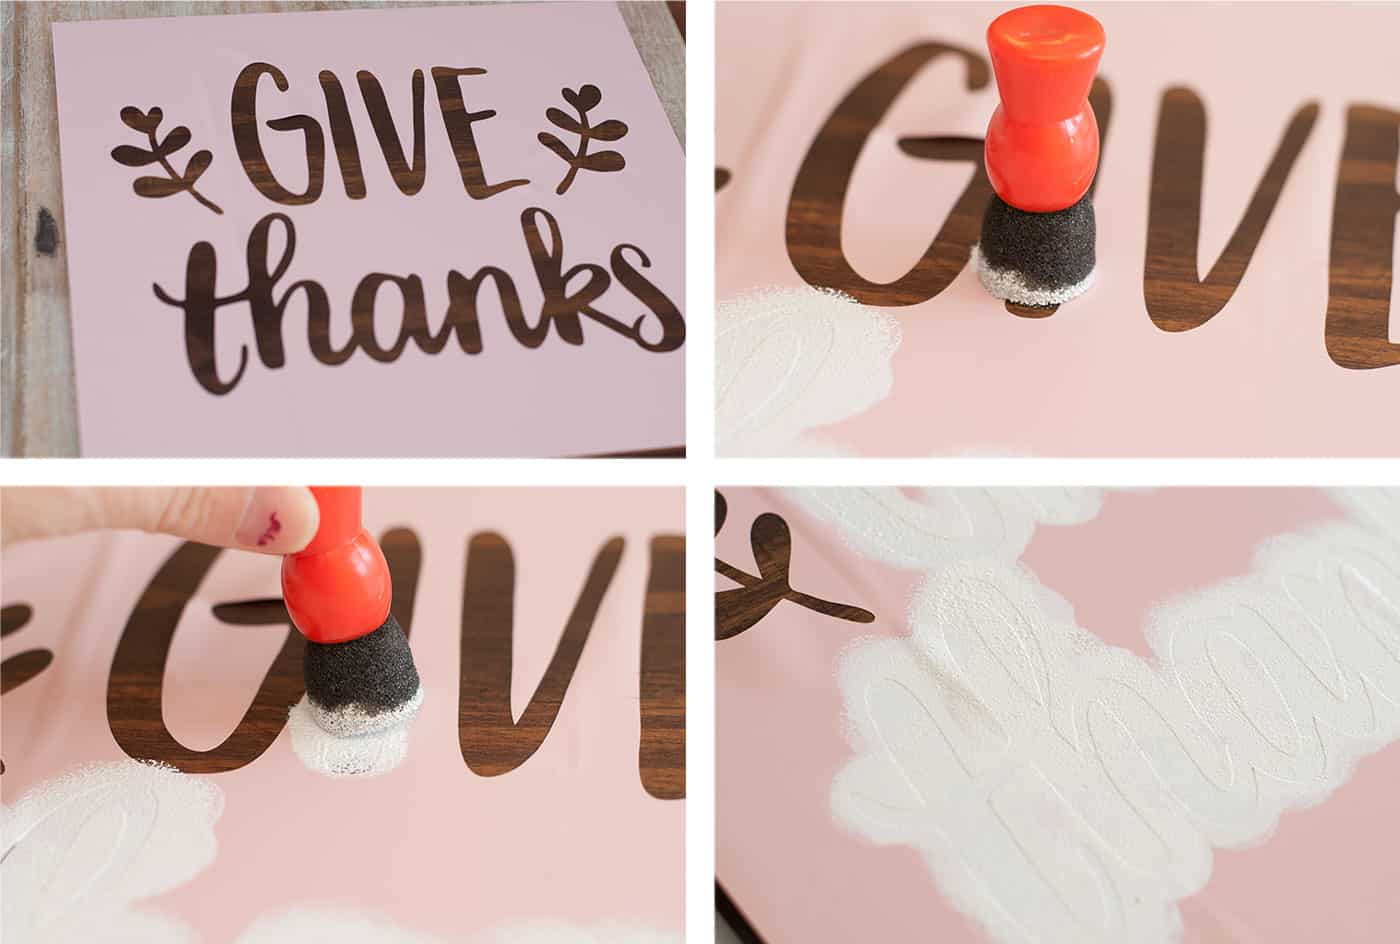
- Use your cutting machine to create a "Give Thanks" stencil out of vinyl.

- Attach the stencil to wood and smooth. Fill in the "Give Thanks" using a sponge brush and paint. Let dry.
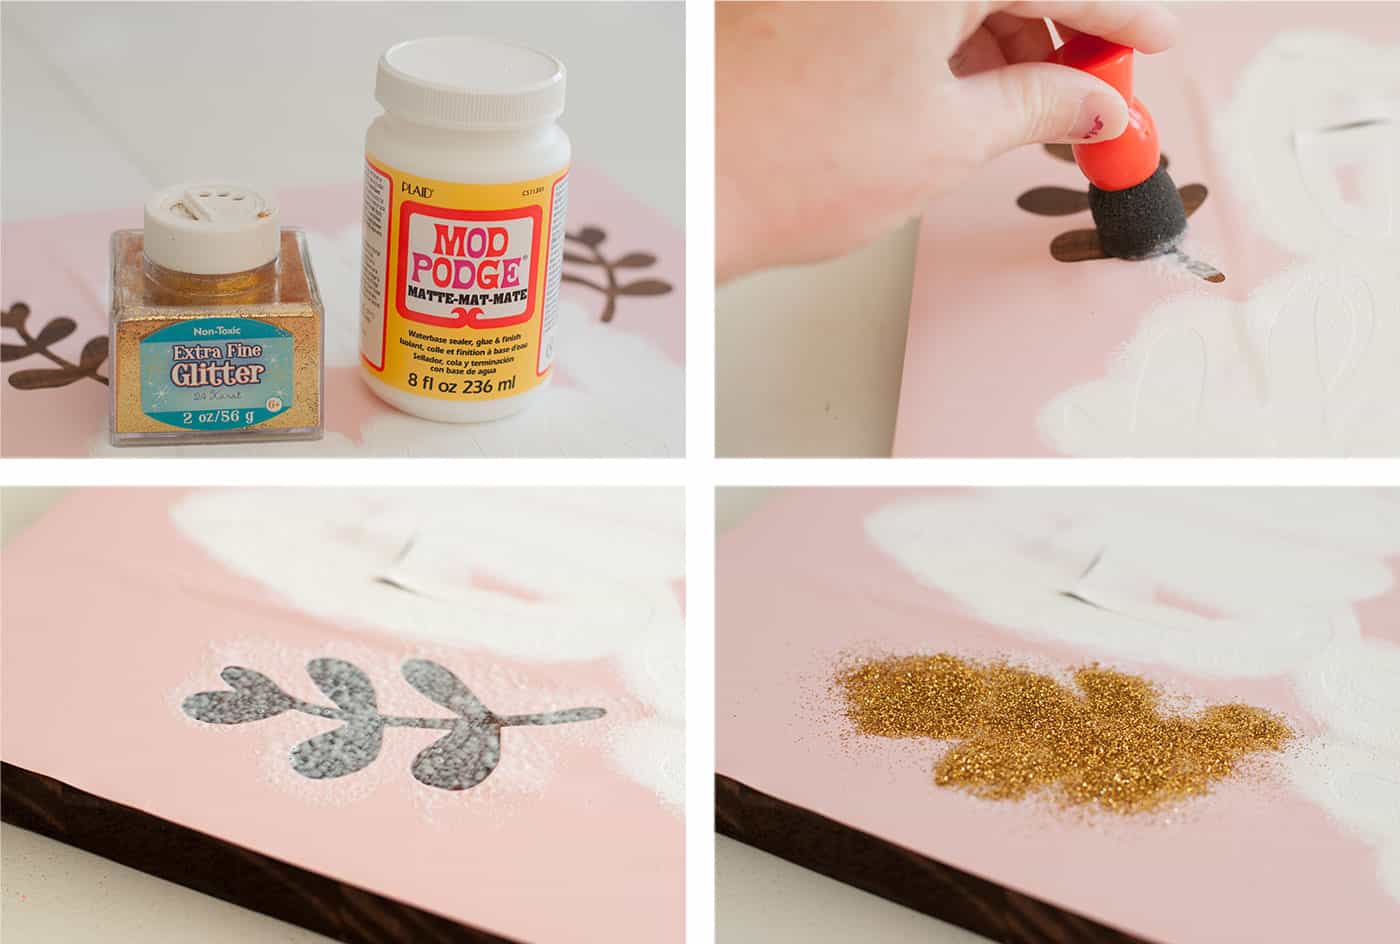
- On the accents, apply Mod Podge to the stencil with a sponge brush. Sprinkle glitter on top and let dry. Brush away the excess.
- Pull the vinyl off the wood and touch up any areas that need it. Let dry completely before displaying.

Notes
- Costs vary greatly for this project! I already had everything on hand but the wood and the graphic. Scrap wood is great for this project.
- You can always use a regular stencil to make your "give thanks" letters if you don't have a cutting machine.
- Here is a very detailed post I did about adding the vinyl for another sign I did.