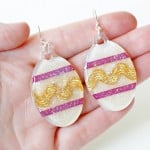
Easter Egg Earrings
Learn to make these Easter egg earrings and add a little holiday bling to any outfit!
Yield: 1 pair
Cost: $5
Equipment
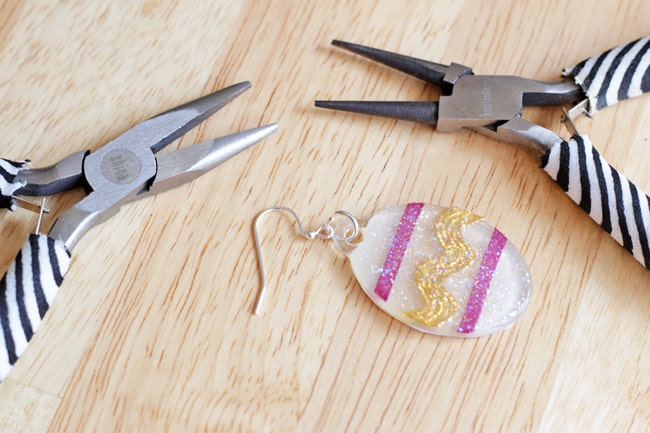
- Jewelry pliers
Materials
- 2 Acrylic shapes oval - you can use wood also
- 2 Earwires
- 2 Jump rings 7-mm
- Ric-Rac
- Ribbon thin
- Mod Podge Matte
- Dimensional Magic glitter
- Acrylic paint optional, if you used wood
- White paper optional, if you used clear acrylic
Instructions
- If you decide to use wood shapes, paint them with acrylic paint in the color of your choice and let dry.
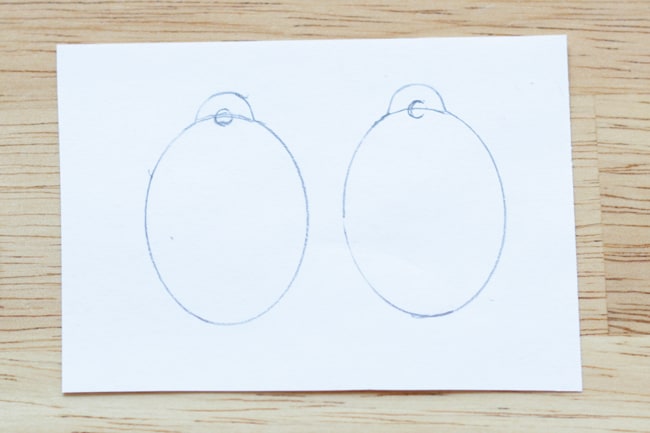
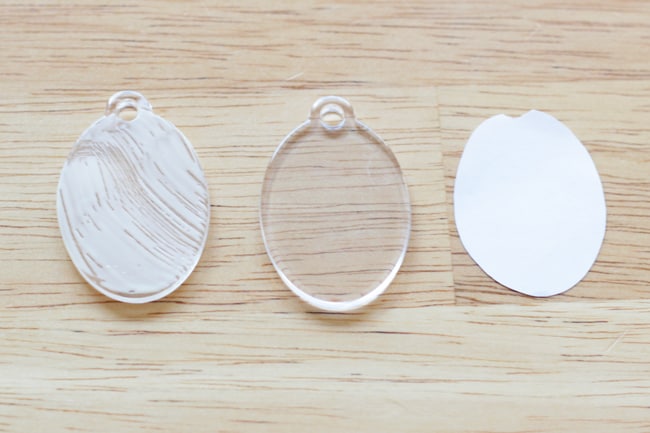
- For the acrylic shapes, begin by tracing them on some white paper with a pencil. Cut them out, removing all pencil lines and cutting a little dip in the top of each paper oval to accommodate the hole at the top of the shape.
- Paint a layer of Mod Podge onto each acrylic shape, and place the paper cutouts on each. Paint another layer of Mod Podge over the top. Let dry completely.
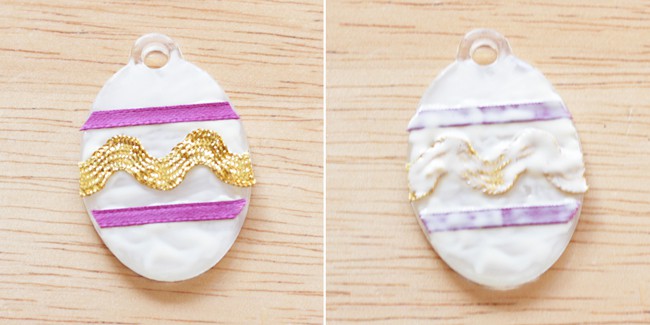
- Once dry, flip the shapes over. Cut one piece of ric-rac to fit across the middle of each shape. Cut two pieces of thin ribbon (I used purple) to fit across the shape above and below the ric-rac.
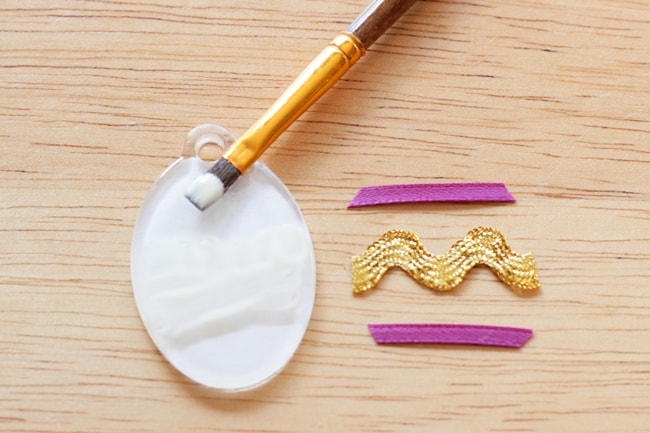
- Next, paint a layer of Mod Podge onto the blank or painted side of the shape. Place your ric-rac and thin ribbon down and cover all of it with another layer of Mod Podge. Again, let dry completely.
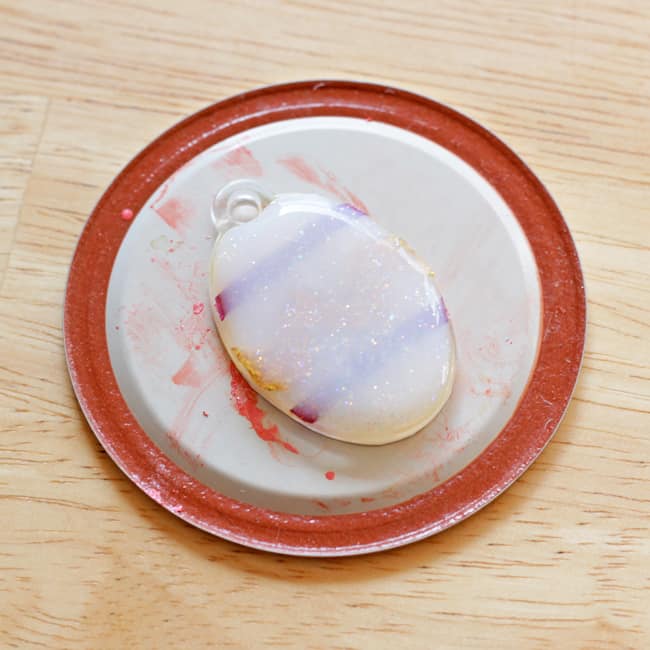
- To avoid bubbles on your finished project, prime your Dimensional Magic bottle by squeezing some out onto a test surface. Then, fill in each earring with a layer of Dimensional Magic. Let dry for 24 hours.
- When they're dry, attach an earwire to each egg with a 7-mm jump ring to complete the earrings.
Notes
Step 6: I have a few tips regarding glitter Dimensional Magic. The glitter settles at the bottom of the bottle.
You'll want to take advantage of the flat-topped lid by letting it stand upside down for 10 or 15 minutes. This lets the glitter shift so it's better mixed throughout the bottle.
If you can't find glitter Dimensional Magic, you can use regular Dimensional Magic. You can add glitter or just leave it clear.
If any bubbles do make it onto your earrings, you can pop them with a sharp needle or scoop them out.