DIY Spring Garland
Learn how to make a spring banner with simple supplies from the craft store. This floral craft is so easy, anyone can do it!
Yield: 1 banner
Cost: $5
Materials
- Flower shaped wood cutouts
- Decorative paper napkin(s)
- Wood beads
- Mod Podge Gloss
- String
Instructions
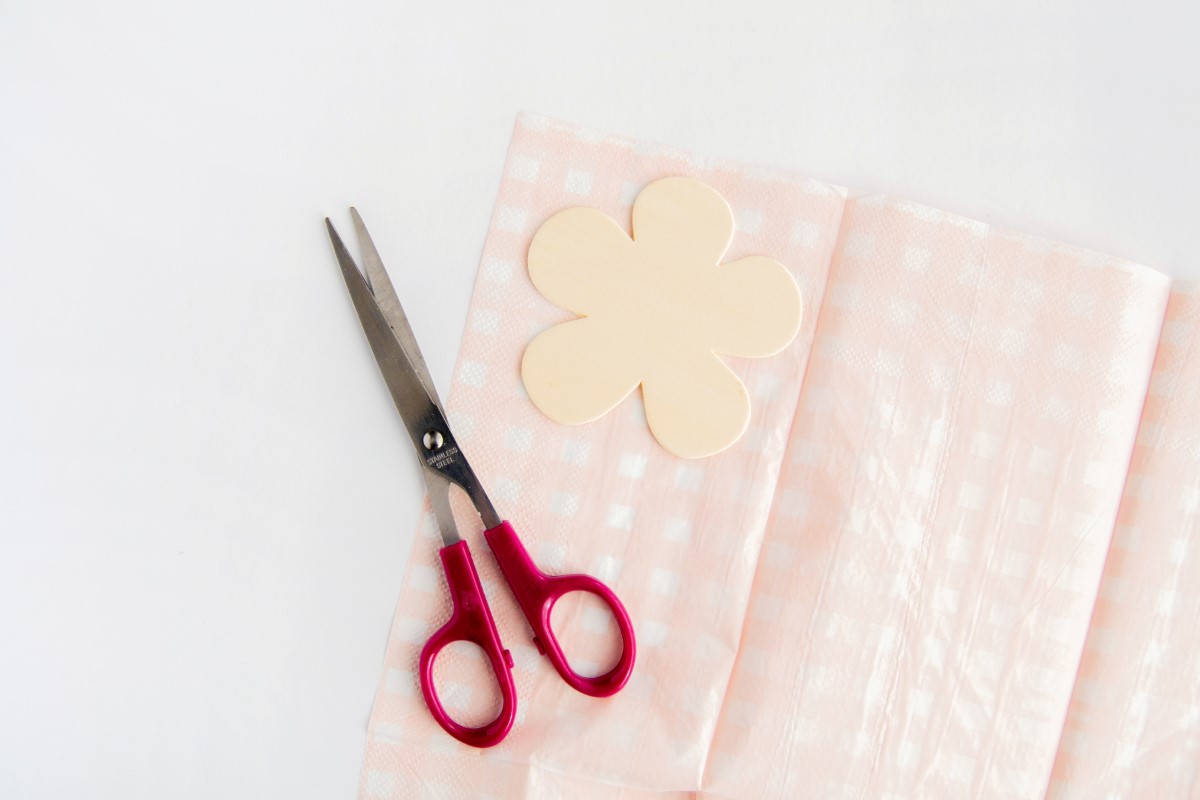
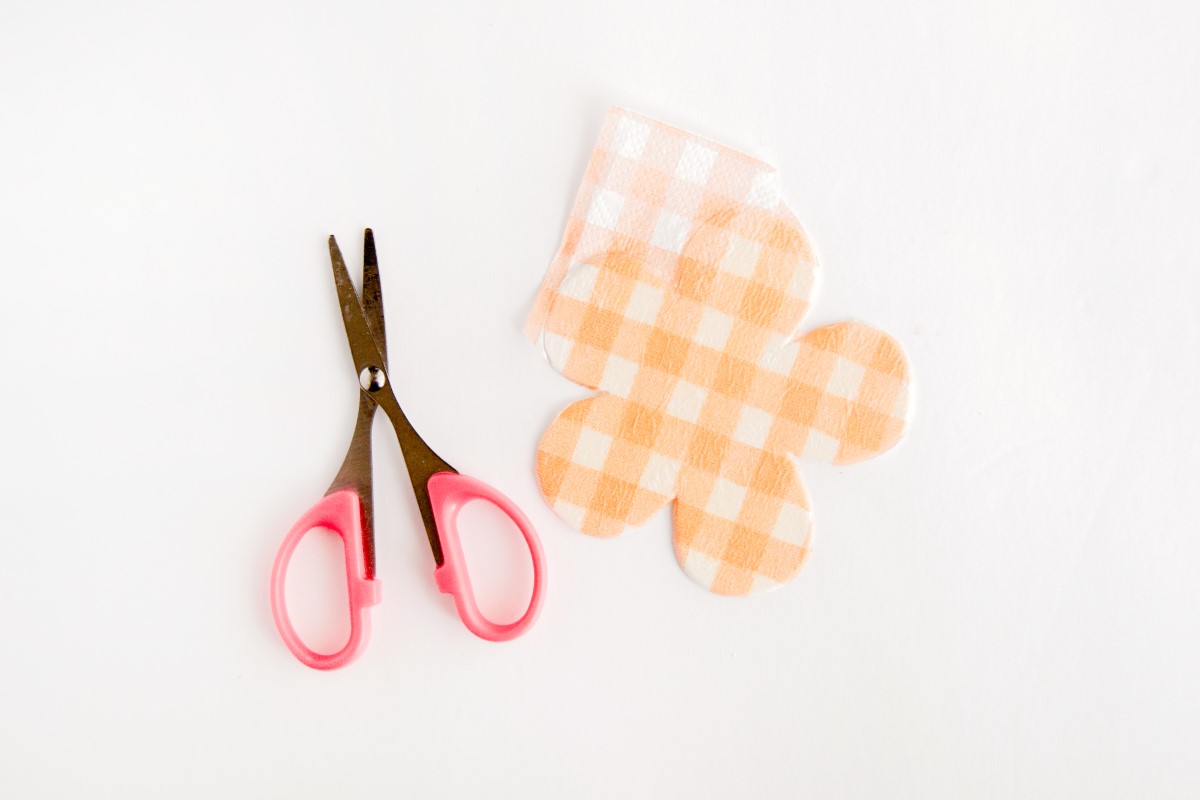
- Lay your wood cutout on the back of an unfolded table napkin sheet, and cut enough to cover the wood cutout.
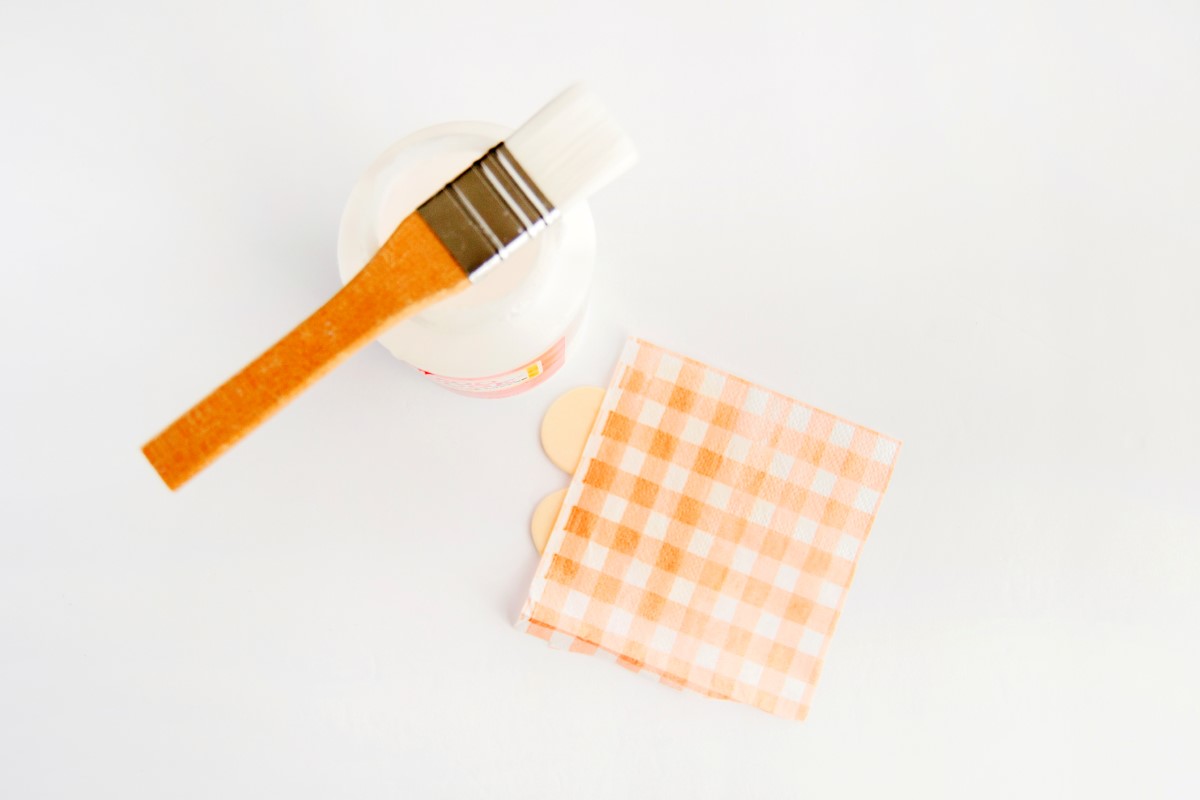
- Apply a thin, even layer of Mod Podge onto the wood shape, and then adhere your table napkin, taking care to avoid creases on the table napkin. Let it dry.
- Once the shape is dry, apply a topcoat of Mod Podge to protect the surface from stains and make it last longer. Let that layer dry.
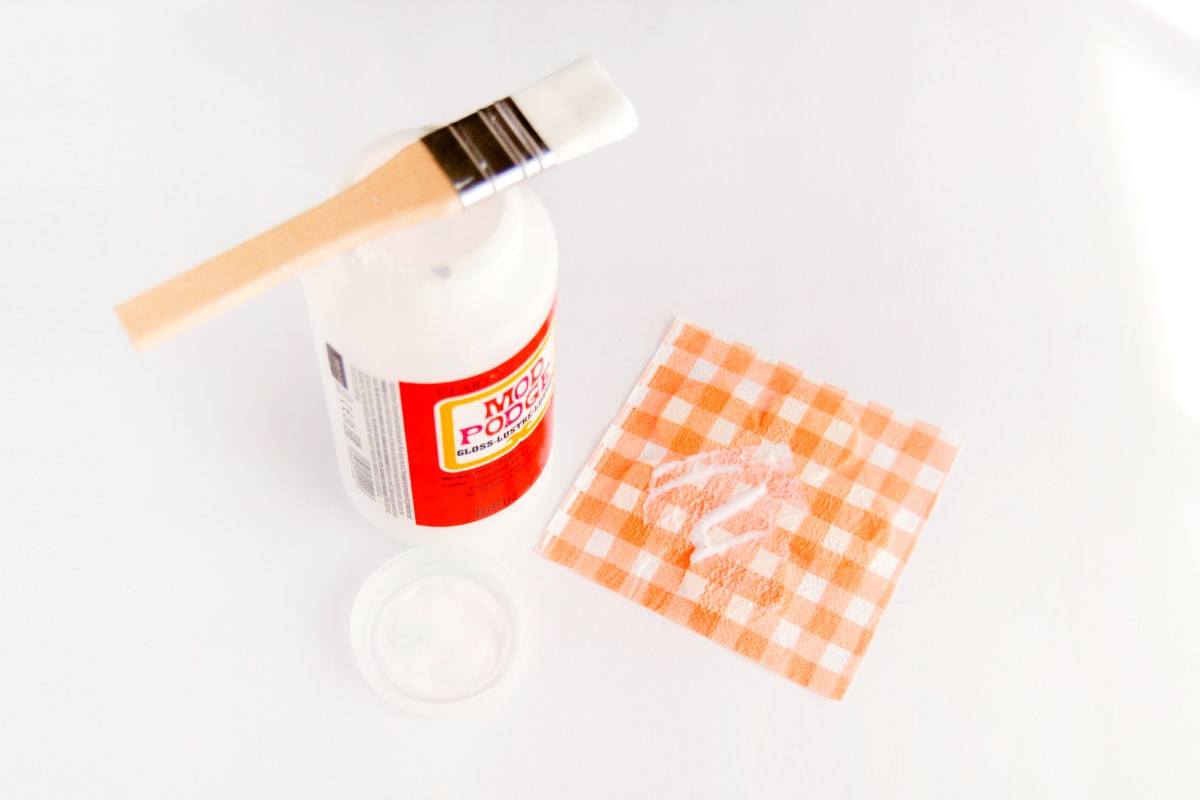
- Once the wood shape is fully dry, trim the excess material, and use Mod Podge to seal the edges. Repeat steps 1-3 with the rest of your wood cutouts.
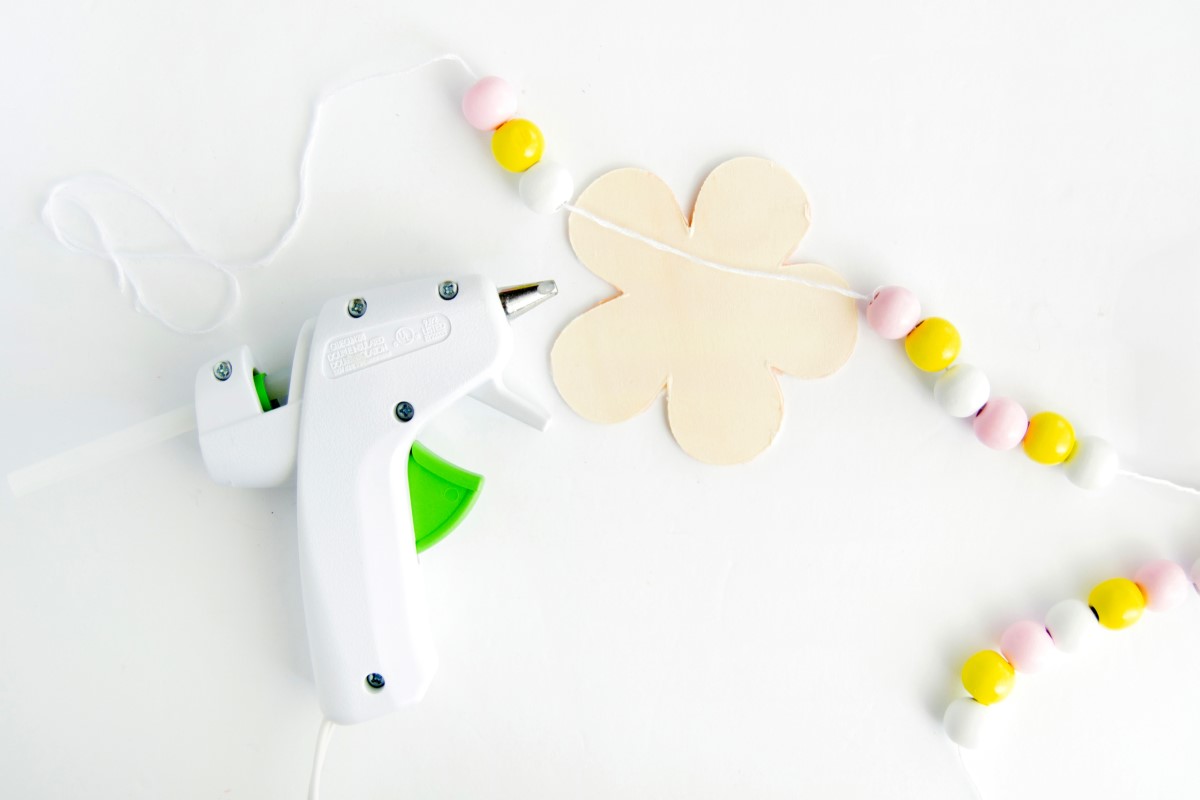
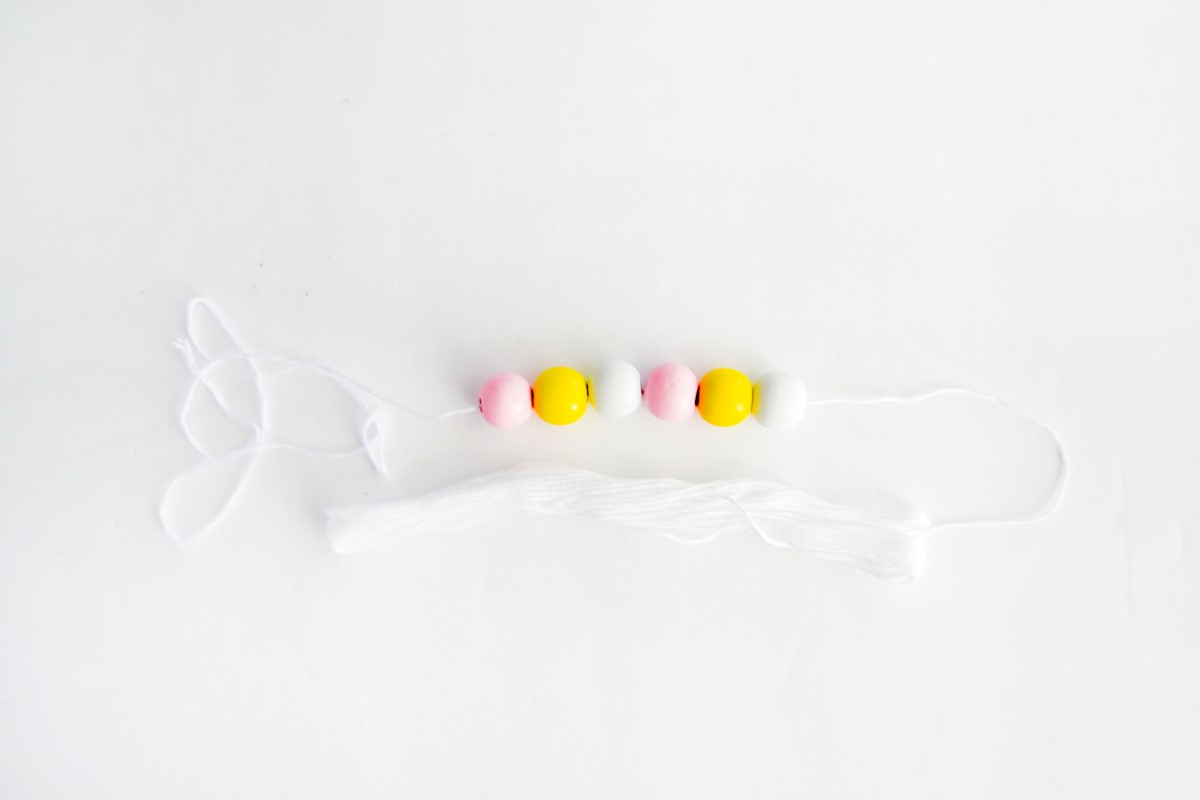
- Thread wood beads on a piece of string. For my banner, I wanted to use six beads to separate each wood cutout.
- Hot glue the string on the back of the cutout. You can cut a piece of paper to cover the string and make it look neater. Do the rest with the other cutouts, making sure that your bead count between each is the same.