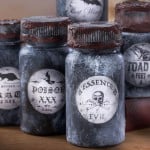
DIY Potion Bottles
Learn how to make potion bottles for Halloween using recycled materials! This is one of the most popular pill bottle crafts.
Yield: 6 bottles
Cost: $1
Equipment
- Paintbrush(es) including a stencil brush
- Sandpaper or scrubbing pad
Materials
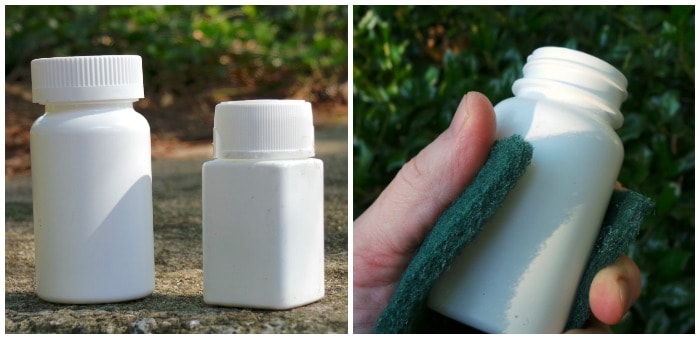
- Old pill bottles
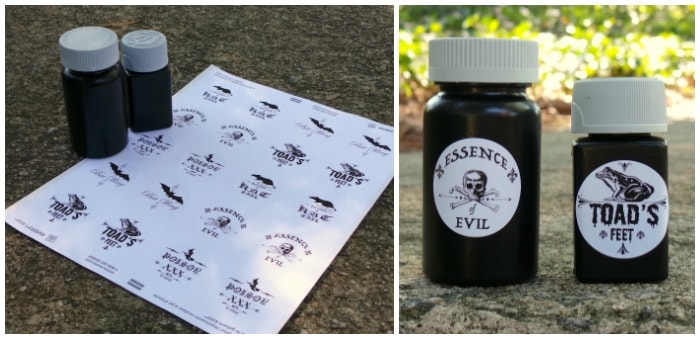
- Pill bottle labels printable sheet
- Avery inkjet labels
- Mod Podge Matte
- Acrylic paint black, light gray, medium gray
- FolkArt Painted Finishes Rust
Instructions
- Use sandpaper to rough up the surface of the bottles before painting.
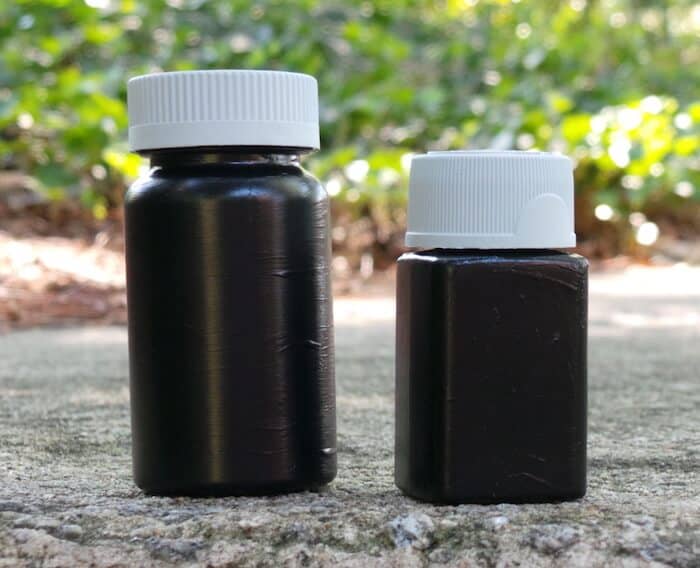
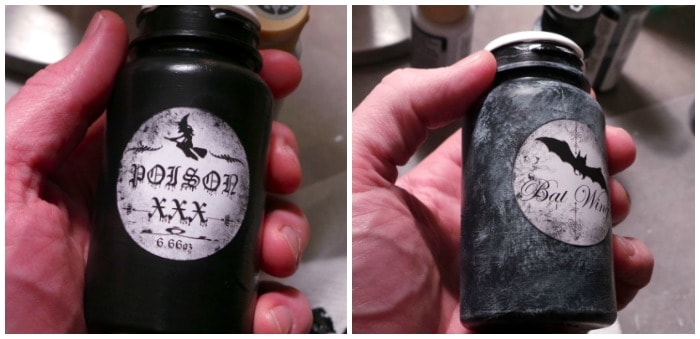
- After the bottles are roughed up, add black to the base (you can spray paint). Paint the lids medium gray. The lids don't need to be roughed up because they will probably have textured ridges and printed letters on the top. Let dry.
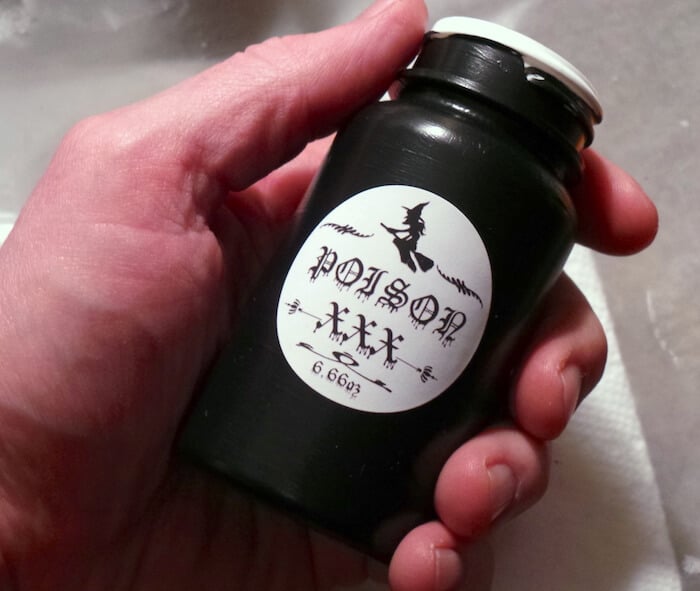
- Print out the pill bottle labels; cut or punch out. Place the labels on the bottles.
- Seal the bottles with Mod Podge. This will prevent the labels from removing and the paint from chipping. Let dry.
- Start distressing with the medium and light gray shades. Brush randomly with a stencil brush, layering, even going onto the label.
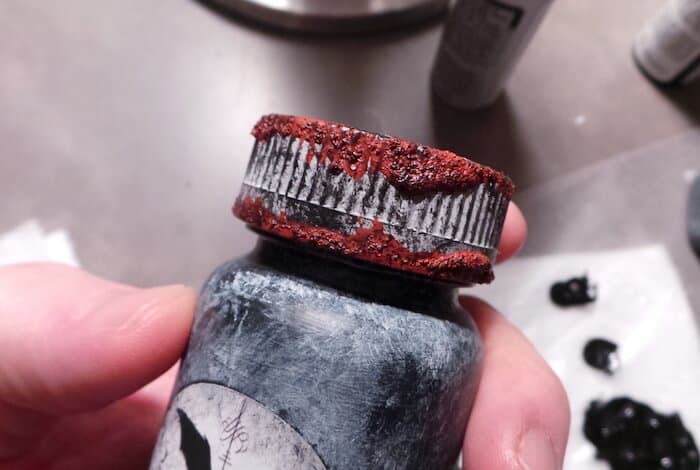
- Do this with the lid as well. AND on the lid you'll want to add some of the FolkArt Painted Finishes - Rust. It gives texture and looks like blood/rust/some other identified substance.
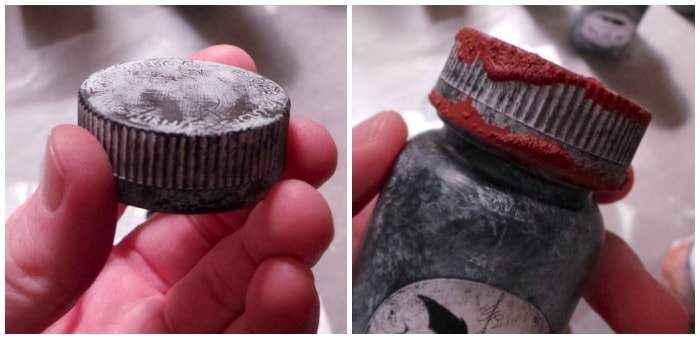
- Add a little black paint to the top of the rust to age it even more. Let dry.
- Paint the entire bottle again with Mod Podge to seal. Let dry.
Notes
The painted finish gives texture and looks like blood/rust/some other identified substance. What a spooky touch!