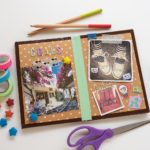
DIY Photo Album
Create a unique handmade picture album using recycled boxes and decoupage medium! Perfect for storing memories, goals, and more.
Yield: 1 album
Cost: $1
Materials
- Cereal boxes or cracker boxes
- Mod Podge
- Scrapbook paper cardstock, paper bags, or other thicker paper
- Duck tape
Instructions
- Gather the boxes and unfold them completely flat on your work surface. You will need multiple boxes with 6 inches by 8 inches panels to create the pages.
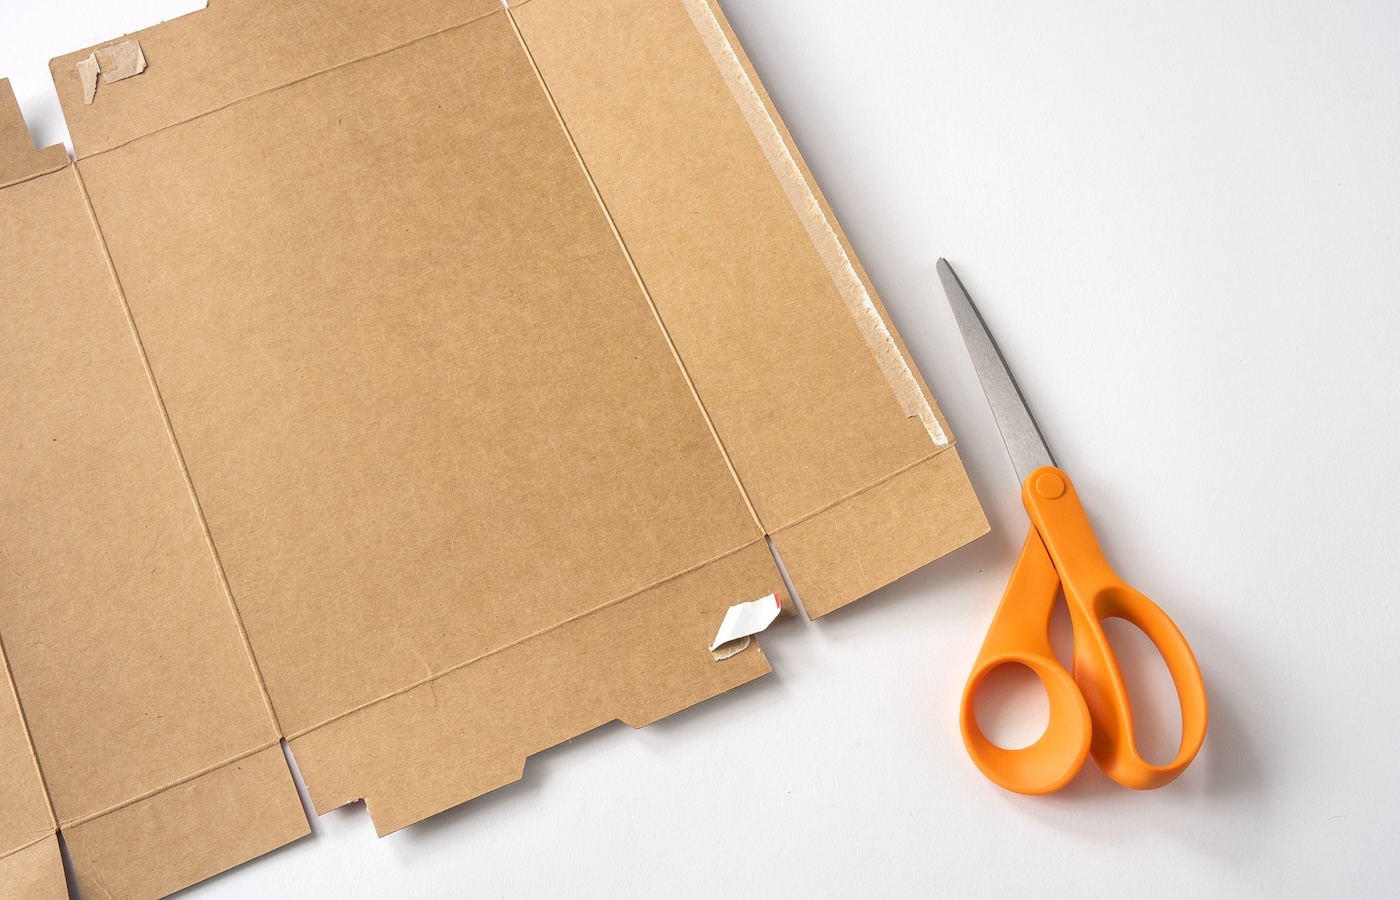
- Cut your boxes and scrapbook paper. For this project, six 6 inches by 8 inches panels were used for an album with ten pages inside (plus a front and back cover).
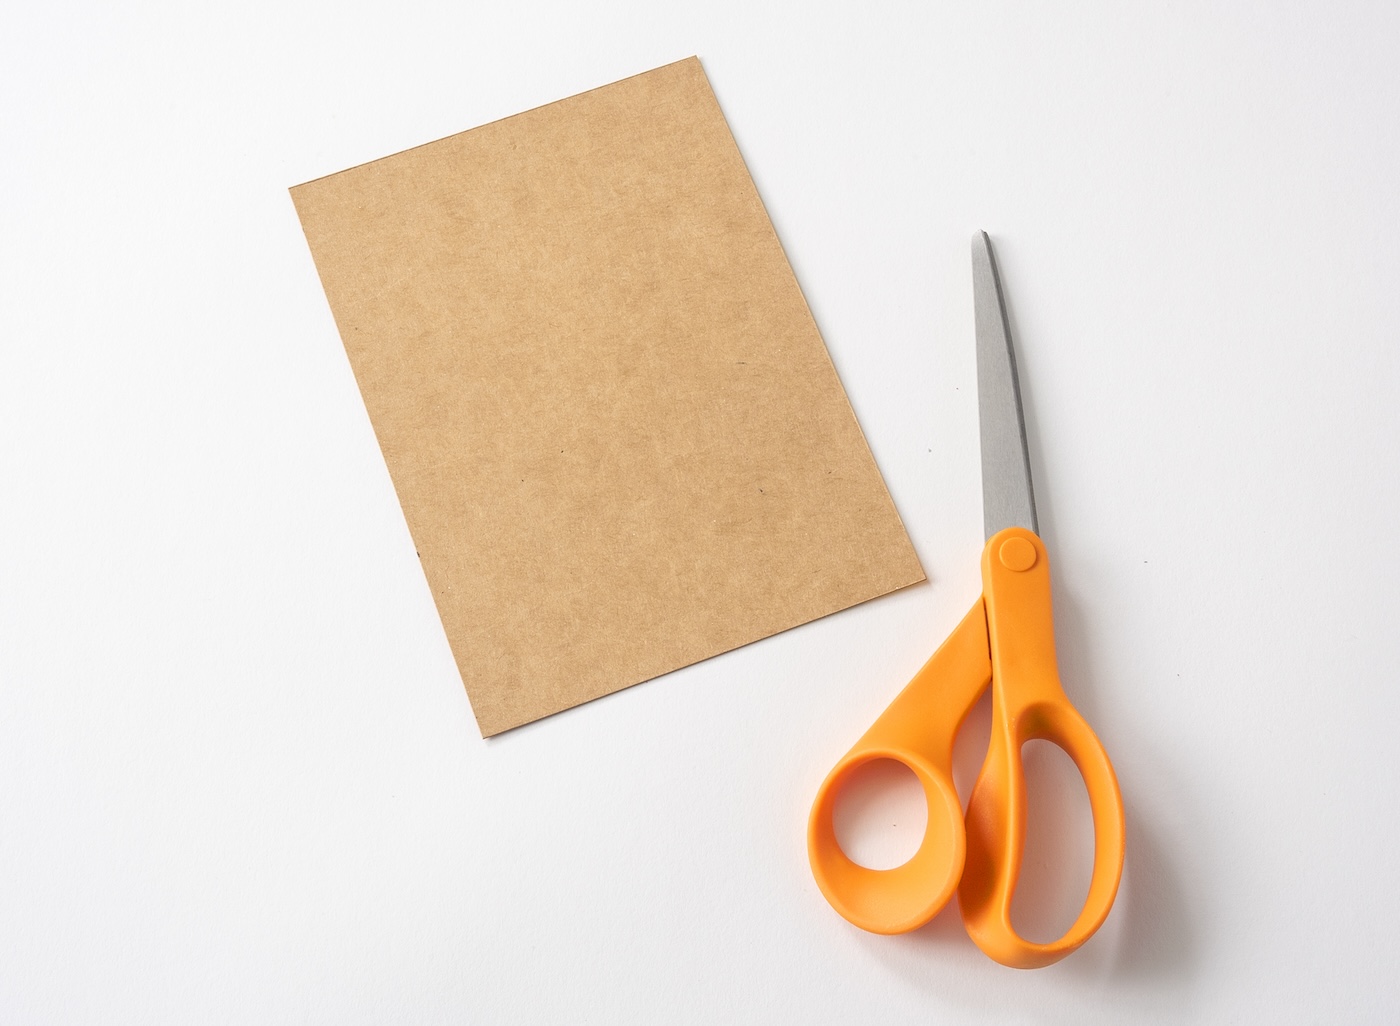
- From the scrapbook paper, cut out 12 pieces that measure 6 inches by 8 inches each. These will go on the front and back of your box panels.
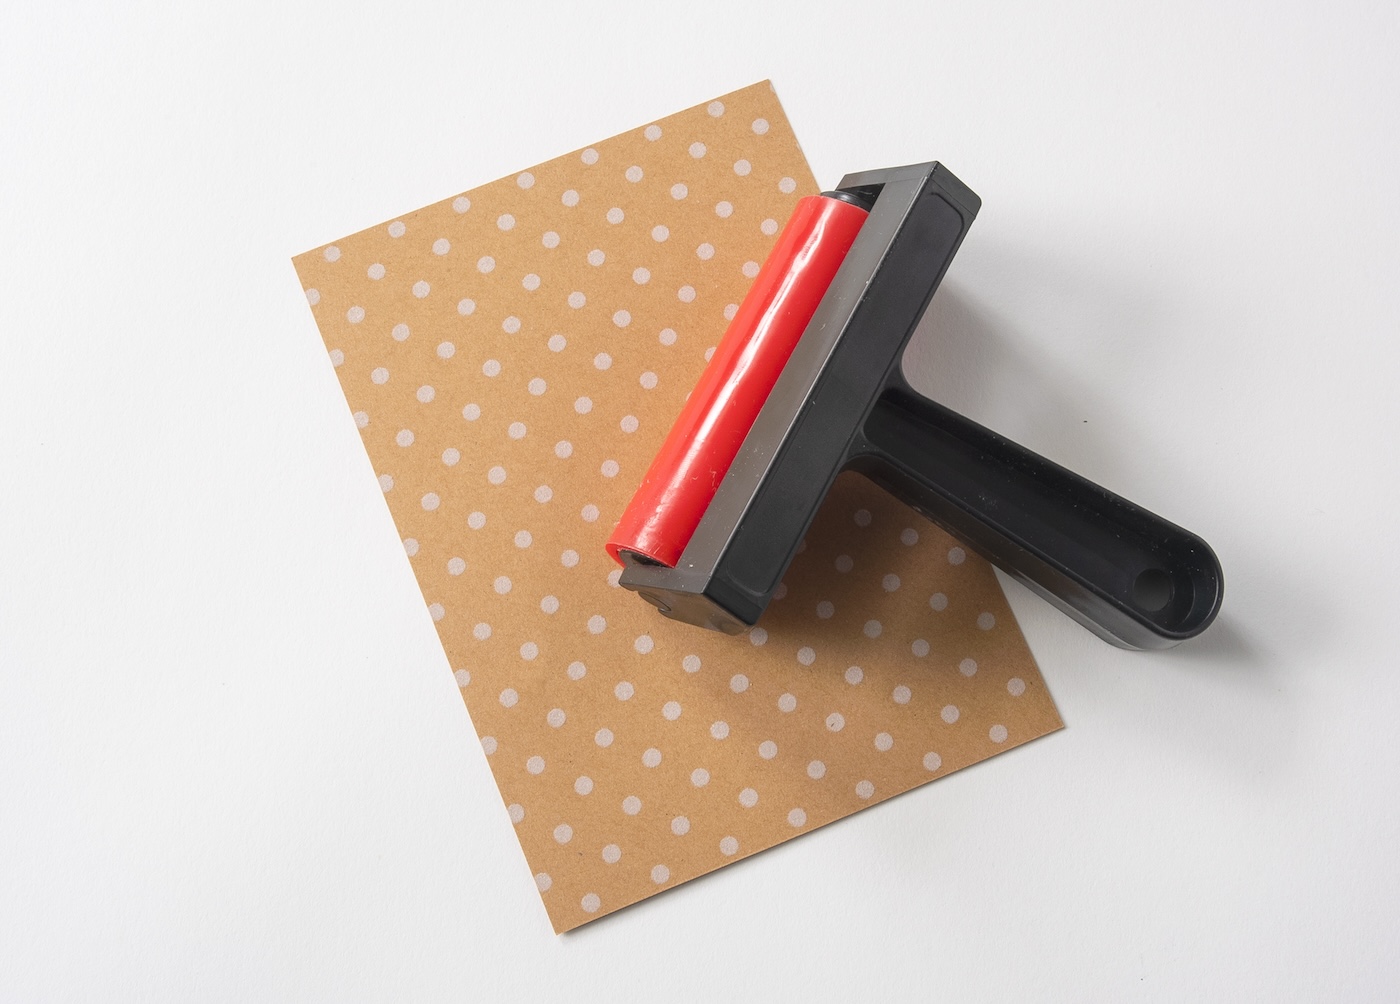
- Apply a thin to medium layer of Mod Podge to one of the panels.
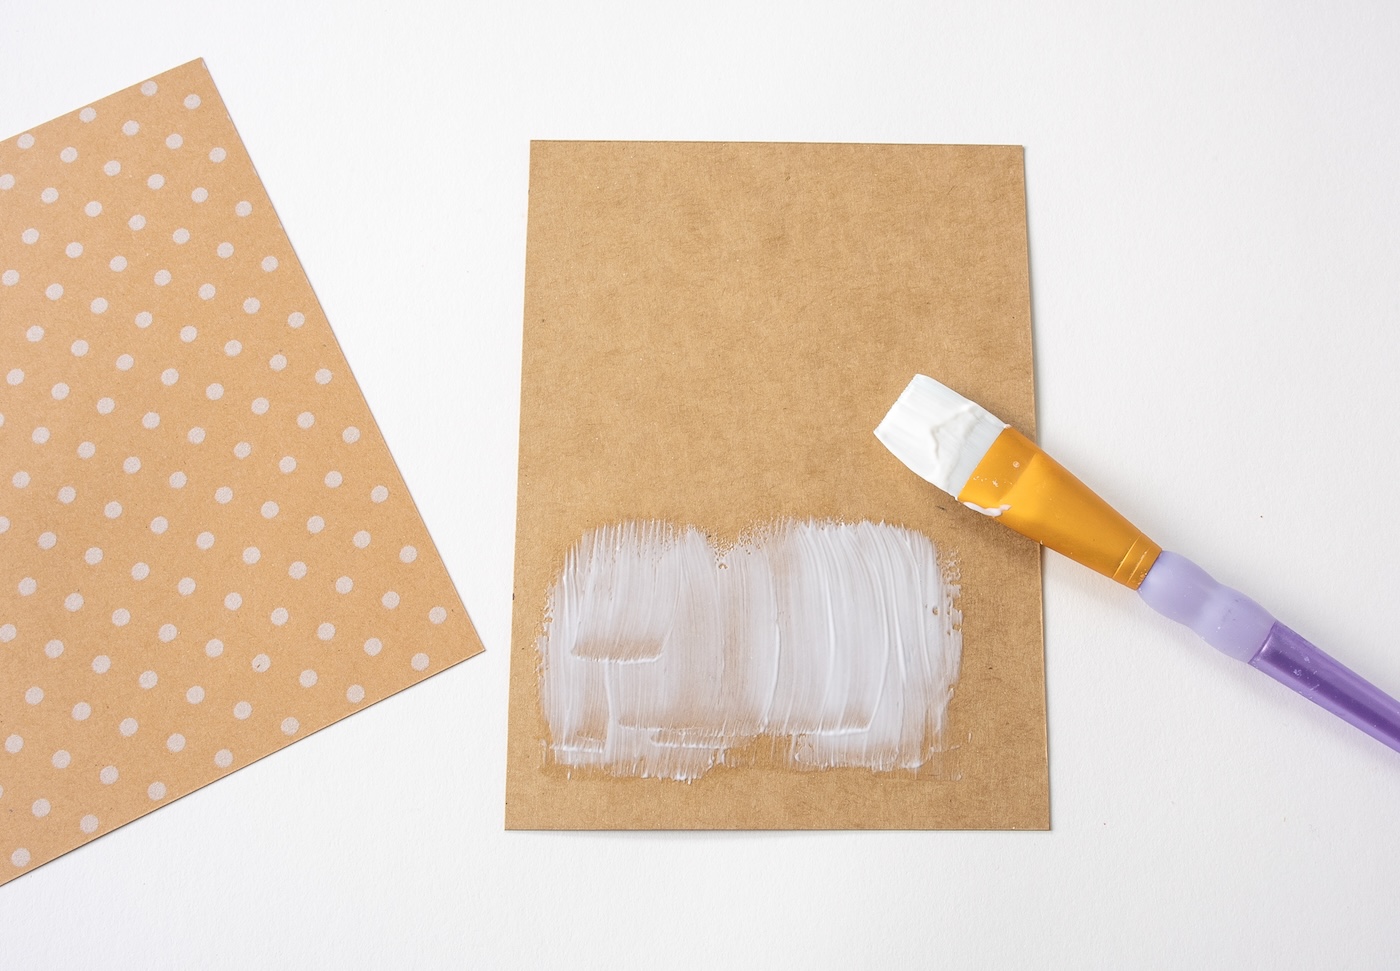
- Smooth the paper down on top. Optionally, you can use a brayer to smooth and really get the air bubbles out.
- Repeat the previous step with the front and back of all of the panels. You should end up with 12 complete panels measuring 6 inches by 8 inches that are covered on the front and back with scrapbook paper.
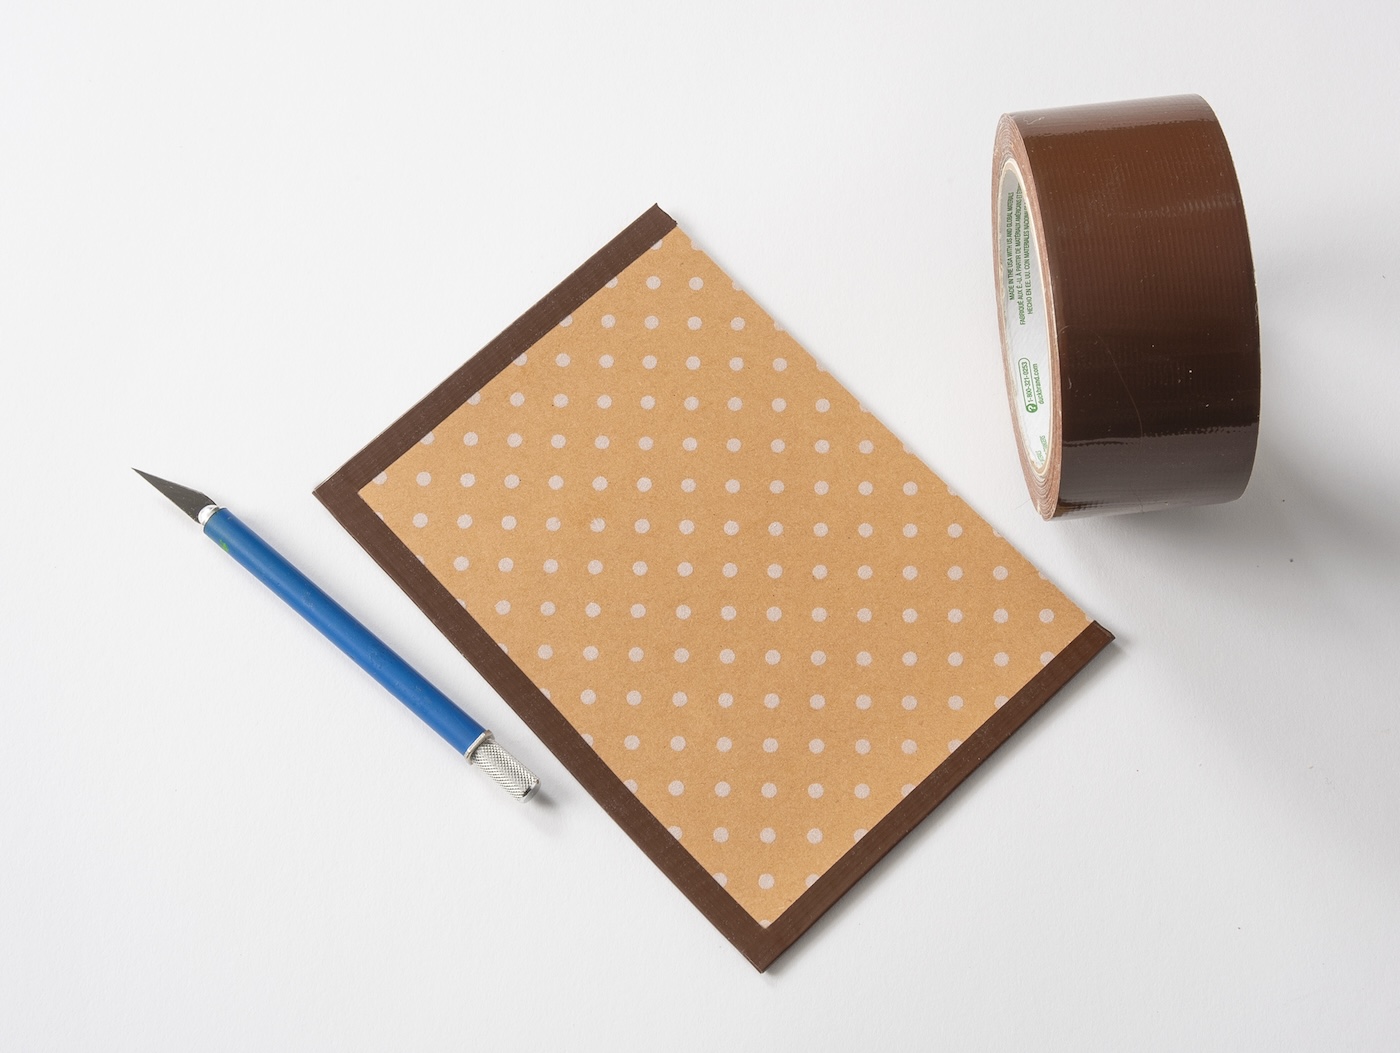
- Tear off a piece of duct tape to edge the album pages. Typically, a piece of duct tape is 2 inches wide. Place on your work surface and cut the piece in half. Use these 1-inch pieces to fold over both short edges and one long edge of all pages.
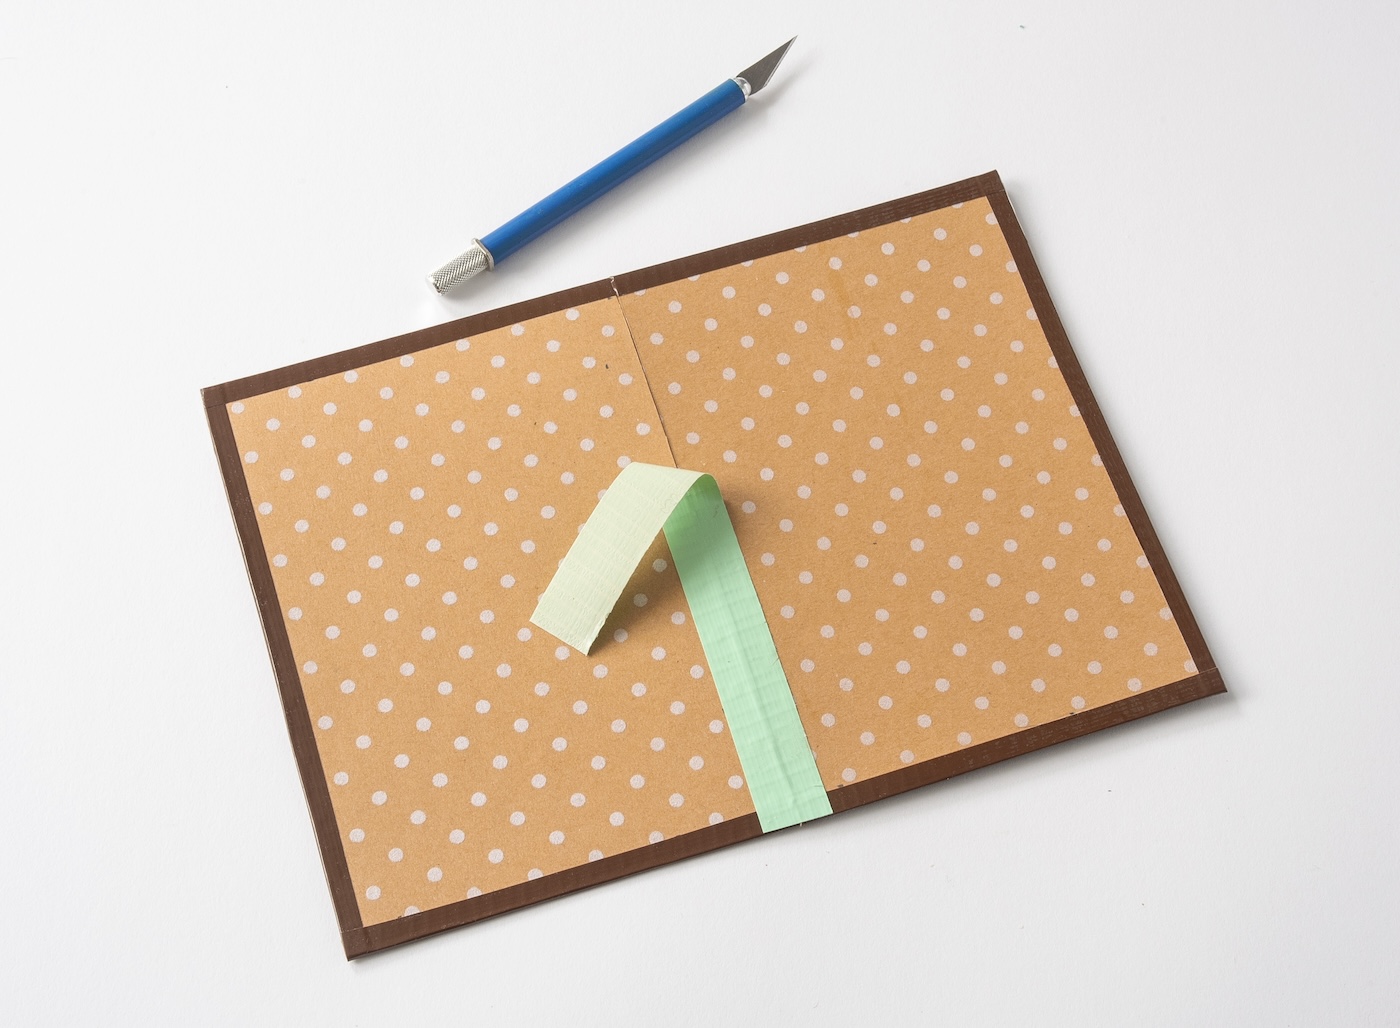
- Pick a contrasting color of duct tape to bind the pages together. Tear off a piece, place on your work surface, and cut in half (1-inch pieces). Place two pages next to each other and attach with duct tape to secure. Repeat with all the pages.
- Add a piece around the outside to act as your final binding.