
DIY Perpetual Calendar
Learn how to make a perpetual calendar using wood blocks, Mod Podge, and a free printable.
Yield: 1 calendar
Cost: $8
Materials
- Printer and white cardstock or presentation paper
- Mod Podge Hard Coat
- Calendar download
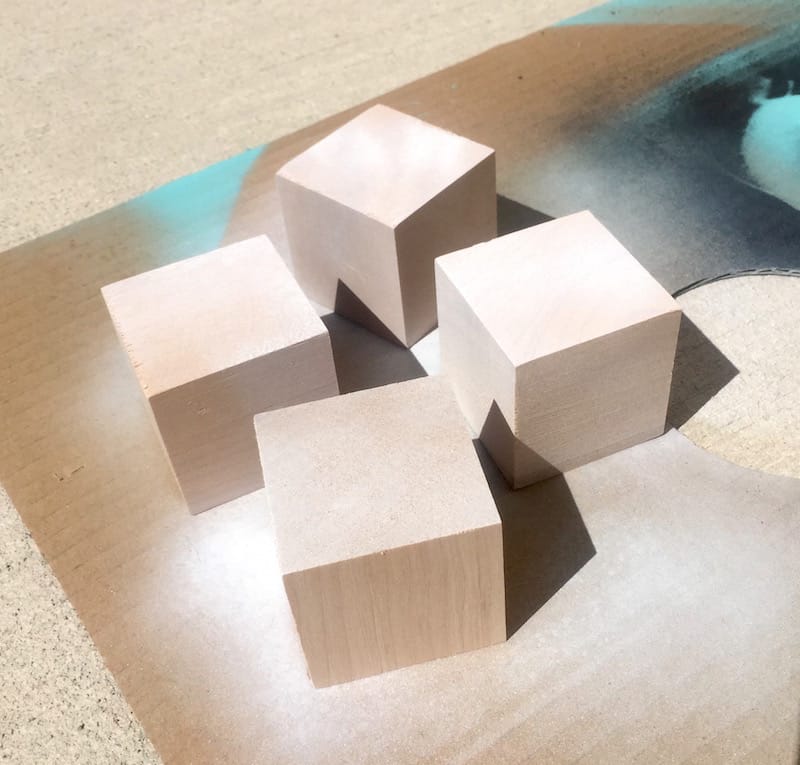
- 4 Wood block(s) 2”
- 1 can Spray paint white
Video
Instructions
- Spray paint your blocks using the white spray paint (in a well ventilated area). Let dry and repeat on all sides.
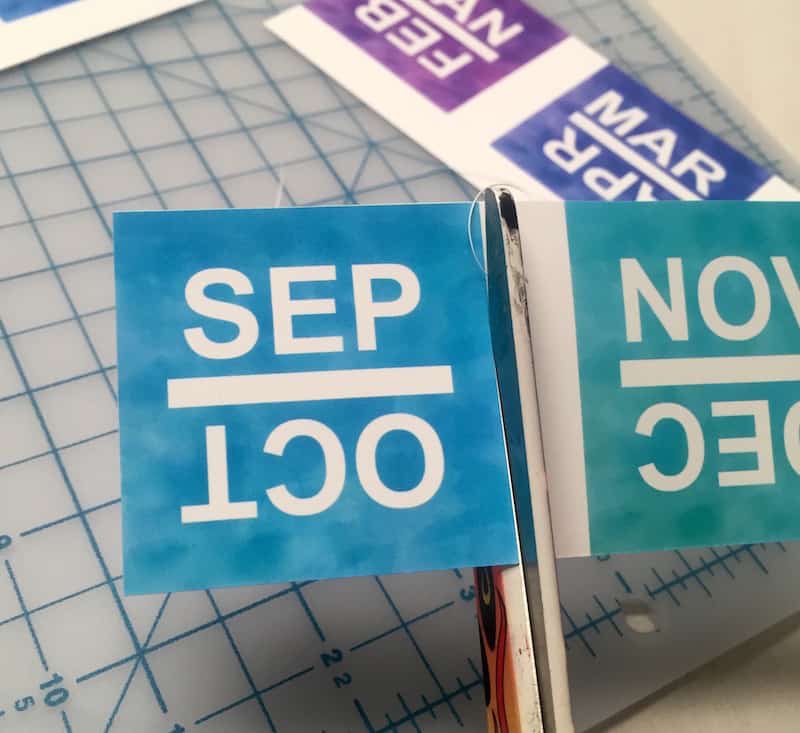
- Print out the free printable onto cardstock or presentation paper. Begin by trimming off the outside edge of both pages using your craft knife, mat, and ruler.
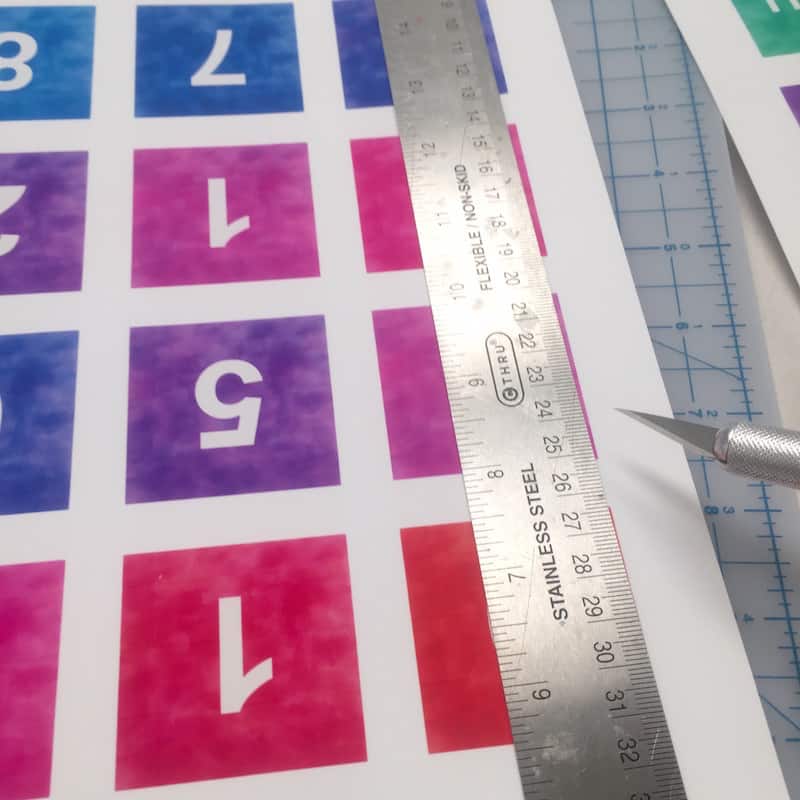
- Continue cutting the squares down using your craft knife, mat and ruler. I found that it was easier to cut the squares using my scissors when I got down to the final cuts.
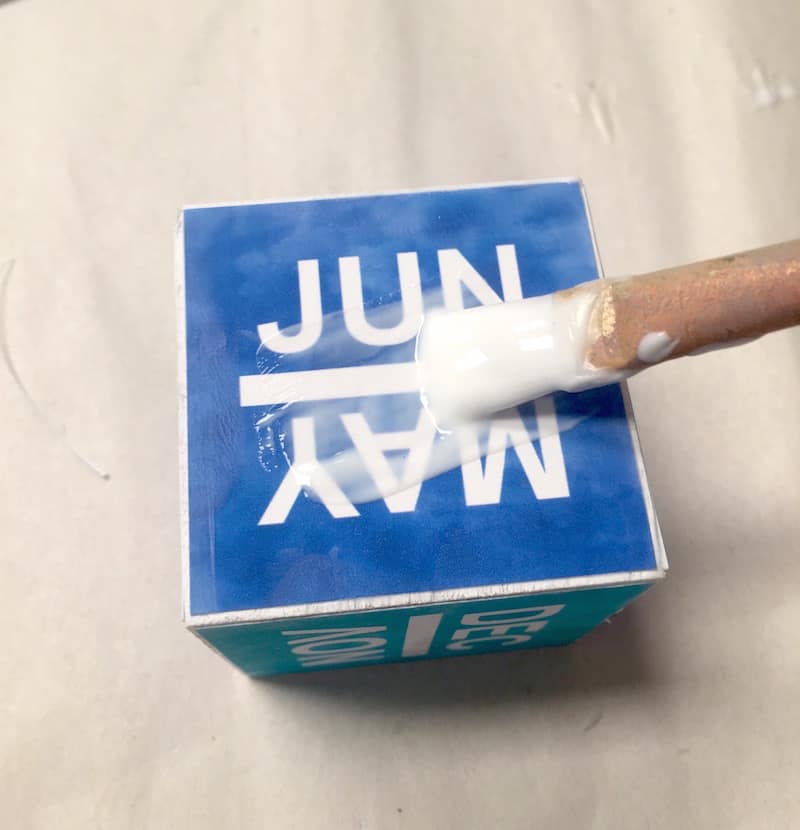
- Now you’re going to decoupage down the squares. Start with one side on each block. Apply a medium coat of Mod Podge to the top.

- Place one of the calendar paper squares on the top of the block, in the center of the Mod Podge, and smooth it down.
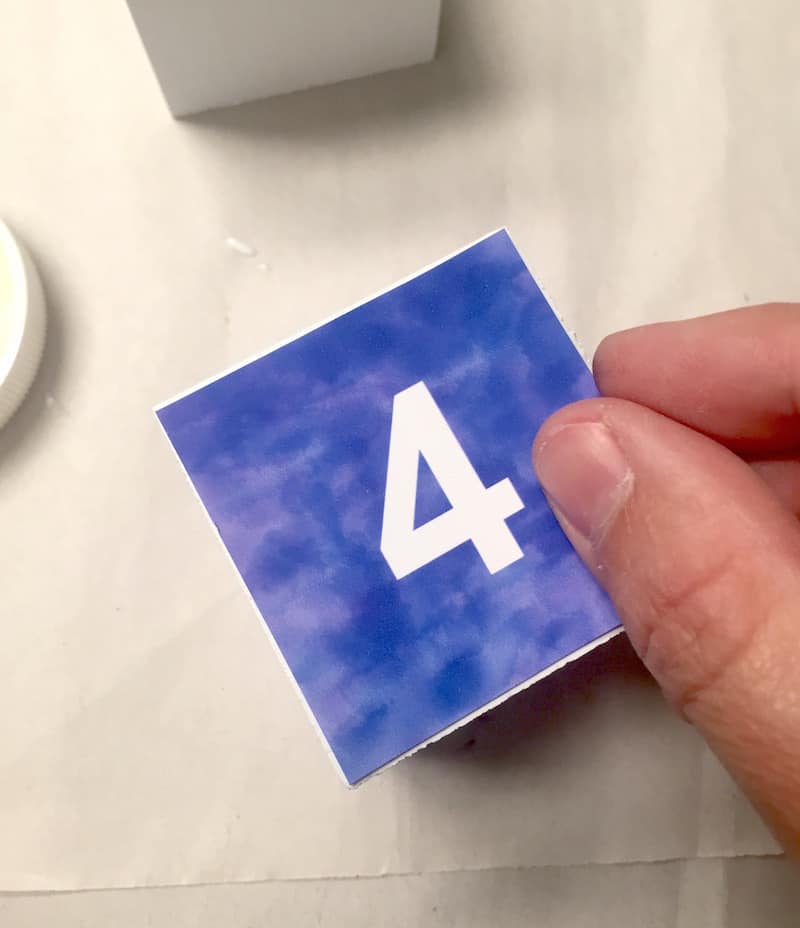
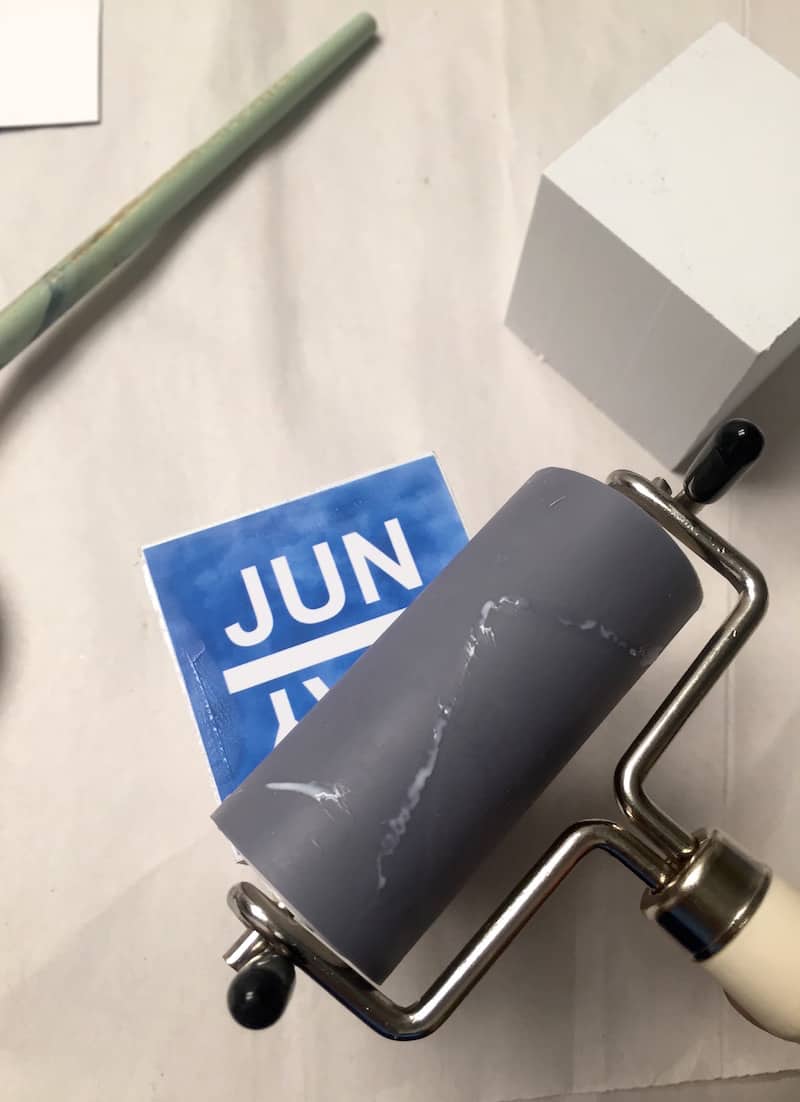
- Use your hands to smooth, or you can use a brayer. Simply wipe away any excess Mod Podge that squeezes out the side with your brush.
- Once you do this on one side, do it on one side for the second, third, and fourth blocks. By the time you are done, the first block should be dry enough for you to apply another square. Repeat until all sides of the blocks are covered! Let them dry.
- To finish, seal all of the blocks with a medium coat of Mod Podge. Let dry before stacking.
Notes
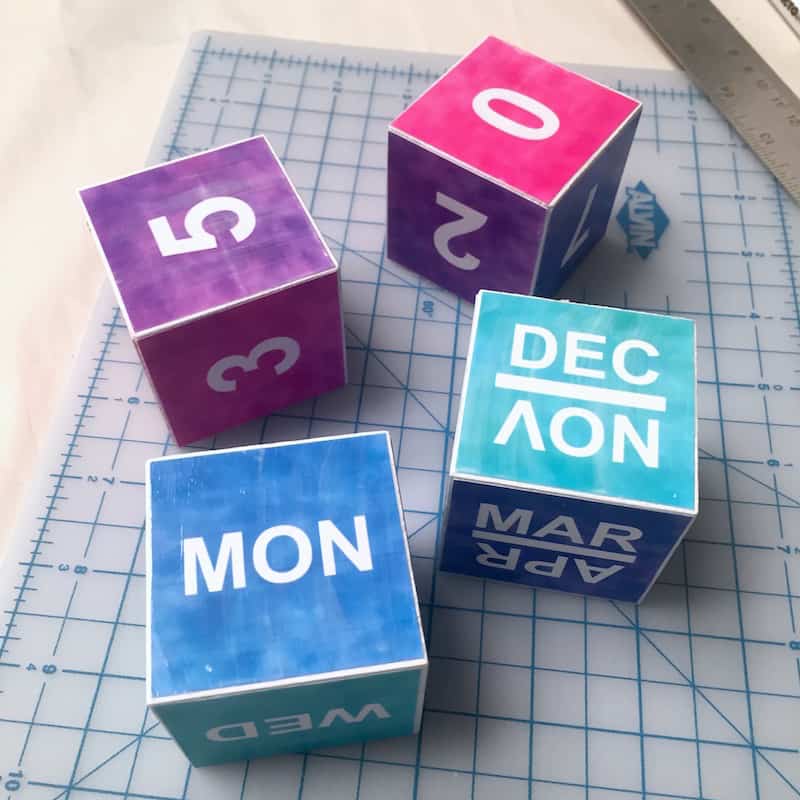
The sheets are organized so that the top six squares go on one block and the bottom six on another. Date block one should have 0, 1, 2, 3, 5, and 6. Date block two should have 0, 1, 2, 4, 7, and 8. You'll use the "6" for your 9. I recommend keeping your squares organized as you cut.