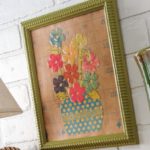
DIY Dollar Tree Wall Decor
Learn how to make wall art using dollar store supplies! Easy and inexpensive.
Yield: 1 piece
Cost: $2
Equipment
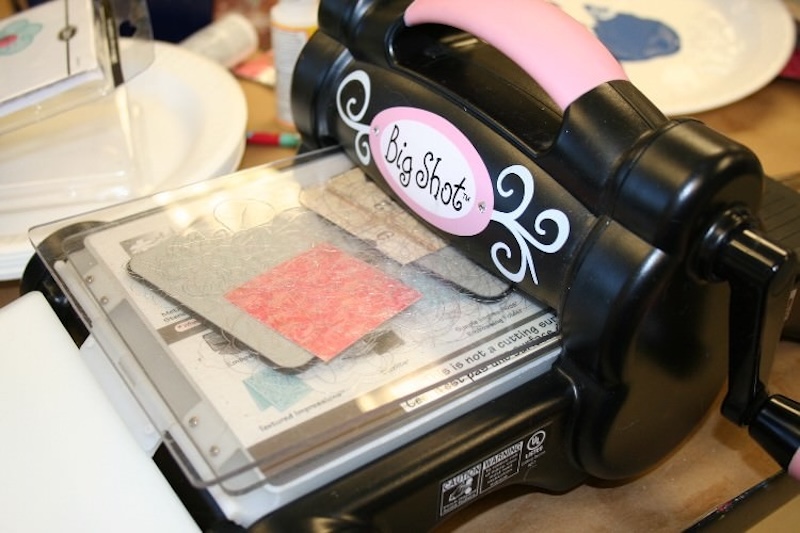
- Die cutter or craft knife
Materials
- Dollar store wall art
- Mod Podge Matte
- Mod Podge Dimensional Magic
- Spray paint
- Scrapbook paper several sheets, colors and patterns of your choice
- Craft glue
Video
Instructions
- Remove any art or cardboard backer from your frame. You may have to cut into the back with a craft knife to do so. Set the cardboard aside.
- Spray paint the frame with the color of your choice. Let dry.
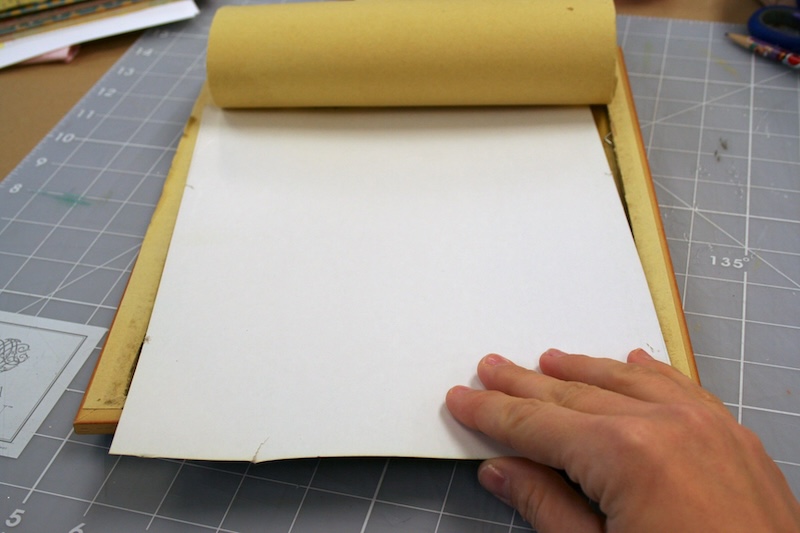
- Place a medium layer of Mod Podge onto the cardboard backer. Smooth down a piece of paper and let dry.
- Trim around the cardboard backer with a craft knife or scissors.

- Use a die cutter or clip art and a craft knife to cut out your floral shapes - including stems and a vase.
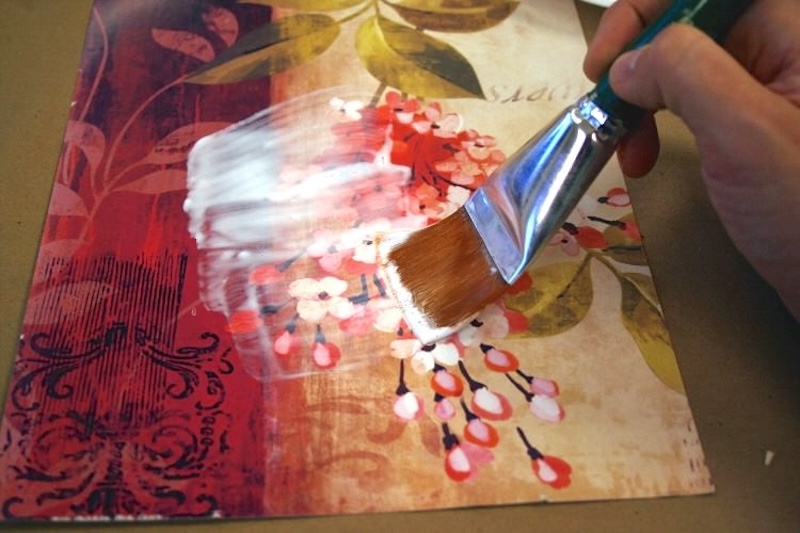
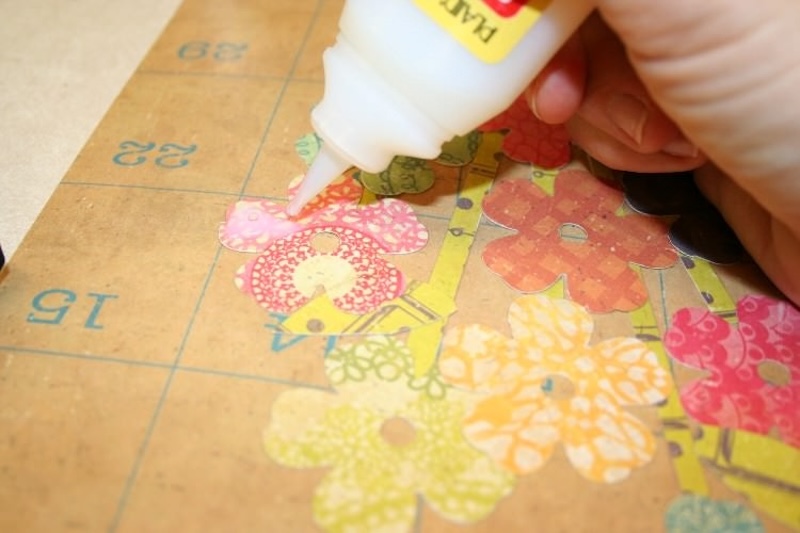
- Mod Podge all the flowers, including the stems and leaves, to the backer paper. Let it dry for 15 - 20 minutes and then add the flower pot. Give the entire thing a coat of Mod Podge and then let it dry again.
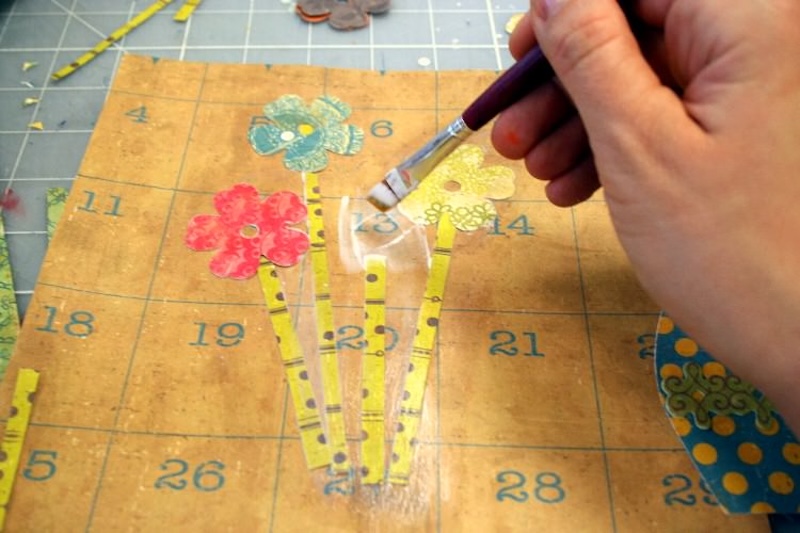
- Add Dimensional Magic on the top of each flower. Work quickly and carefully. Let this dry for 12 - 24 hours.
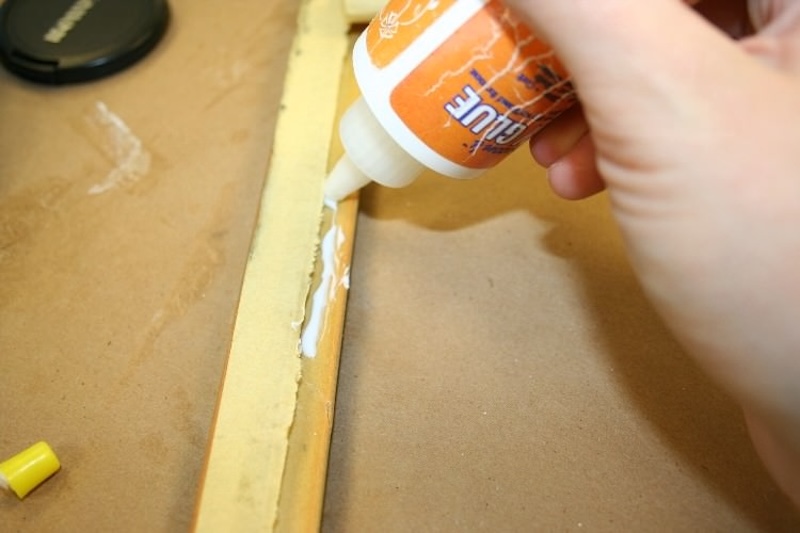
- Add craft glue to the finished frame to glue in the backer paper. Hold down until secure and let dry before hanging.
Notes
Tips for working with Dimensional Magic:
- Make sure the substrate underneath is completely dry - or DM can become cloudy
- Do not dry Dimensional Magic under a fan. This can cause it to crack.