DIY Cork Boards
Give your wall some flair by transforming affordable IKEA trivets into funky cork boards with just some fabric and Mod Podge! It's a quick and simple project perfect for showing off notes, photos, and all your creative sparks.
Yield: 3 cork boards
Cost: $5
Equipment
Materials
- 3 Round cork trivets "Heat" at IKEA
- Craft paint white
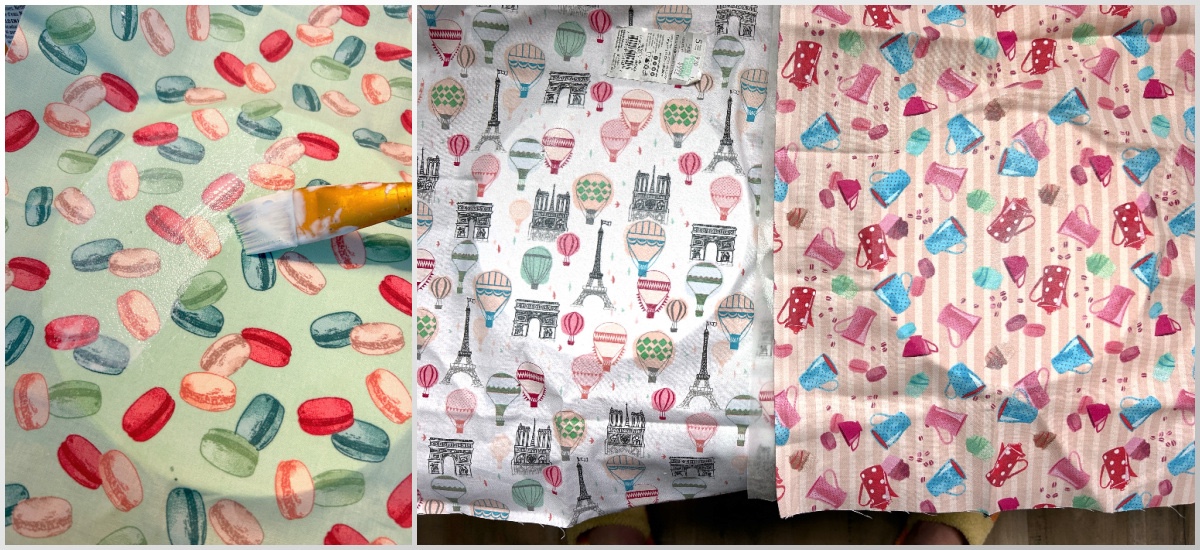
- Fabric I used 3 different coordinating
- Mod Podge Satin
- Balsa wood or wood popsicle sticks
- E-6000 Or other strong adhesive or super glue
- Command strips
Instructions
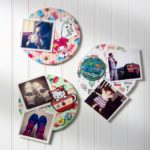
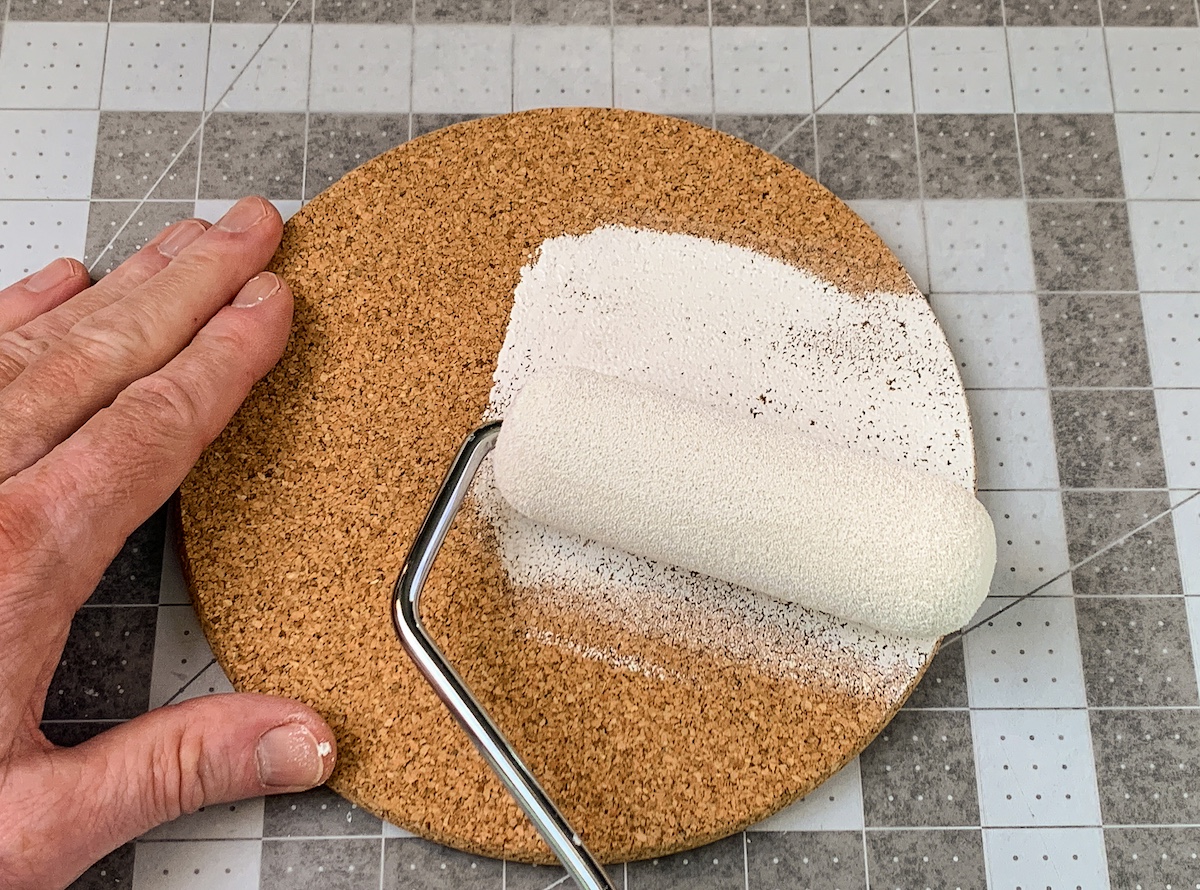
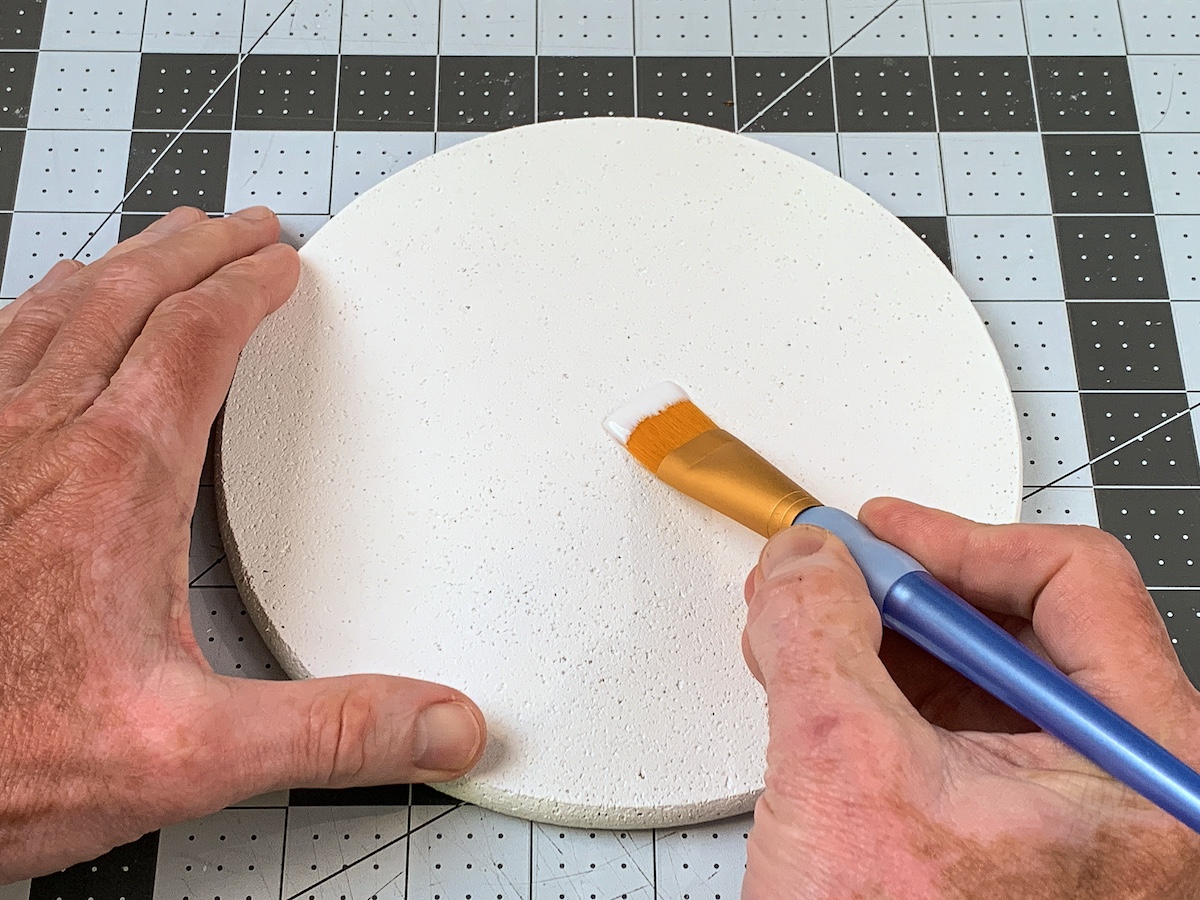
- Paint one side and the edges of each trivet with white paint. Allow that to dry and apply a second coat if needed for complete coverage.
- Working with one cork circle at a time, apply a medium (not thick) layer of Mod Podge over the top of the cork circle, making sure to get the edges.
- Smooth the fabric over the Mod Podge, making sure to get all the way to the edges. If some comes through the fabric it's okay. Just wipe away any excess. Repeat with the remaining cork circles and let dry.
- Apply Mod Podge to the top of the fabric. One coat is fine. let dry.
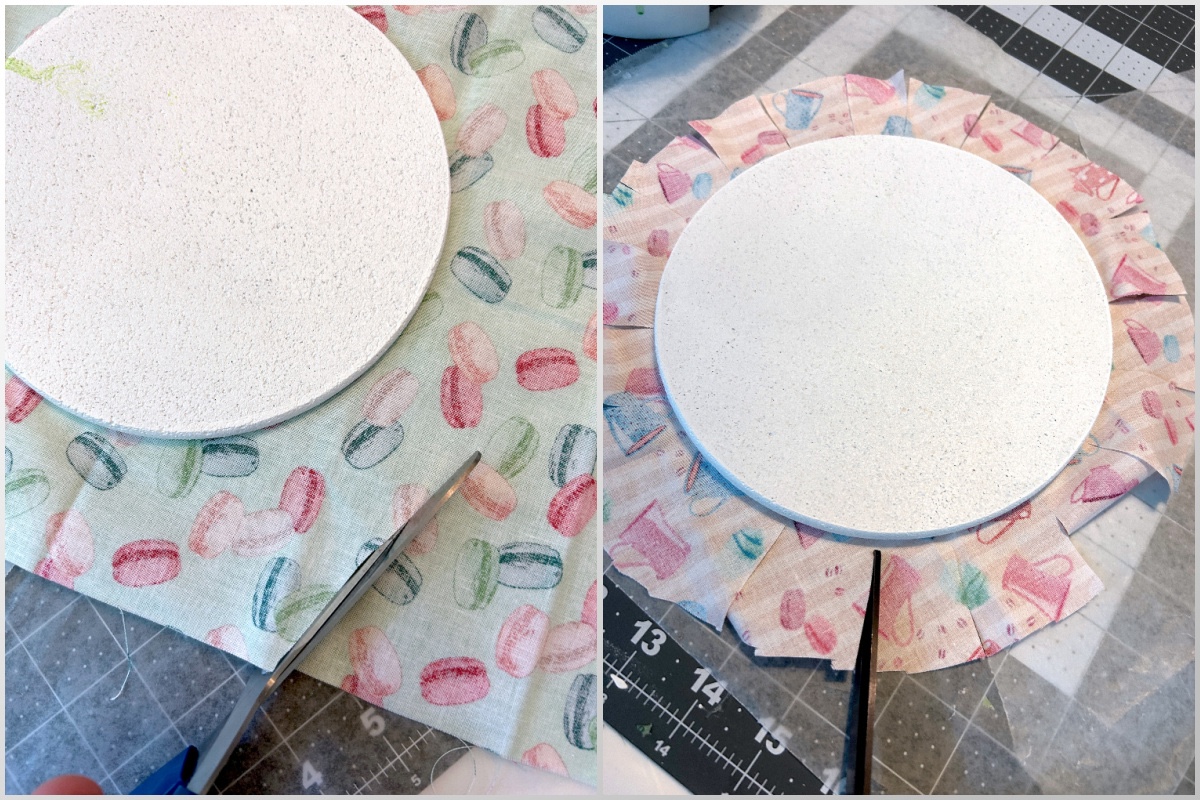
- Cut around the edges of the circle with scissors, leaving about an inch or two of fabric all the way around. Then you're going to cut the excess fabric into tabs as you see in the photo, so that you can bend the fabric around the back to attach.
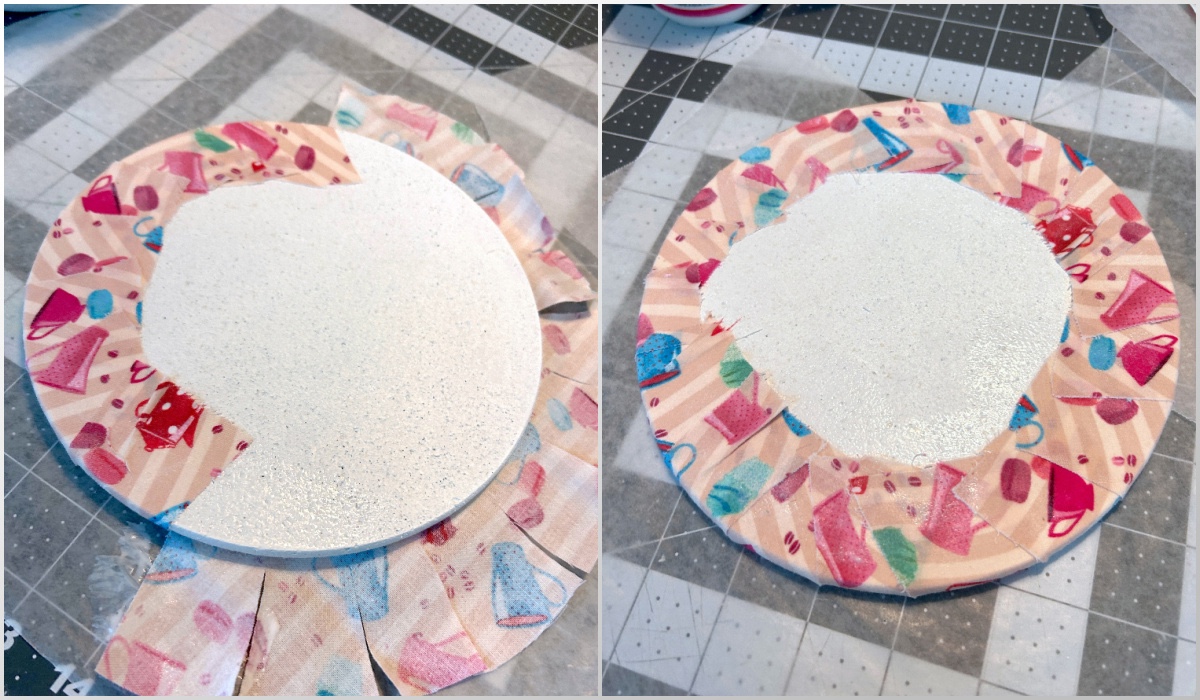
- Apply Mod Podge to the edge of the back of the cork round and fold a tab over, smoothing down with the brush (and your finger if necessary).
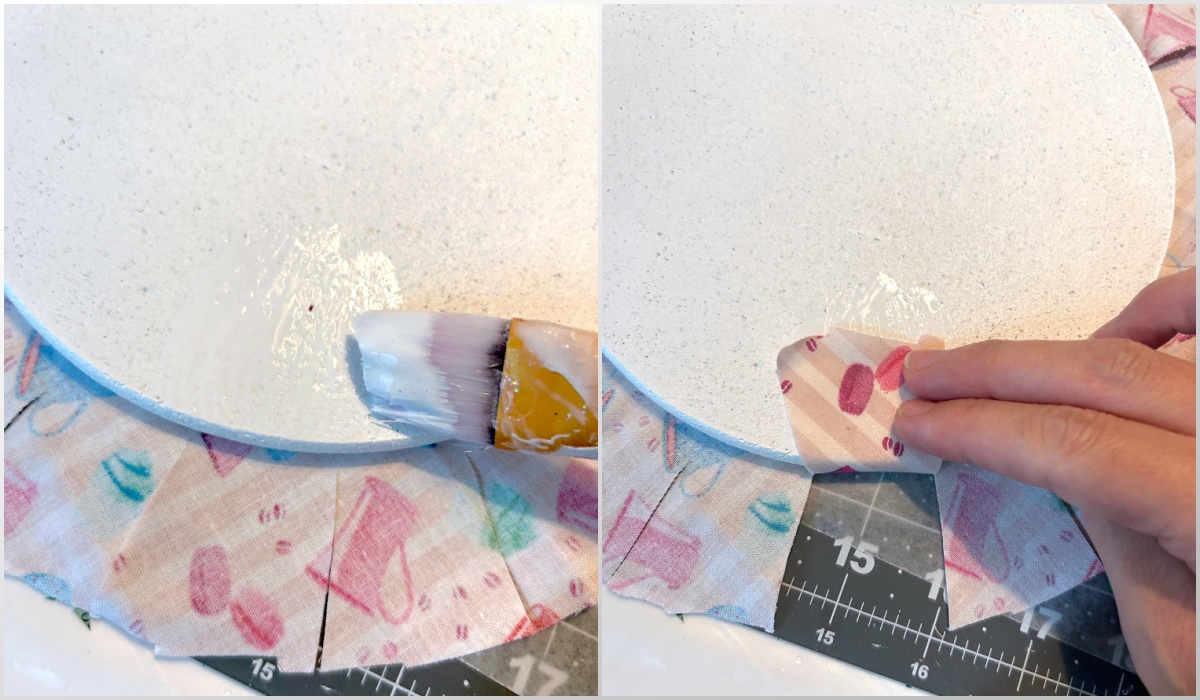
- Continue this step all the way around the cork circle, applying Mod Podge and attaching the tabs to the back. Repeat with all cork circles and let dry.
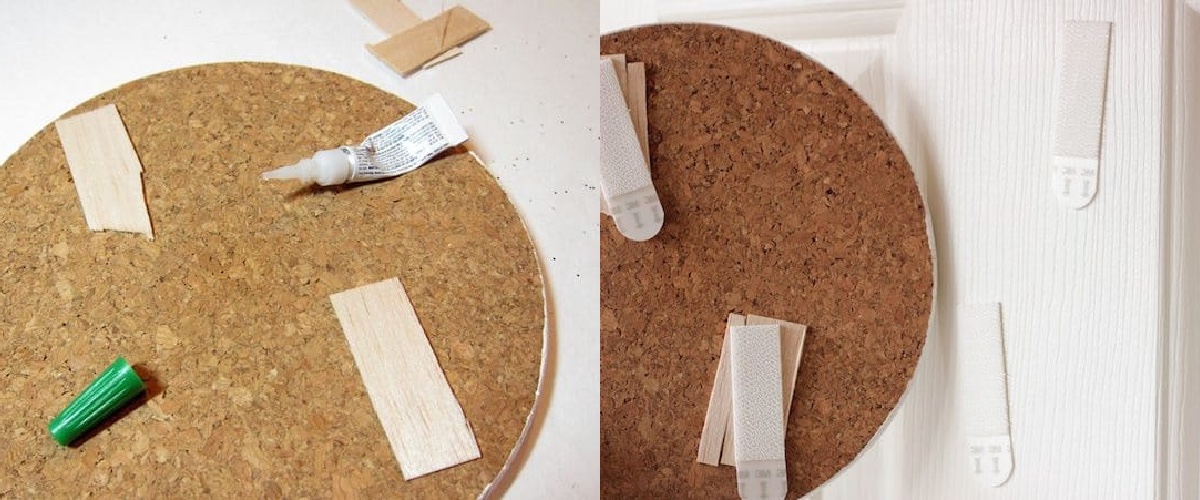
- Glue down the wood using a strong, fast adhesive (i.e. super glue) where I planned to attach the strips. Allow the glue to dry. Attach your picture hanging strips to the wall and the wood pieces on the back of each memo board, following the directions on the package.
Notes
The reason for painting the cork circle with white paint is because Mod Podge makes fabric a little bit transparent. If you are using lighter colored fabrics, you don't want the brown showing through. So paint the background!
The picture hanging strips will not securely stick to the cork (or freshly painted surfaces), so you need to put something on the back of the cork to attach the strips. I used scrap pieces of thin balsa wood for this step, but popsicle sticks could work here, too.