
DIY Clay Earrings
Learn how to make homemade earrings out of clay! This jewelry tutorial can be made into any shape.
Yield: 1 pair
Cost: $3
Equipment
- X-Acto Knife or box knife
Materials
- Baby powder
- Polymer clay
- Earring posts
- Mod Podge Dimensional Magic
- Acrylic paint
- Floral foam
- E-6000
Instructions
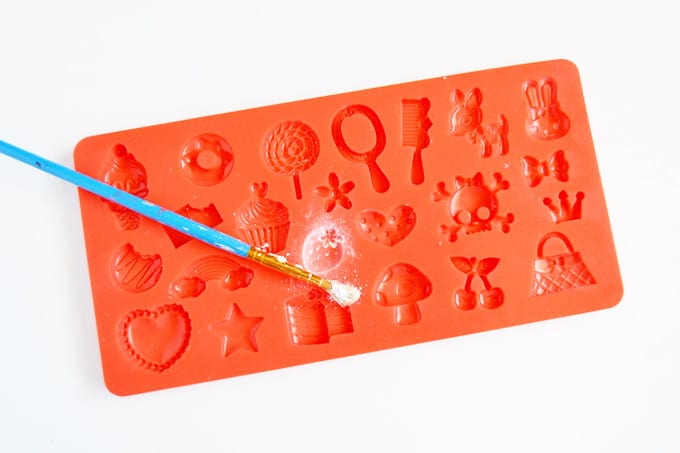
- Dust your mold with some cornstarch or baby powder. Do this so that when you press the clay down into the smaller grooves of the mold, it's easier to release. The clay won't stick to the powder.
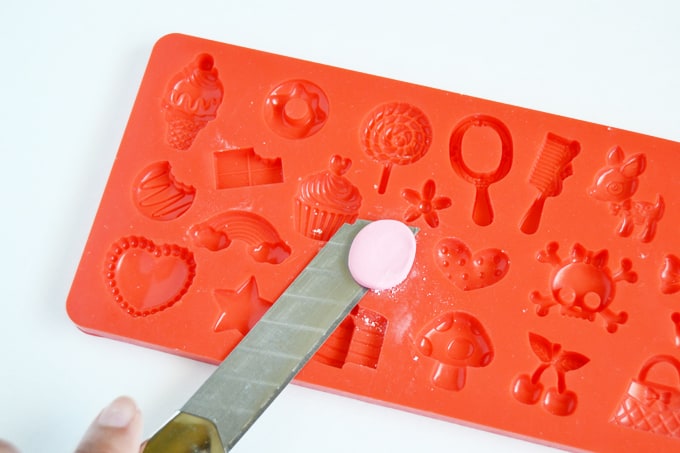
- Knead your polymer clay until it's softened and roll into a small ball. Press the ball of clay into the mold shape of your choice, forming it to the edges. Release your clay from the mold and chill in the fridge for about 20 minutes to harden.
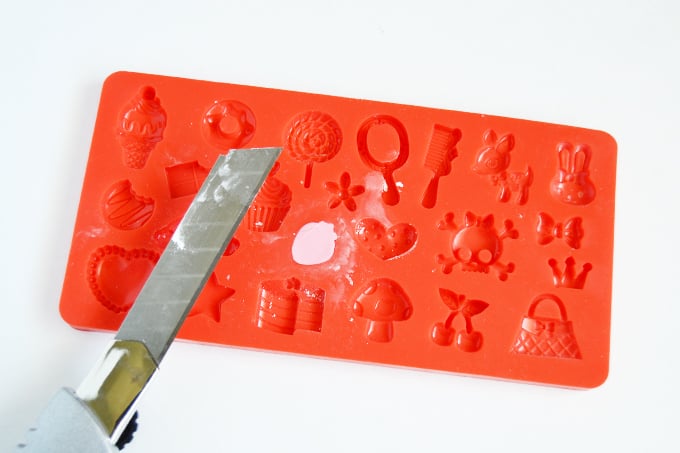
- After hardening, put it back in the mold and use a box cutter or X-Acto knife (coated with a bit of cornstarch so it doesn't stick to the clay) and saw off the excess clay.
- After removing the excess clay, press your clay once again to the mold to flatten the back.
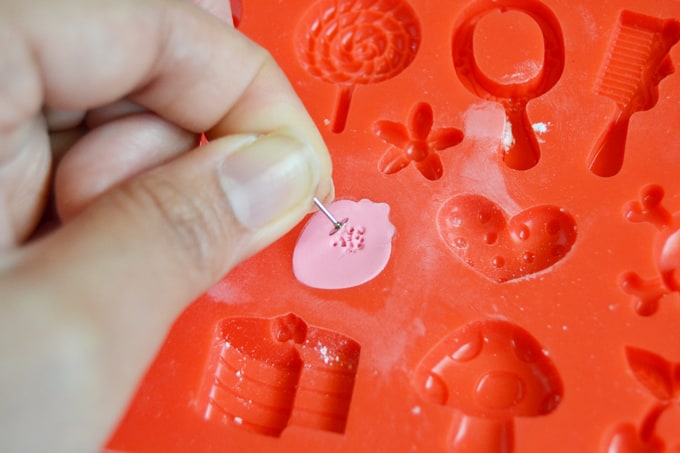
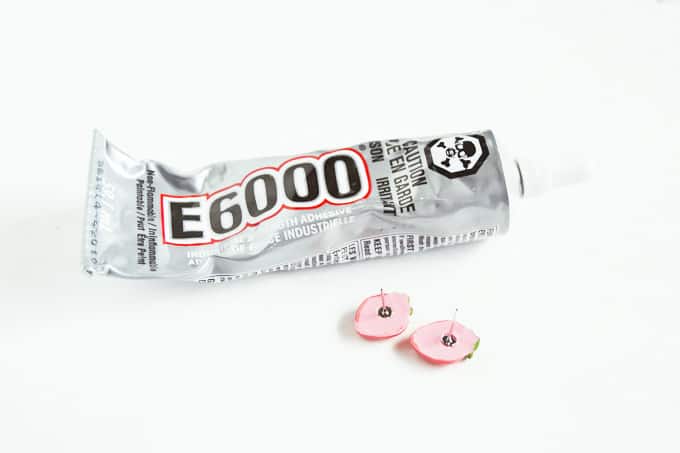
- Poke some holes on the back where you want to adhere your earring posts. The holes will allow more glue to seep in and form a better bond when you attach.
- Release the clay from the mold. Bake according to your polymer clay package's directions.
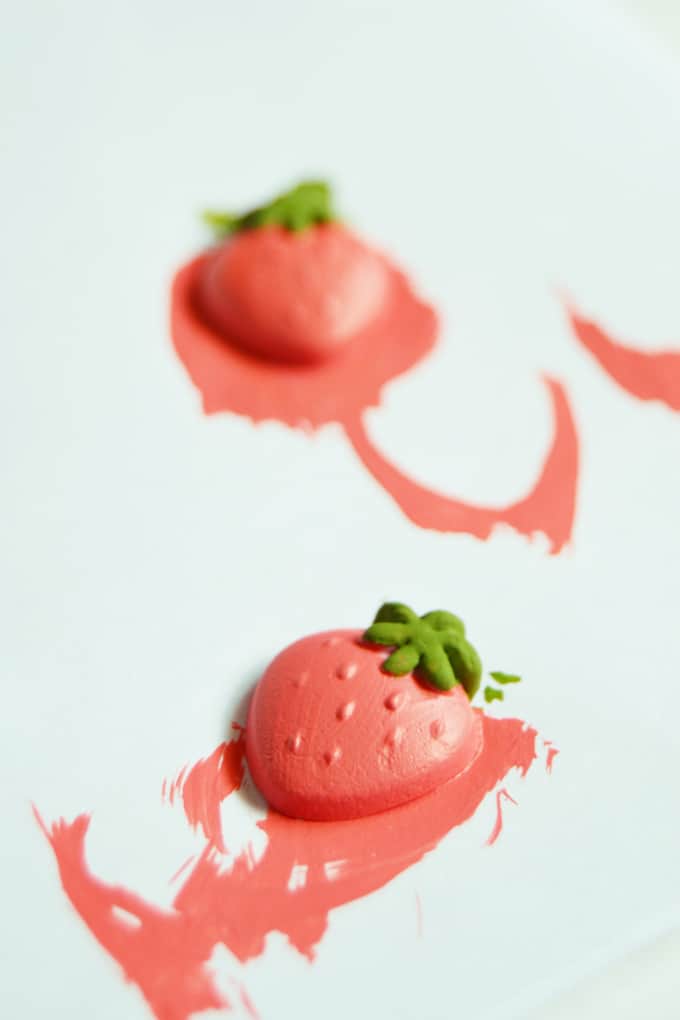
- Start painting the details of your clay shapes. Use a pin for the details. Let dry.
- Attach the earring posts using E-6000 or other jewelry glue. Let dry.
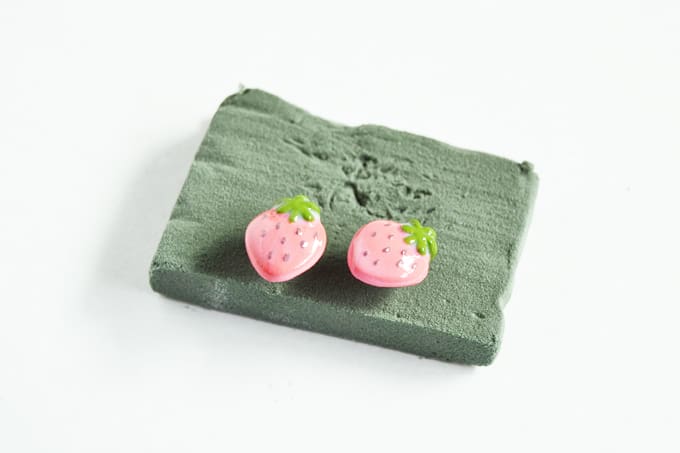
- Coat with Dimensional Magic and let dry for several hours to finish.
Notes
Step 1: In my opinion, it's important to apply this technique when using molds with more details (such as the trinkets mold in the picture below).