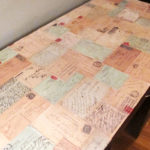
Decoupage Desk
Learn how to decoupage a desk with postcards, or paper that looks like postcards. This is an easier project than you think.
Yield: 1 desk
Cost: $10
Equipment
Instructions
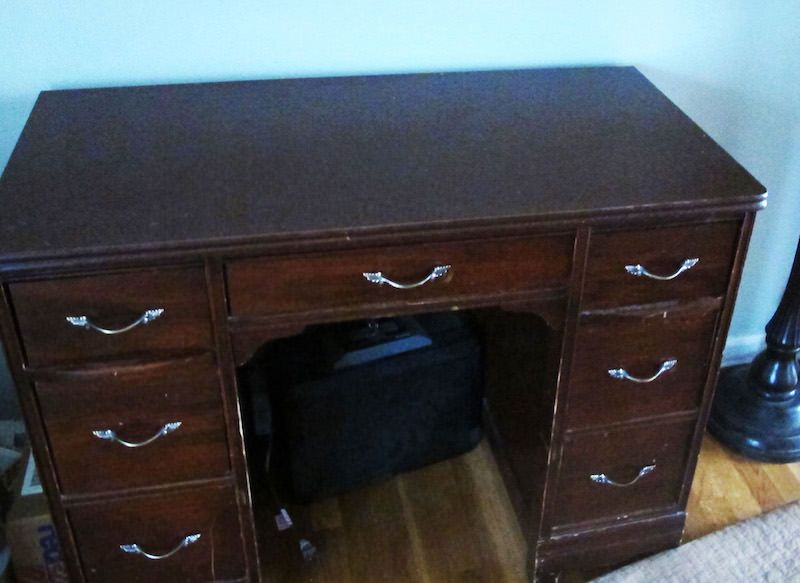
- Sand the top of the desk using sandpaper for better adhesion. Wipe away dust using a tack cloth.
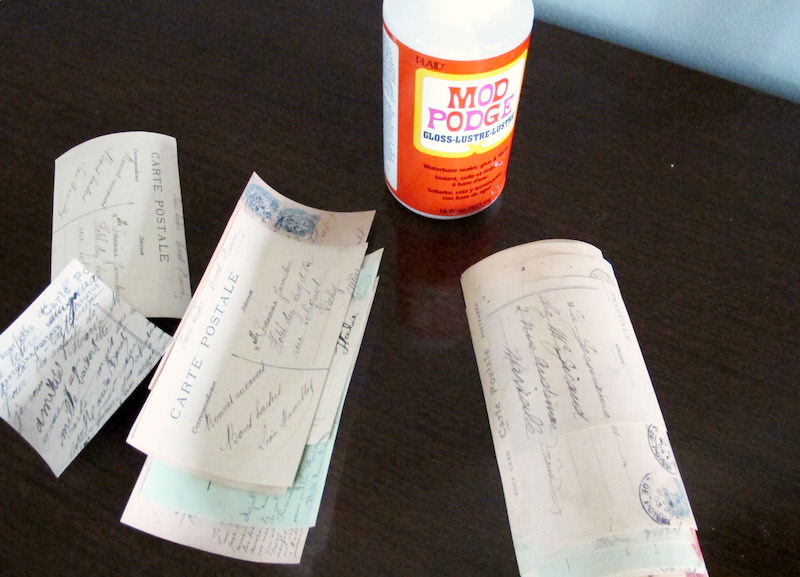
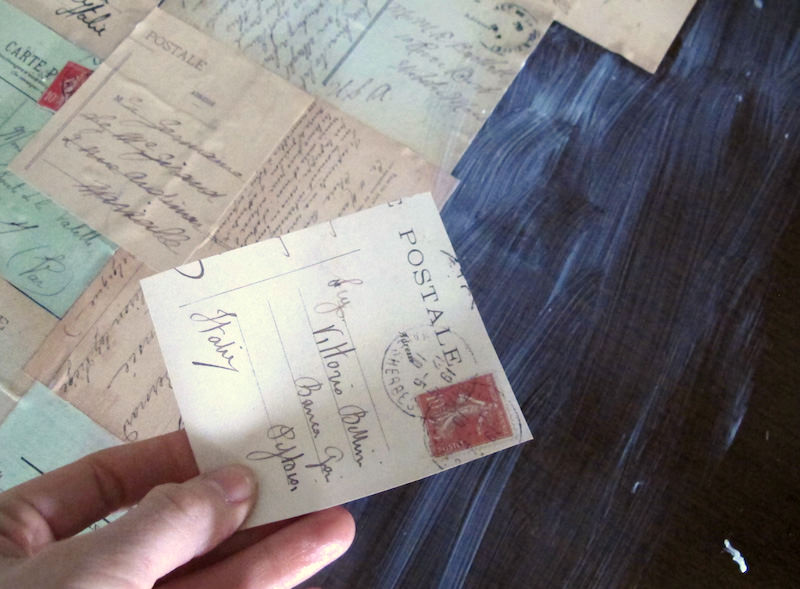
- Cut your paper or postcards to fit the desk using the scissors and/or craft knife.
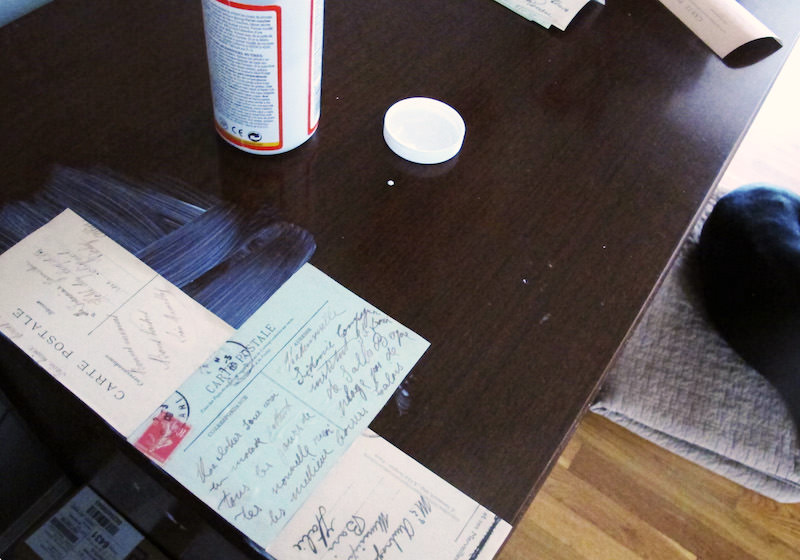
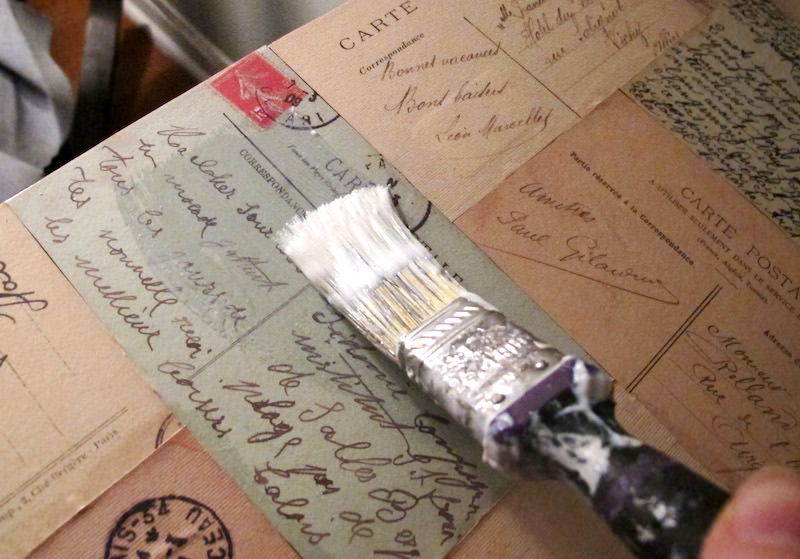
- Begin at one end of the desk. Place Mod Podge down on the desk and on the back of the paper/cards. Smooth down on the surface.
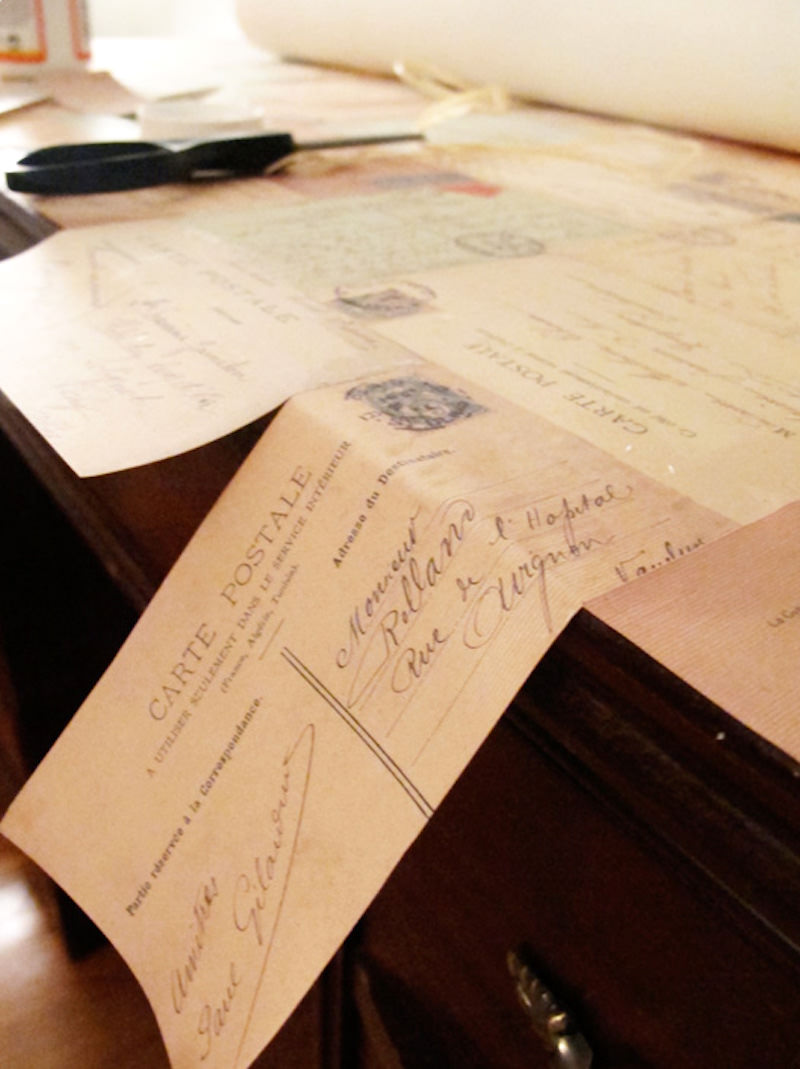
- Continue along the length of the desk, adding paper or postcards until fully covered. Leave overhang for now.
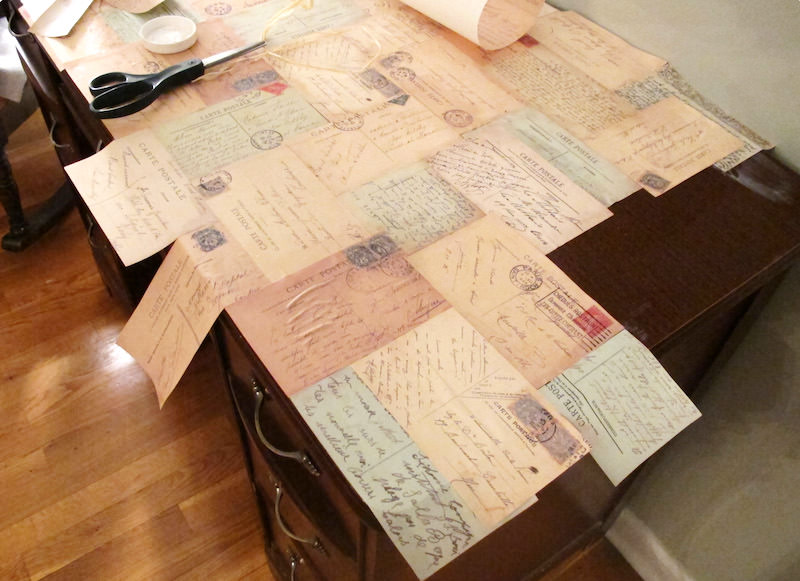
- Trim paper and cards to fit in blank areas or any areas that aren't fully covered.
- Let dry for several hours if not overnight (weight down if necessary).
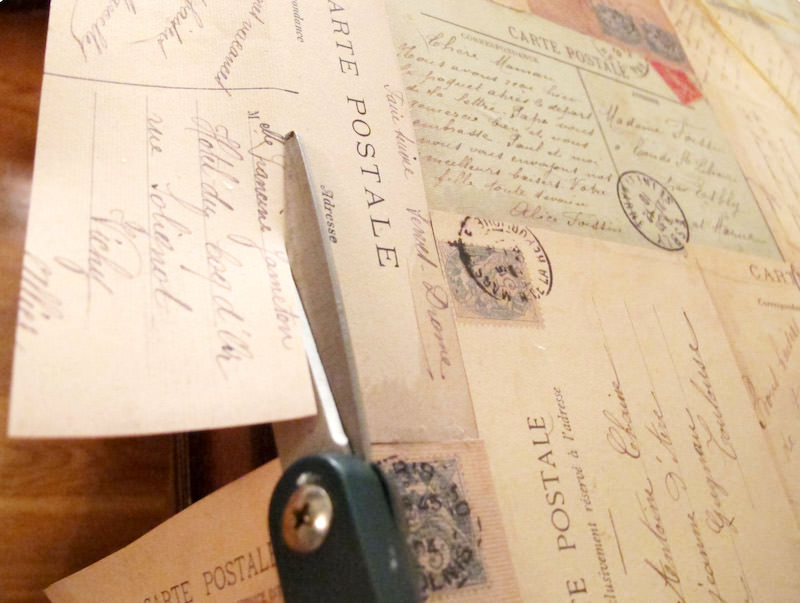
- Trim off edges of the paper or postcards using scissors or a craft knife. Do this around the entire desktop.
- Give two final coats of Mod Podge to the top of the desk, letting dry between coats.
- Let the desk dry overnight before using. If desired, add a final sealing coat of polycrylic for added durability.

Notes
- If your desk is dark and your paper is thin, consider using a white primer on the top. If you don't, you might see some of the darkness of the desktop show through the paper.
- I recommend using Mod Podge Hard Coat on this project.