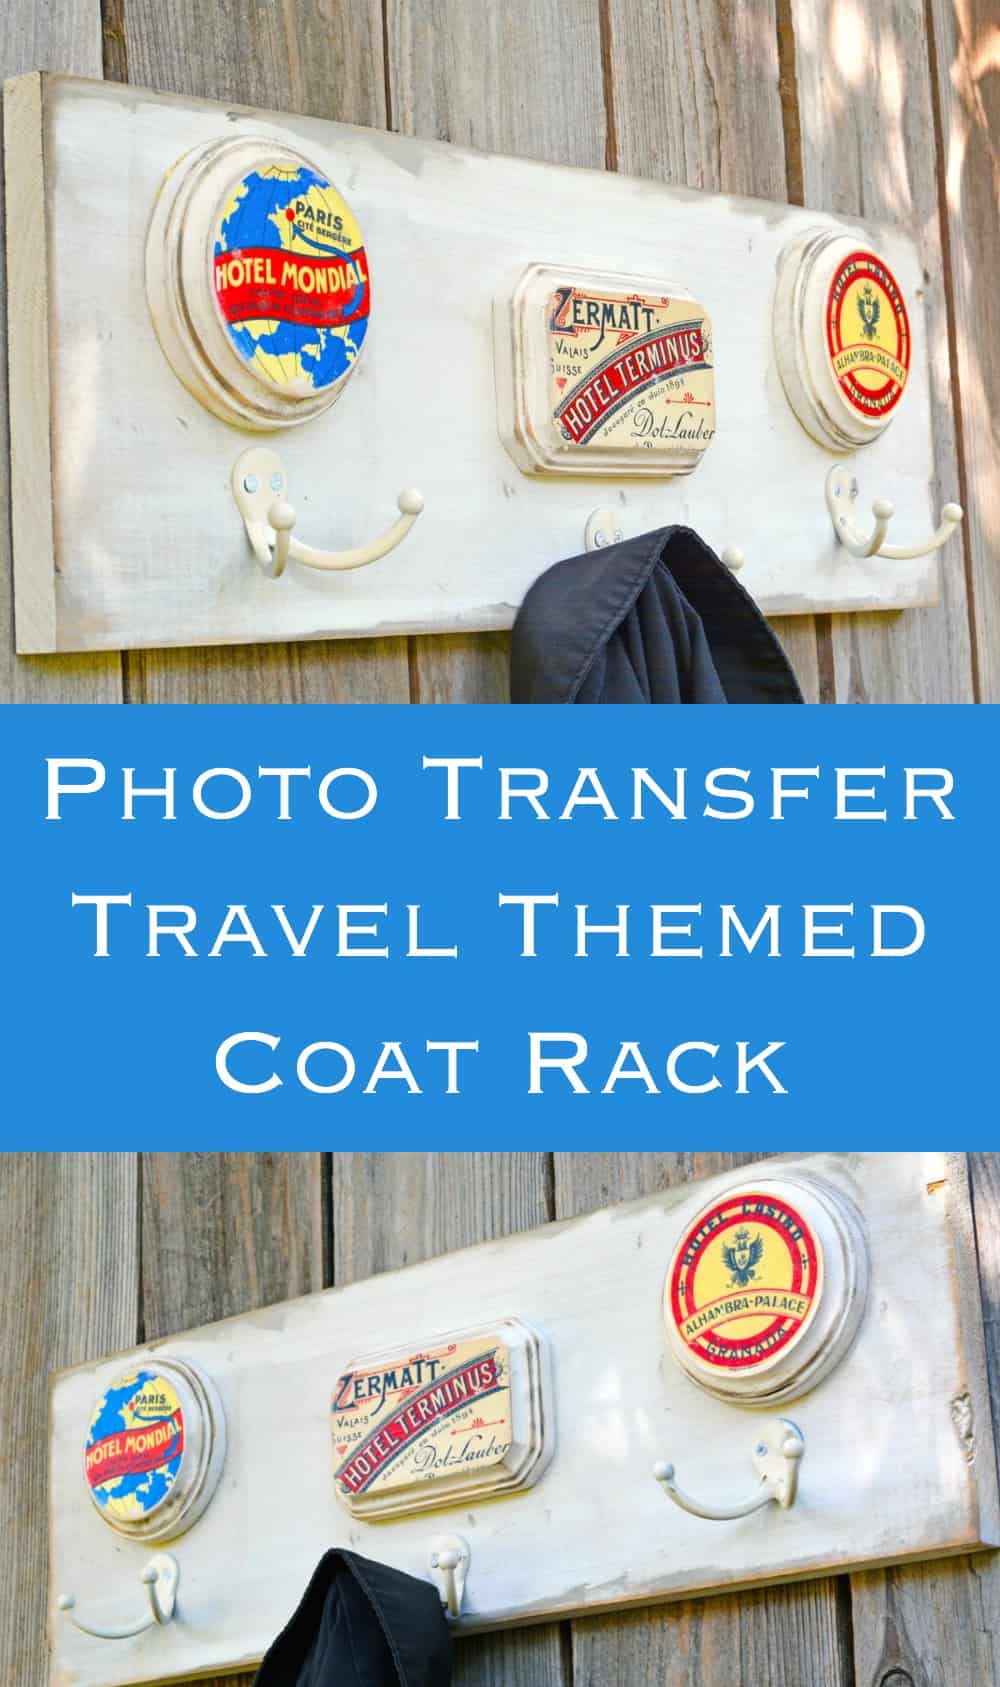
Learn to make a vintage coat rack from a plank and some small plaques. This DIY coat rack uses travel themed graphics – so fun!
Skills Required: Intermediate. Making the coat rack is pretty simple, but you need experience with tools. The plaques require experience with photo transfer medium. If you’re new to crafting, you can still make this, just be patient!

Hi, it’s David from Cheltenham Road.
If you’ve followed my other projects or visited my Etsy shop, you know I’m the vintage guy. I’ve been collecting vintage graphics since I was a kid (a weird kid, clearly) and I’m always trying to find new ways to use them in my home decor crafts.
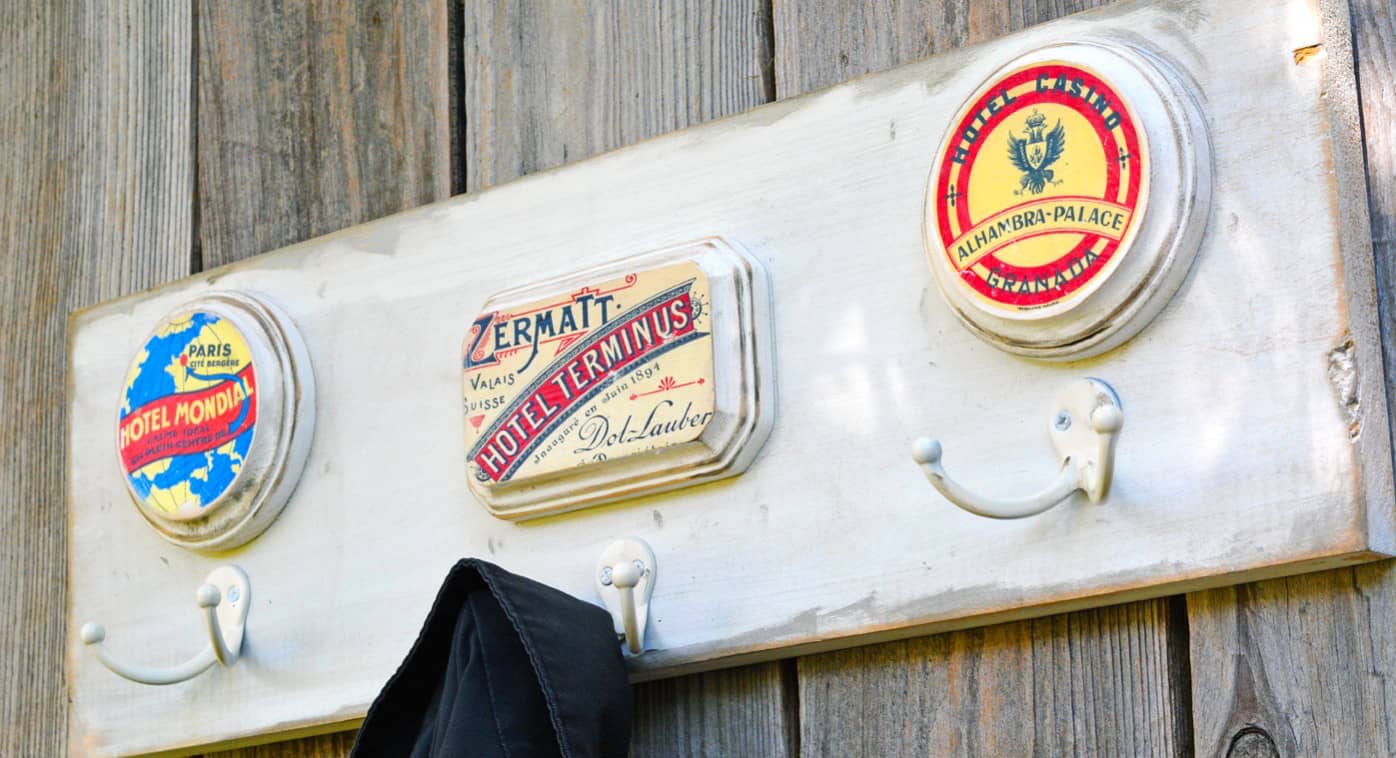
Vintage luggage tags from hotels and airlines are some of my favorites. The graphics are amazing and I thought it would be fun to work a few into my latest project. It’s a very inexpensive, super easy wooden coat rack with a vintage travel theme.
Wouldn’t this make a fun gift for a traveler? Maybe Father’s Day for the man that has everything? There are a lot of options! Learn how to make it below.
PS – The luggage tag graphics I’m using are from my collection, but you can find great, very affordable versions available for instant digital download on Etsy.
DIY Vintage Coat Rack
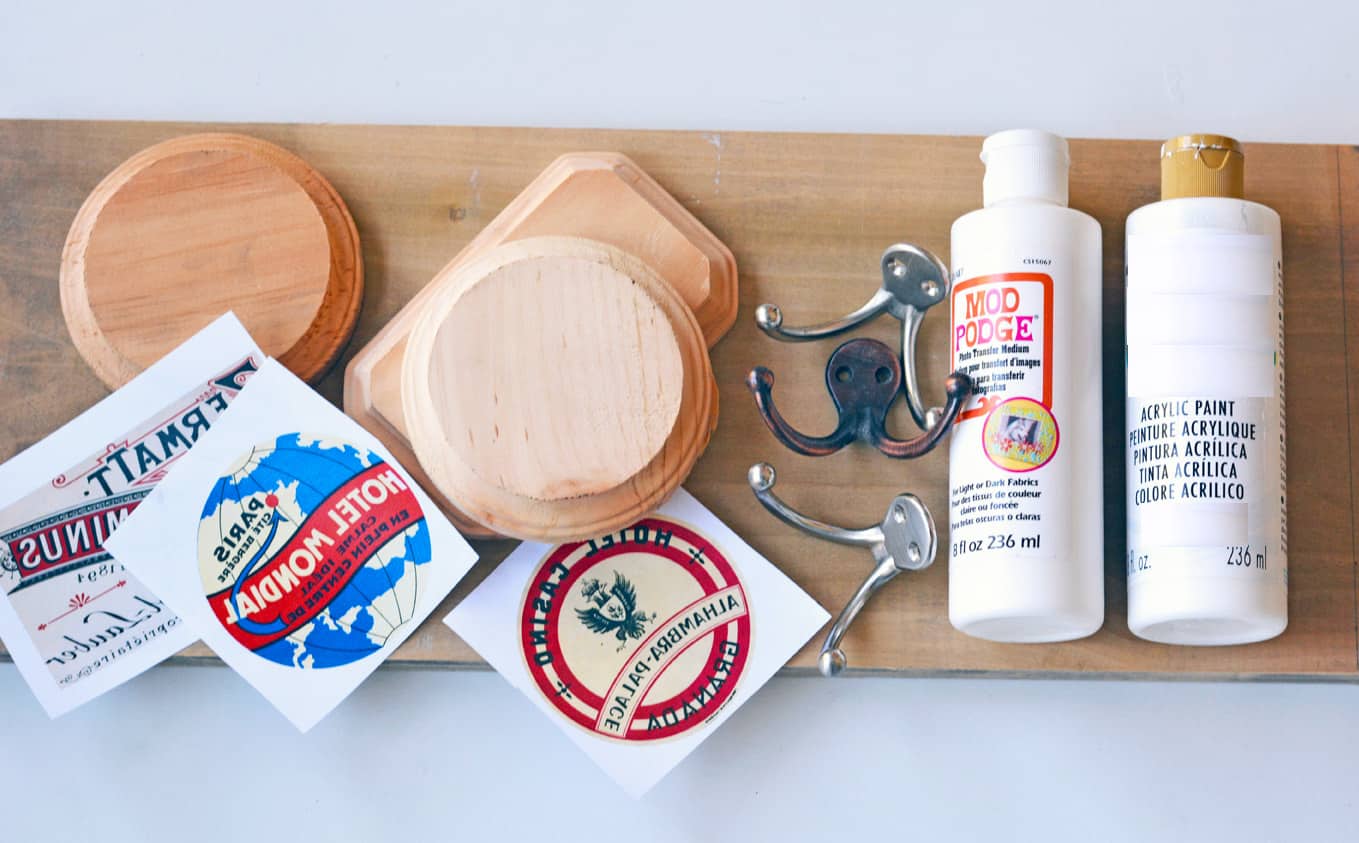
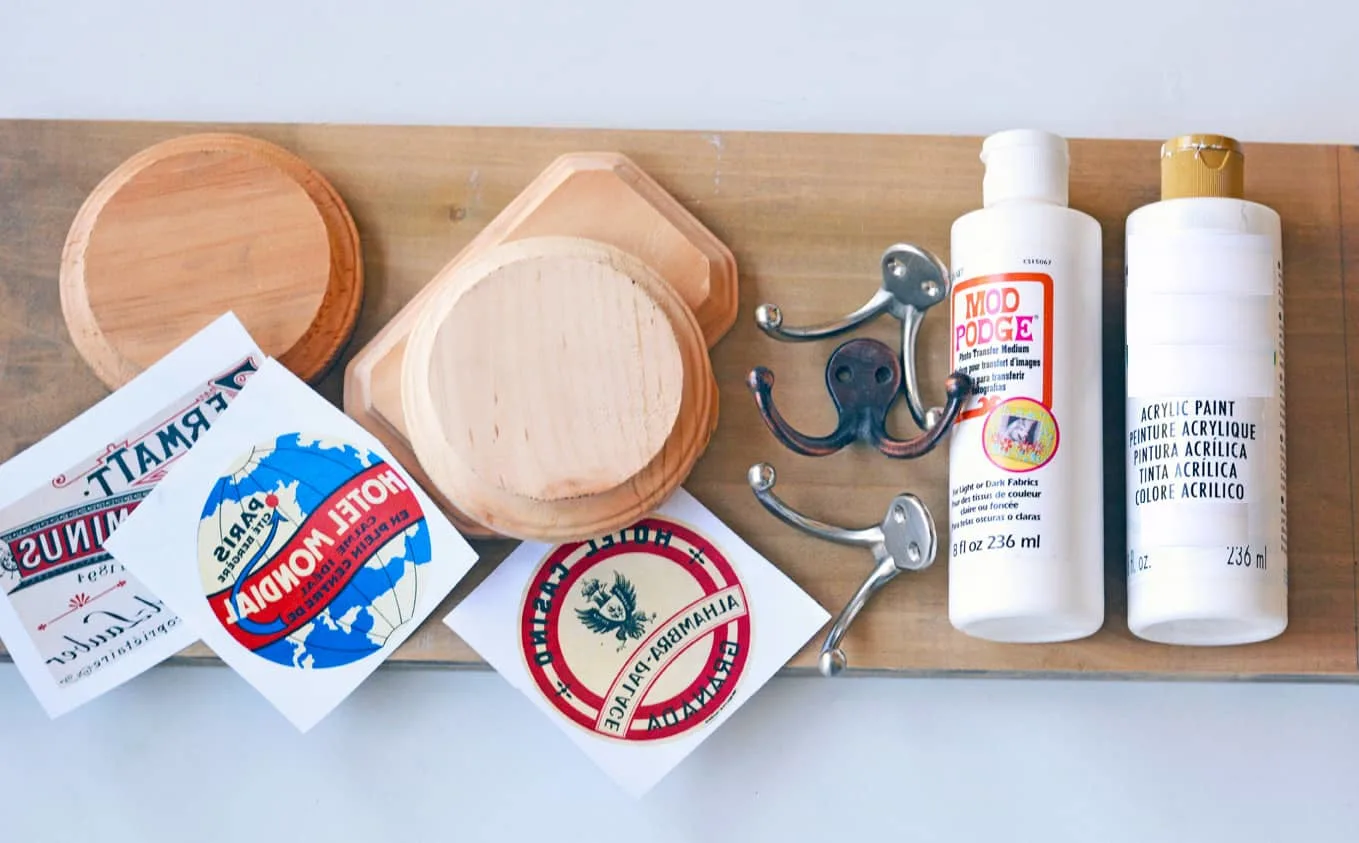
Gather These Supplies
- 1 x 6 plank for the backer (I cut mine to 22″ long)
- 3 small wood plaques from Michaels
- Mod Podge Photo Transfer Medium
- White craft paint
- Coat hooks with screws – 3
- Luggage tag graphics (printed in reverse on a laser printer)
- Scissors
Also used but not pictured:
- Drill and drill bits
- Sandpaper and/or electric sander
- Assorted screws
- Hangers (for the back)
- Antiquing glaze (last minute idea – not strictly necessary)
- Matte Mod Podge
- White spray paint (optional)
After painting all the wood elements (backer and plaques) white and letting them dry, I sanded all the edges for a lightly distressed look. I also used some white spray paint on the coat hangers just so they wouldn’t look so “new.”
I used Photo Transfer Medium to get the images onto the plaques because it gives you a very natural, slightly distressed or antiqued appearance which was exactly what I wanted.
To use the transfer you need the images to be printed out in reverse. (You can do this easily in any graphic program. If you’re using MS Word just go the graphic formatting tool-bar and choose “flip horizontal.”)
I cut out the reverse- printed luggage tag graphics and laid down a thin coat of Mod Podge Transfer formula on both the plaque and the face of the print out.
I used my fingers to smooth the paper out and wiped up any excess Mod Podge Transfer that squeezed out (it’s much easier to wipe away any excess now than to wait until it has dried – don’t ask me how I know) and set them aside overnight.

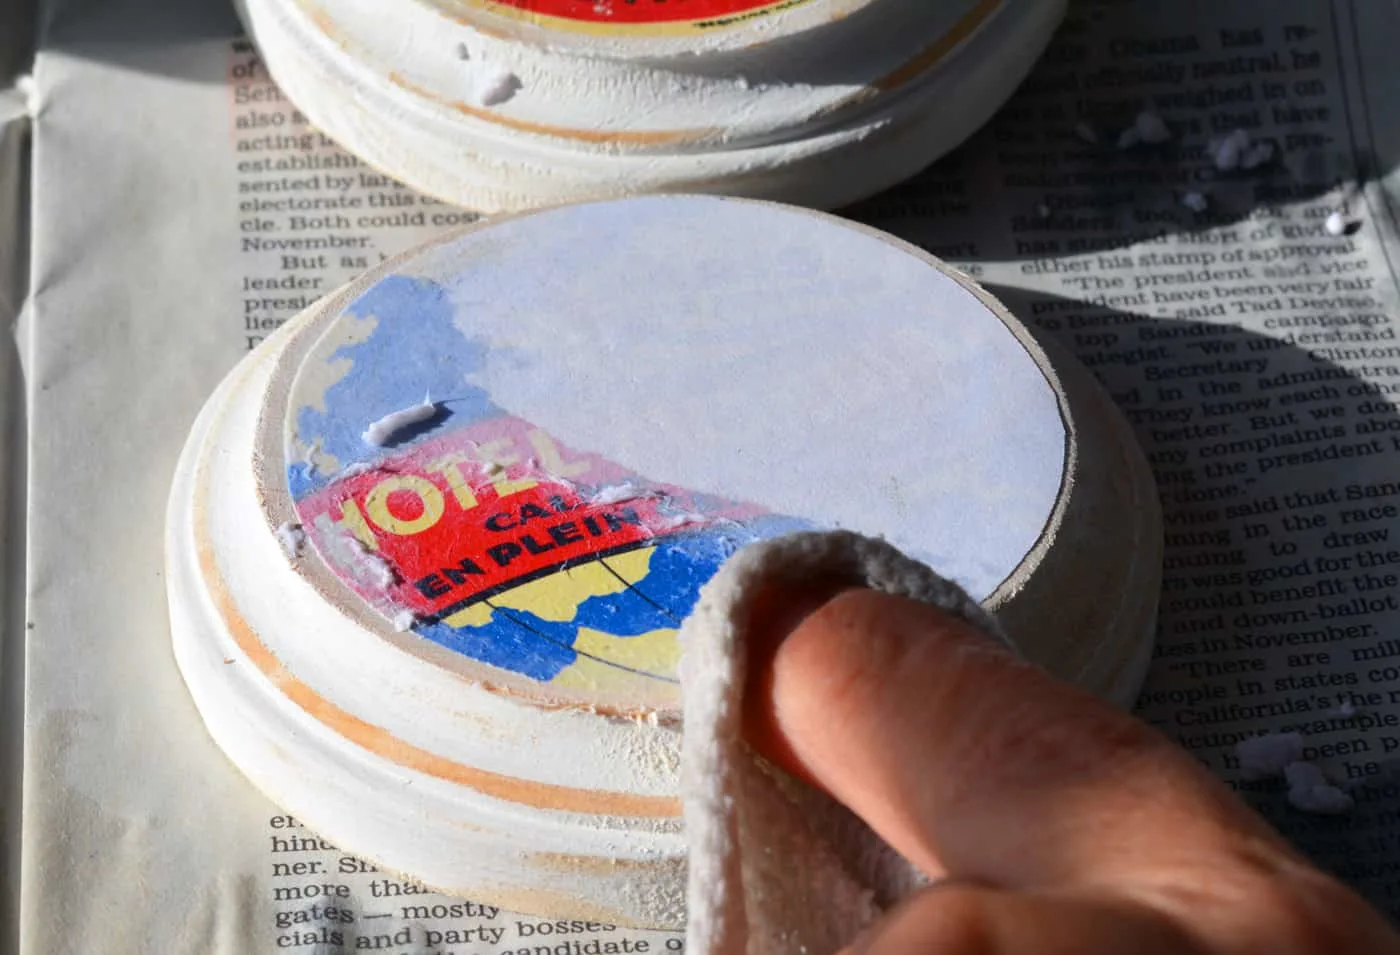
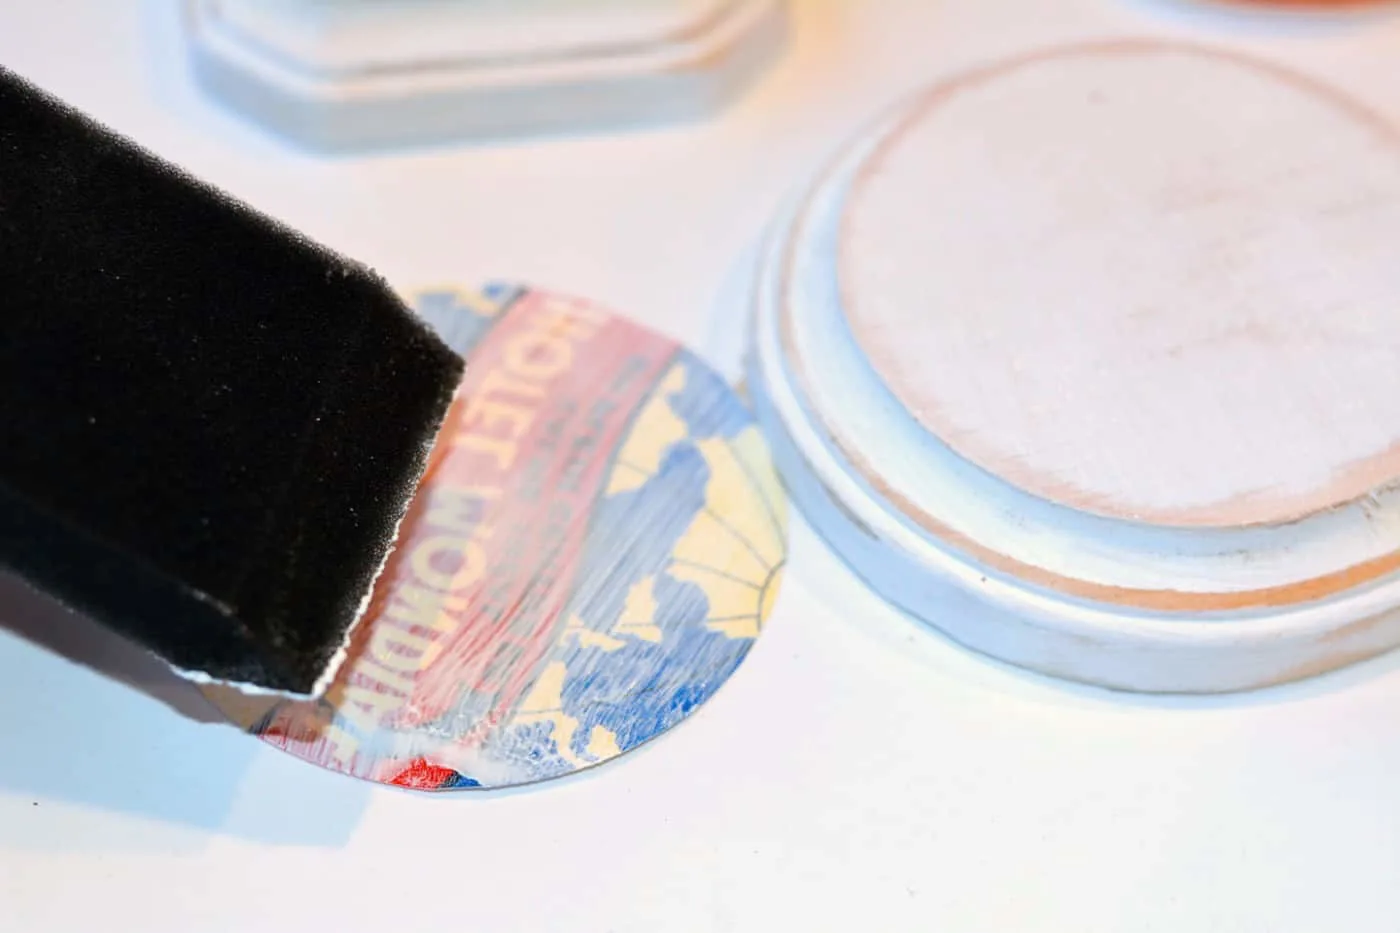
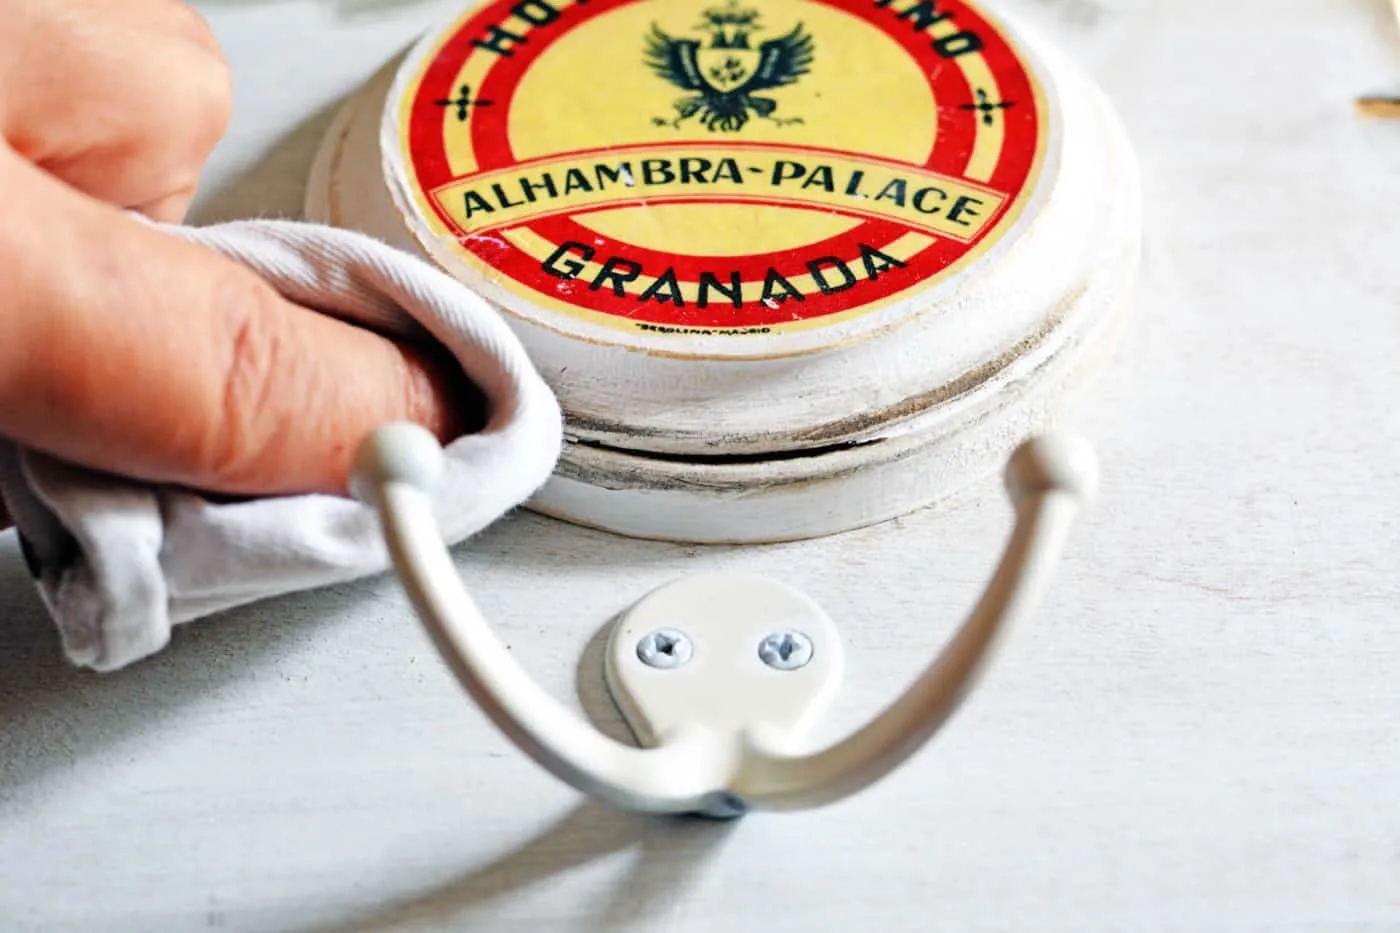
In the morning, using a wet rag I rubbed away the paper to reveal the graphics and, once they had a little time to dry, I sealed them with Matte Mod Podge just for durability.
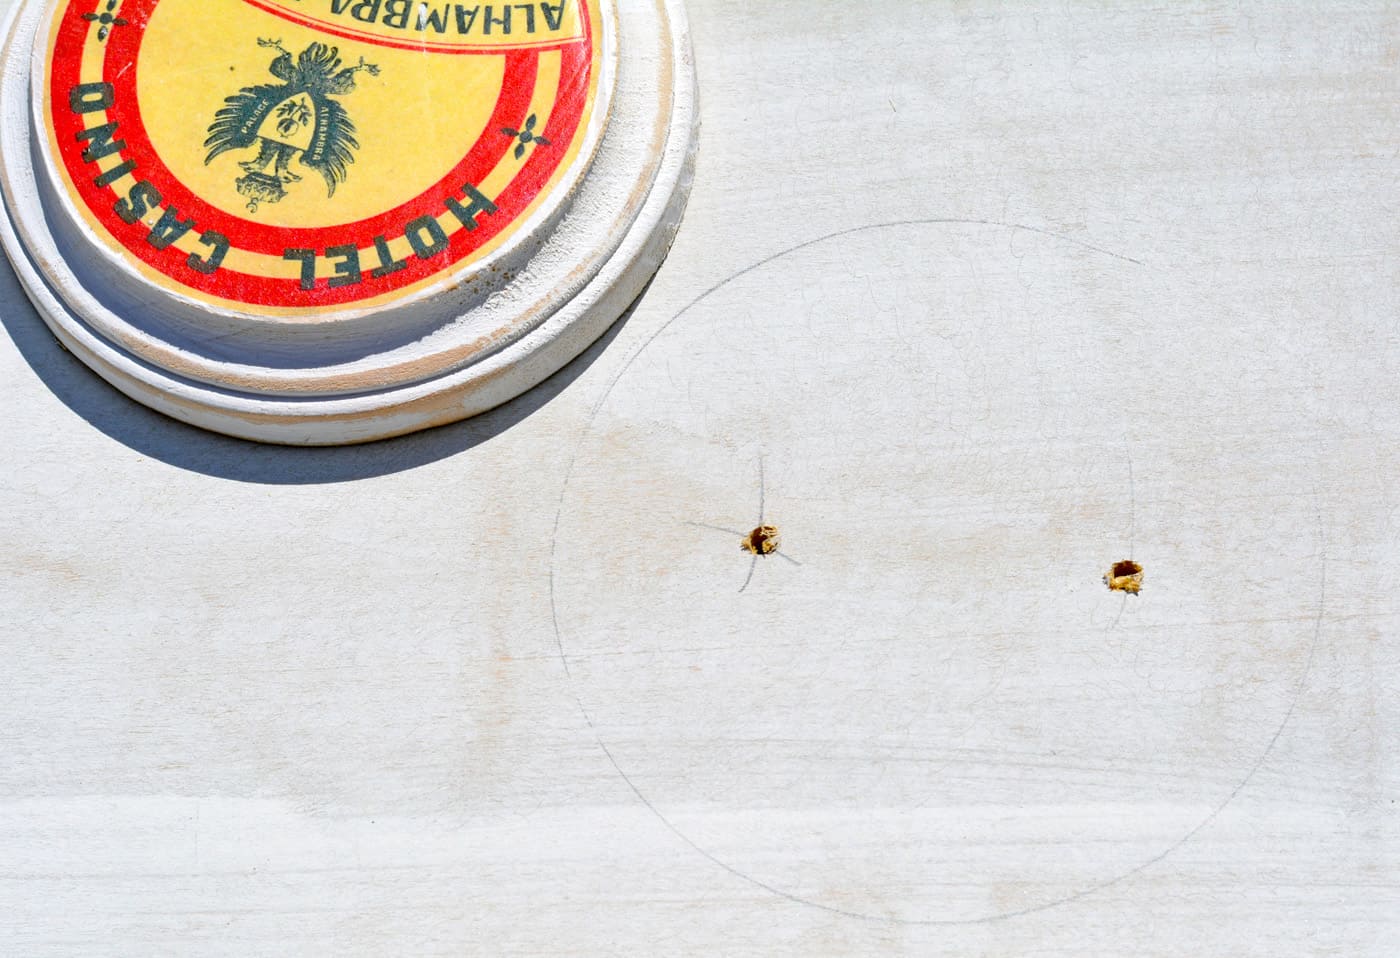
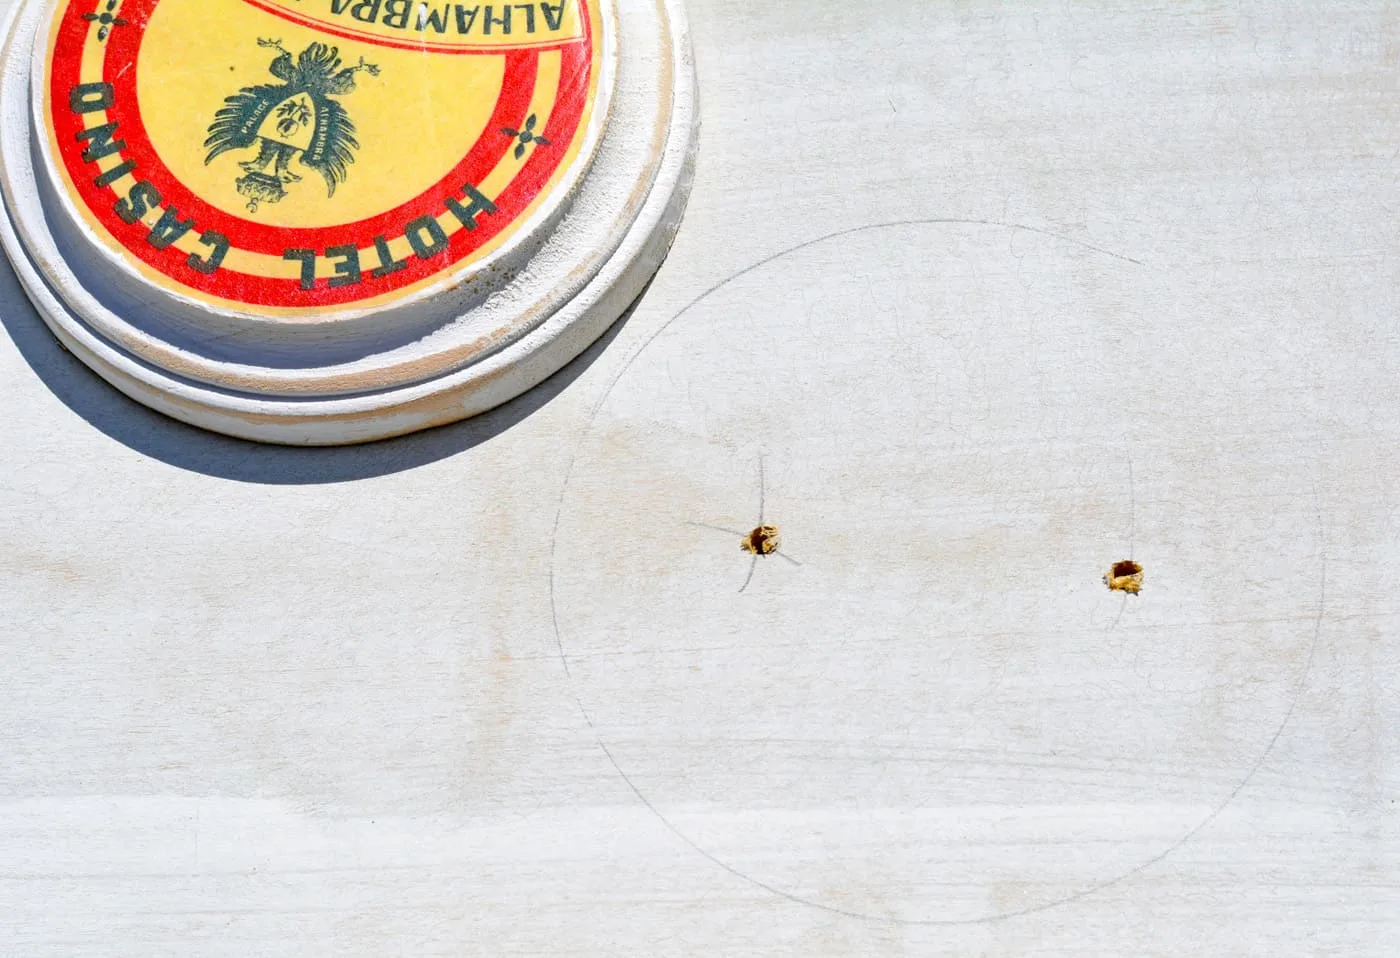
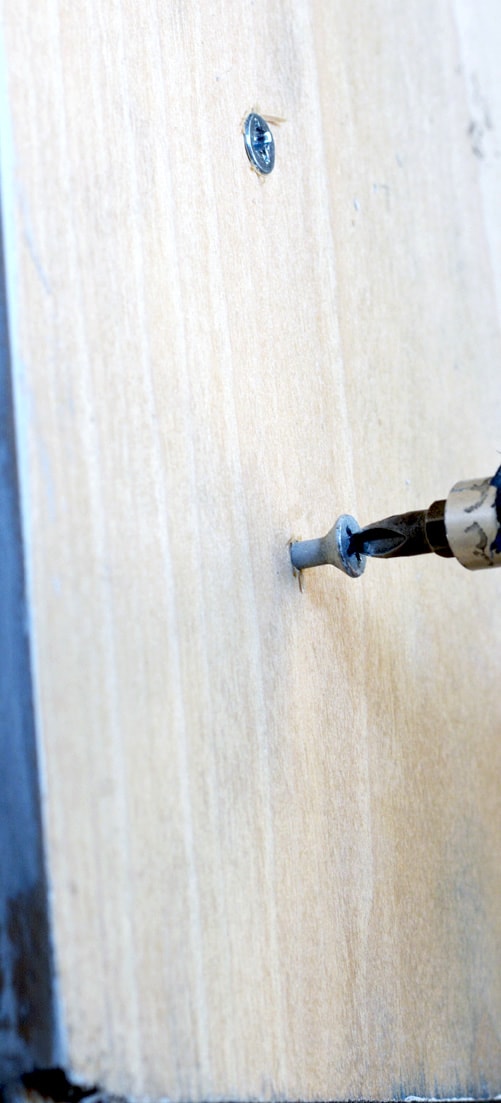
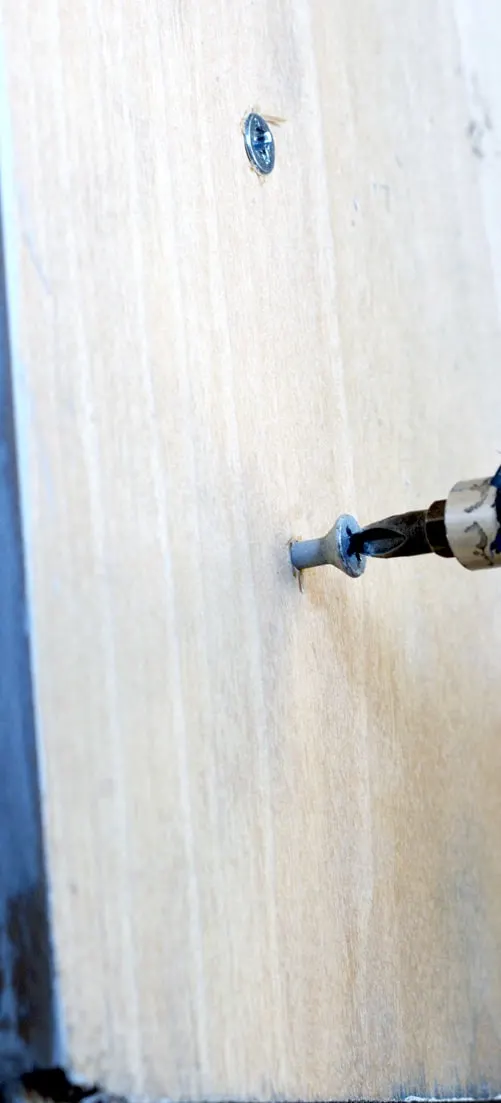
Assembly was easy. After marking where I wanted the plaques to go, I drilled pilot holes through the backer board and then, screwing from the back, attached the plaques.
I added the coat hangers (and used just a dab of paint on the screw heads so they blended better). Then I attached hangers to the back of my vintage coat rack.

At this point, I decided the whole thing needed to be just a bit more distressed. I wiped on some Antiquing Glaze (I got mine in the paint section at Lowe’s, but there are tons of options out there at craft stores).
I used it pretty sparingly – just to add some depth and age.
And that’s all there was to it.

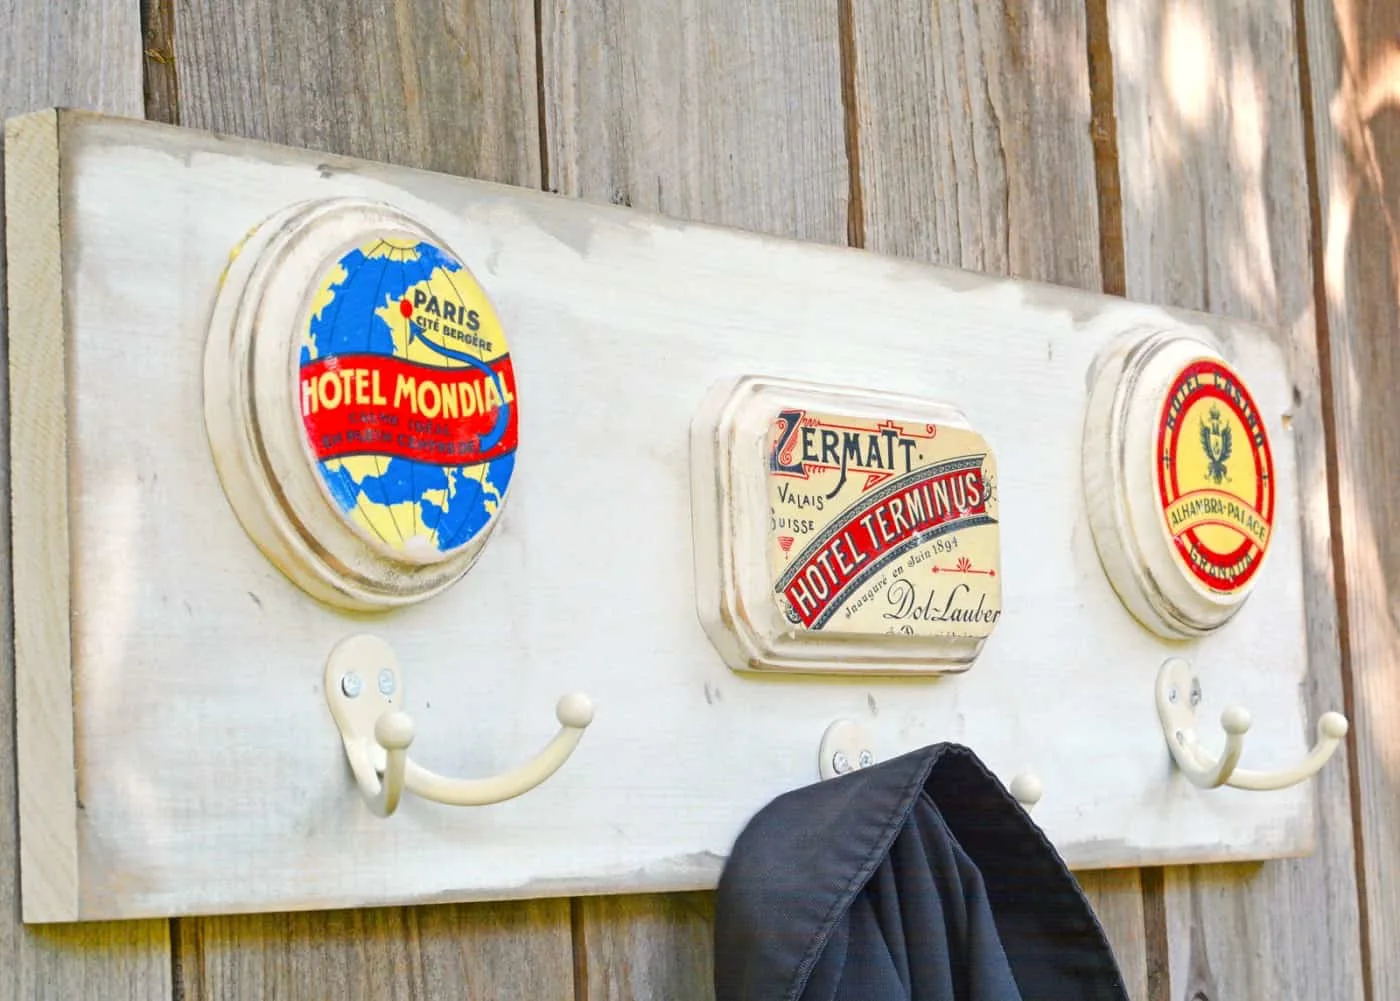
Fun, easy, wooden coat rack that makes me look like the exciting world traveler that . . . I am not.

DIY Coat Rack

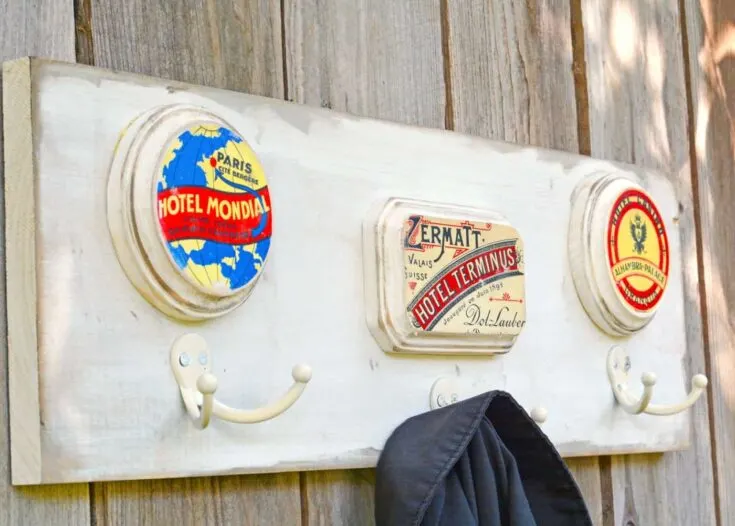
Learn how to make a DIY coat hanger with wood and plaques - looks great with all types of decor.
Materials
- 1 x 6 wood plank cut to 22"
- Wood plaques - 3 small
- Luggage tag graphics
- Mod Podge Photo Transfer Medium
- Matte Mod Podge
- White craft paint
- White spray paint (optional)
- Coat hooks with screws - 3
- Assorted screws
- Hanger for the back
- Antiquing Glaze (optional)
Tools
- Drill and drill bits
- Sandpaper and/or electric sander
- Scissors
Instructions
- Paint all of the wood elements with white acrylic paint (including the plaques) and let dry.
- Sand the edges of all of the items from step 1 using sandpaper to distress.
- Spray paint the coat hooks with white spray paint and let dry. Set aside.
- Trim the graphics to fit the plaques using scissors.
- Starting with one plaque, lay a thin coat of Mod Podge photo transfer medium down with the brush.
- Place a medium layer of photo transfer medium on the graphic and smooth onto the plaque. Wipe away any excess medium that squeezes out the side.
- Repeat with the remaining two plaques and let dry overnight.
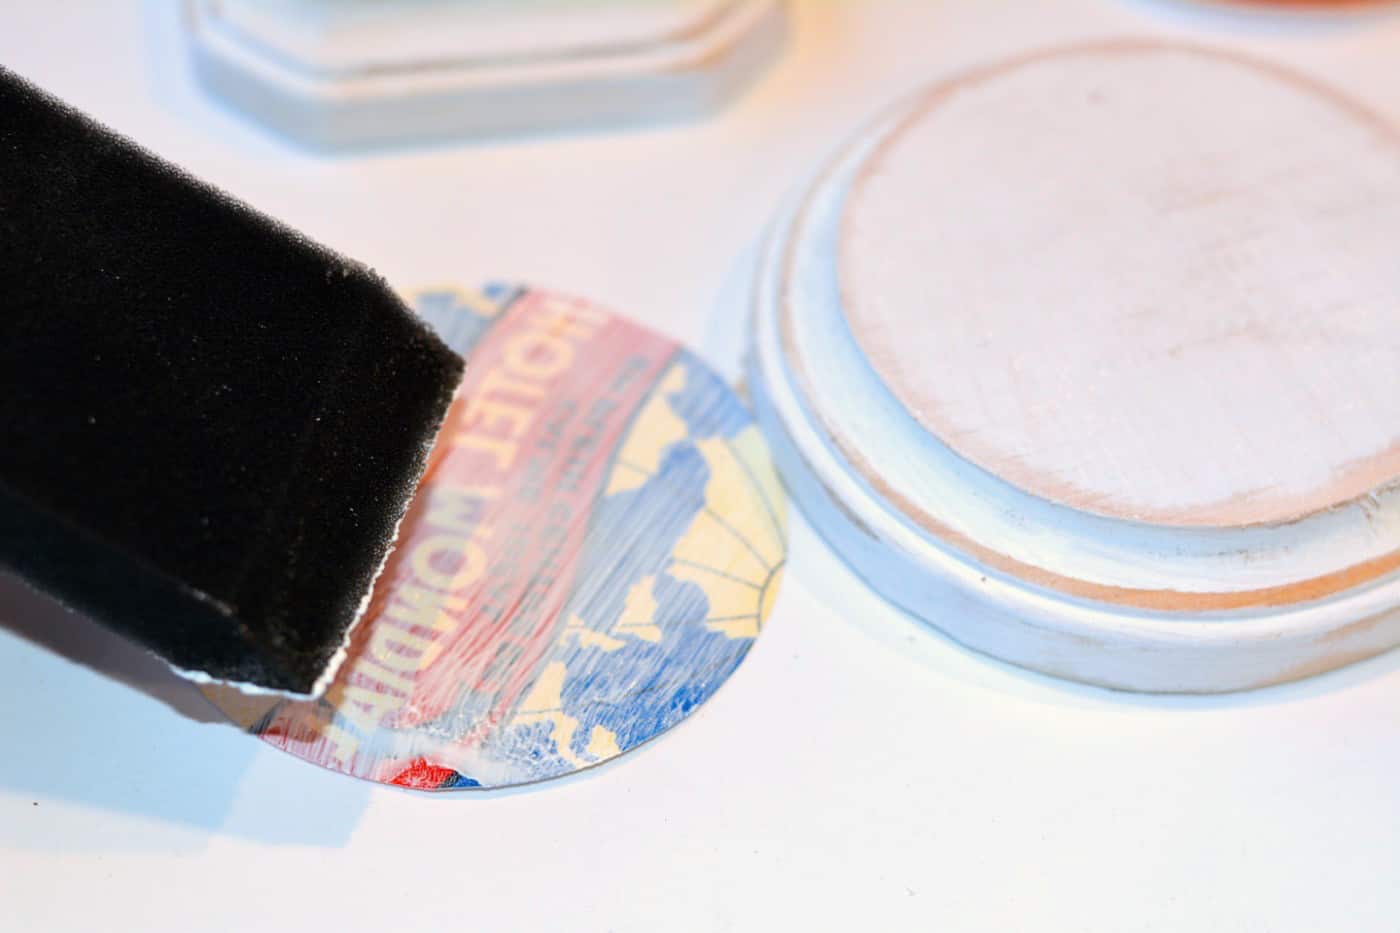
- Use a wet rag to soak and remove the paper to reveal the graphics on the plaques. Let dry and repeat until the images look clear.
- Seal the plaques with Mod Podge and let dry.
- Drill pilot holes through the backer board and then, screwing from the back, attach the plaques.
- Add the coat hooks to the front using your drill. Dab the screw heads with paint to blend.
- Attach hangers to the back of the coat rack to finish. Hang.
Notes
I used the antiquing glaze after the fact to distress the entire coat rack. This step is completely optional.
If you like this vintage themed coat rack, I’d love for you to visit these other fun posts: