Use Mod Podge and a pillowcase (yes, a pillowcase!) to decoupage a design onto a tabletop. This table revamp is really easy!


Have you ever noticed that Target has some pretty cool furniture? I really, really like their selection. I also really, really like when one of my picks ends up on clearance (I can end up being a bit of a stalker at “Tar-jay”).
That’s exactly what happened with this fun table with the neon legs. What I liked about this table, in addition to the fun neon legs, is that it was part of a set of dorm goodies that all went together.
I decided I wanted the tabletop to be a bit more special than plain white, so I actually added a few accents using a coordinating pillowcase from Target. It was really easy!
So basically, if you have a spare pillowcase and a table you need to decorate, you can do a Mod Podge tabletop yourself. Here’s how.
DIY Table Revamp
Gather These Supplies
- Table with a smooth top
- Mod Podge Fabric
- Mod Podge Hard Coat
- Pillowcase
- Scissors
- Paintbrush
- Sandpaper (optional)
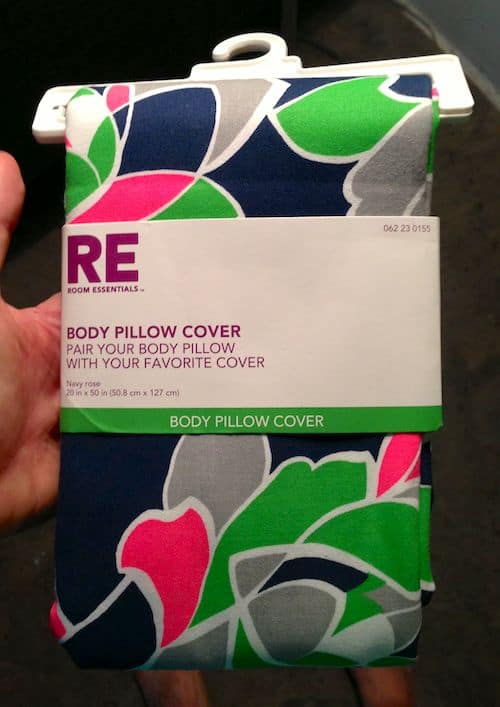

The pillowcase cover I used was this one – a body pillow cover. Do you realize how much fabric you get with this? A lot!

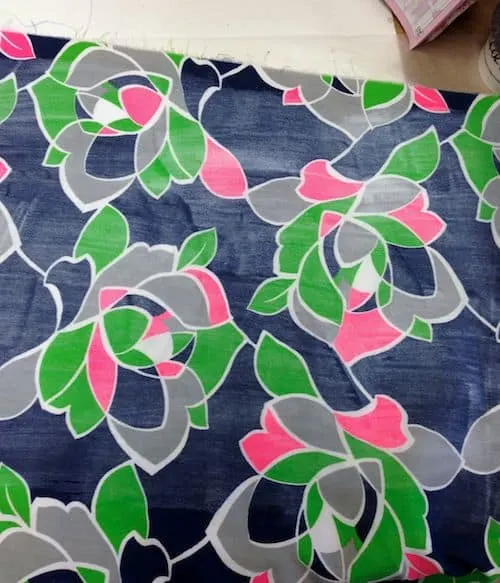
Cut the pillowcase open on one end and prepare the fabric with Mod Podge. All you do is paint a medium layer of Podge over the top and let it dry. You’re doing this to prevent fraying when you cut out the flowers.


If your tabletop is pretty smooth like mine, you might want to sand to rough it up a bit. Just a bit. You want the Mod Podge to grip well. Wipe away the excess dust with a wet cloth.

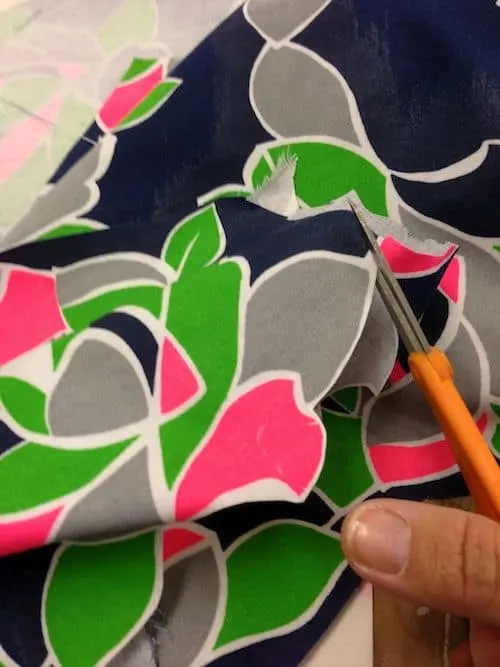
This is the fun part! Cut out your floral designs using scissors. And as I promised – no fraying!
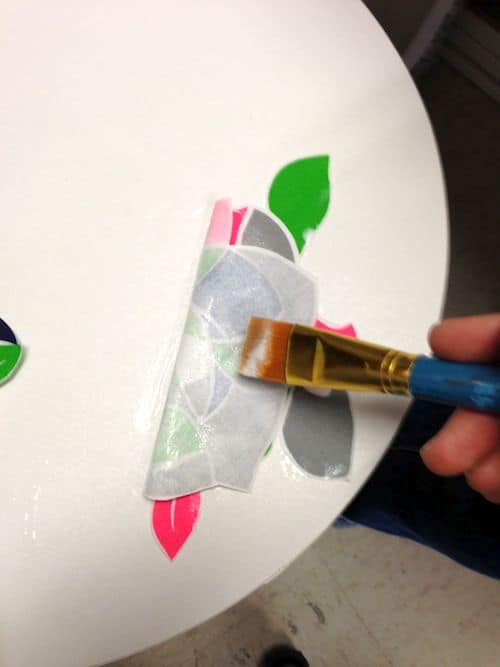

Decoupage the floral designs down to the top of the table. Place Mod Podge on the fabric decal and smooth down onto the surface of the table. Let dry. You have two options now.
You can Mod Podge over the whole table, or just over the top of the flower. It really depends on the kind of Mod Podge you use whether you will be able to see the excess around the edges.
If you can see it, you’ll probably want to decoupage the entire tabletop.
And you have yourself a new tabletop! This table revamp is just another way to customize a piece of furniture. What do you think?
If you enjoyed this project, I’d love for you to check out these other cool ideas:
Amy at Living Locurto
Wednesday 12th of March 2014
This is a great idea Amy!
Walter Silva
Friday 7th of March 2014
Love this project!
Stephanie
Thursday 6th of March 2014
I absolutely love how it turned out. Those colors are fabulous!
Izabela
Wednesday 5th of March 2014
It is very beautiful and so cheerful. Love the idea.
Creative Mind
Wednesday 5th of March 2014
How nice is this.. so cute colors :)