Make mason jar lid ornaments and add a rustic touch to your Christmas decorating! Perfect for farmhouse style and can be customized easily.
Skills Required: Beginner. It helps to have a little bit of crafting experience but not necessarily required. You’ll going to Mod Podge a mason jar lid, paint an embellishment, use an awl to punch a hole, then hang on baker’s twine. The results are so cute and easy!
I had a very funny experience not so long ago when cleaning out my craft closet. I found a lot of random objects that I totally forgot about, and amongst them: mason jar lids and rings.
Where did these lids and rings come from? Where are the jars that go with them? And more importantly, how come I don’t have an equal number of lids and rings?
The world may never know.
My craft closet is a big mystery sometimes. But when I discovered said rings and lids, my mind immediately went back to the time last year that I hosted an ornament party with Plaid (makers of Mod Podge). And one of the projects during that party? Mason jar lid ornaments!

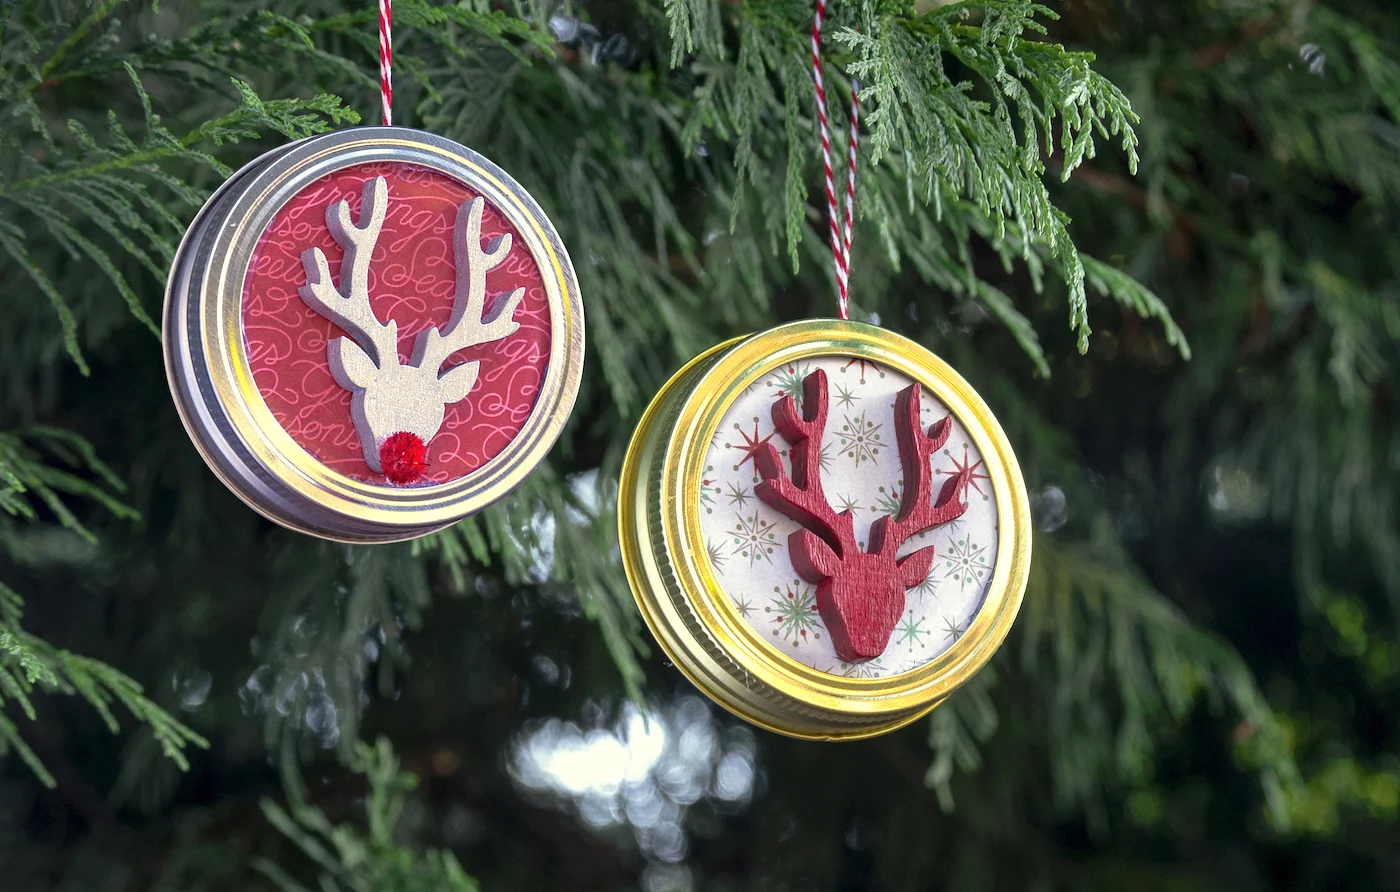
Mason Jar Lid Christmas Ornaments
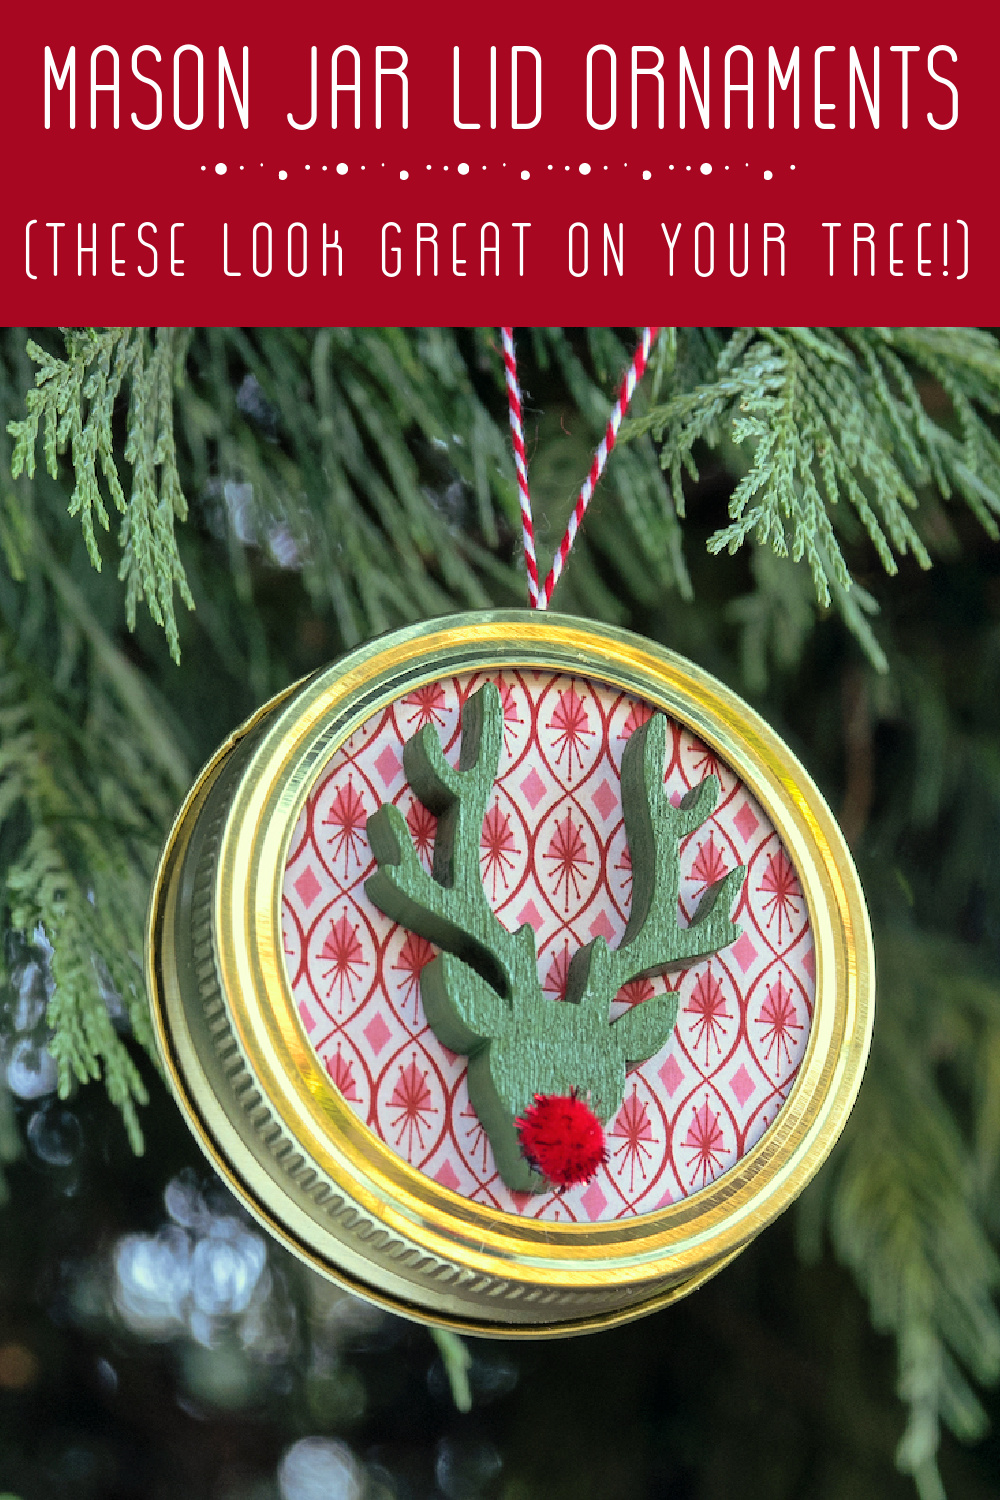
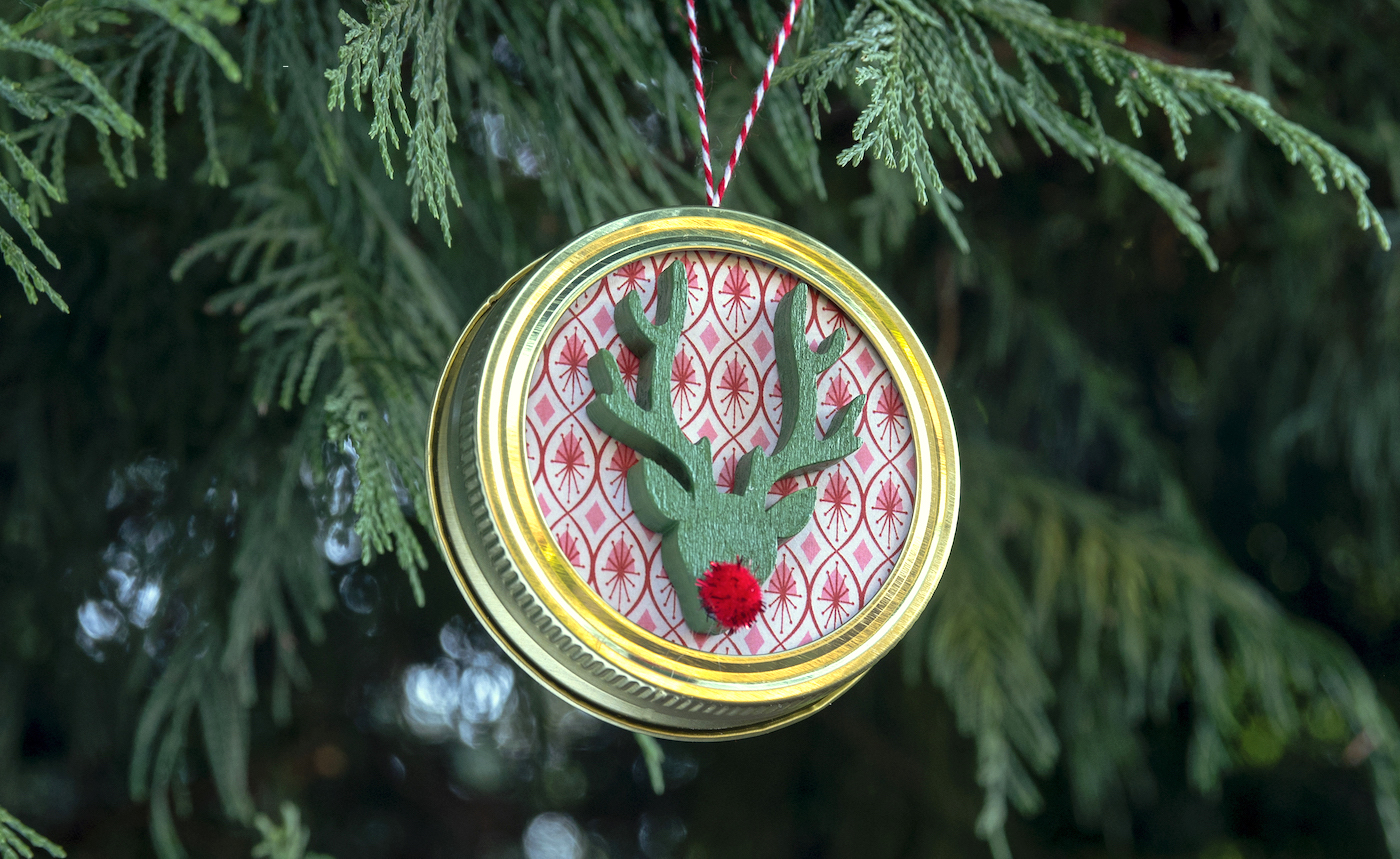
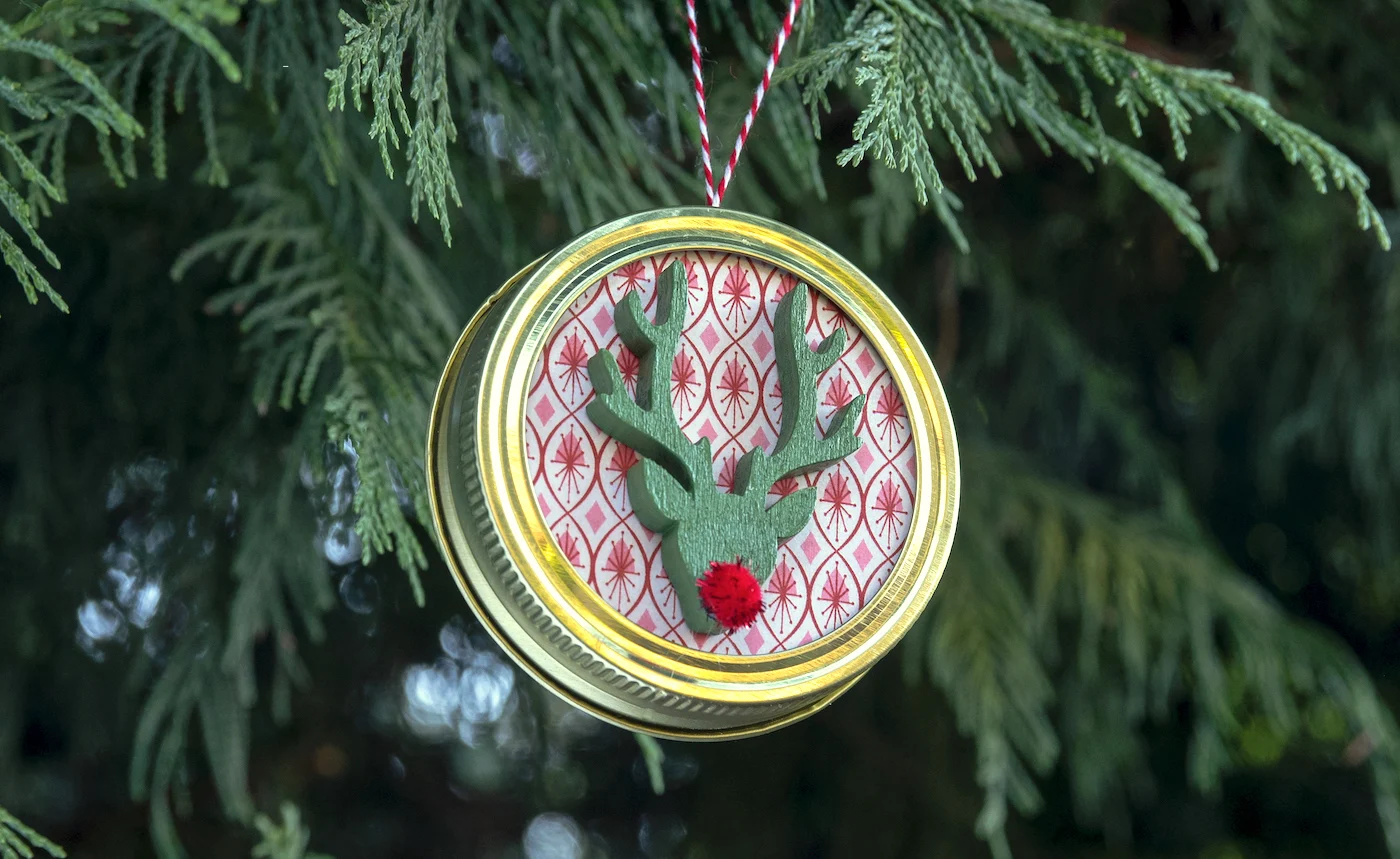
The last time I made these jar lid ornaments, I did more of a whimsical feel with bright colors. This time, I decided to make them again using a little bit more of a modern rustic or farmhouse feel. I ended up having these wood deer embellishments in my stash that I thought went perfectly.
There are four steps to making these DIY Christmas ornaments. You’re going to trace the lids and cut out the paper, Mod Podge the paper down, paint the deer and attach, create the hole and attach the hanger.
Adults will enjoy this project as well as children. Old kids can probably make these on their own. If you’re ready to learn, scroll down for the simple tutorial!
Gather These Supplies
- Mason jar lid and ring – one per ornament
- Scrapbook paper – Christmas themed
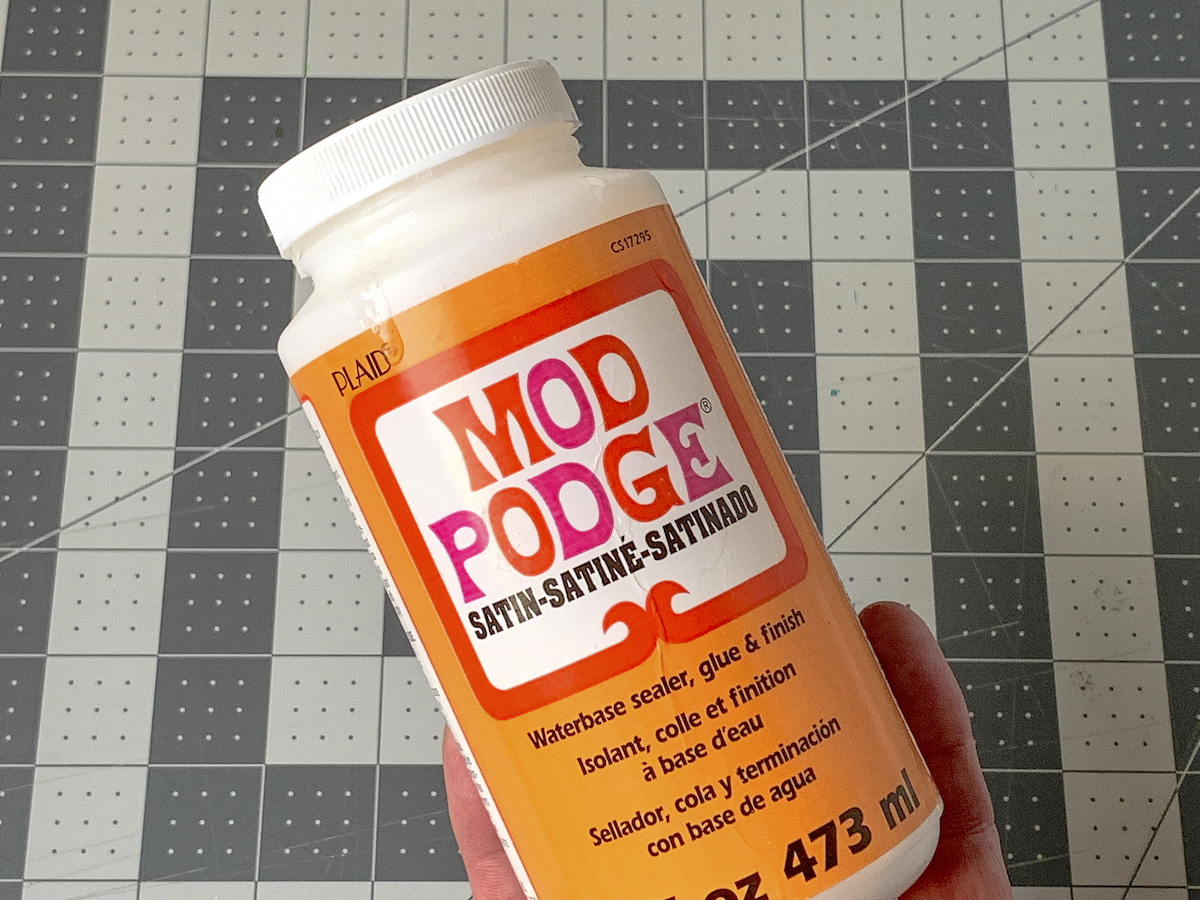
- Mod Podge Satin
- Wood deer or other embellishments
- Acrylic paint – to coordinate with your scrapbook paper
- Baker’s twine
- Pom poms
- Glue gun and hot glue sticks
- Pencil or pen
- Scissors
- Awl
- Paintbrush
Notes about this project:
- Mason jar lids and rings are sold on Amazon or separately in the craft store. I have seen them in Michaels. So yes, you can use them from mason jars, but you can also buy them.
- You can also use just the lids for your ornaments. If you don’t have the ring or want to buy just the lids (which are also sold separately), you can. In fact, you can use other type of lids too like juice lids! The resulting ornaments might be smaller, and you might have to make a hole with a drill. But don’t be afraid to get creative.
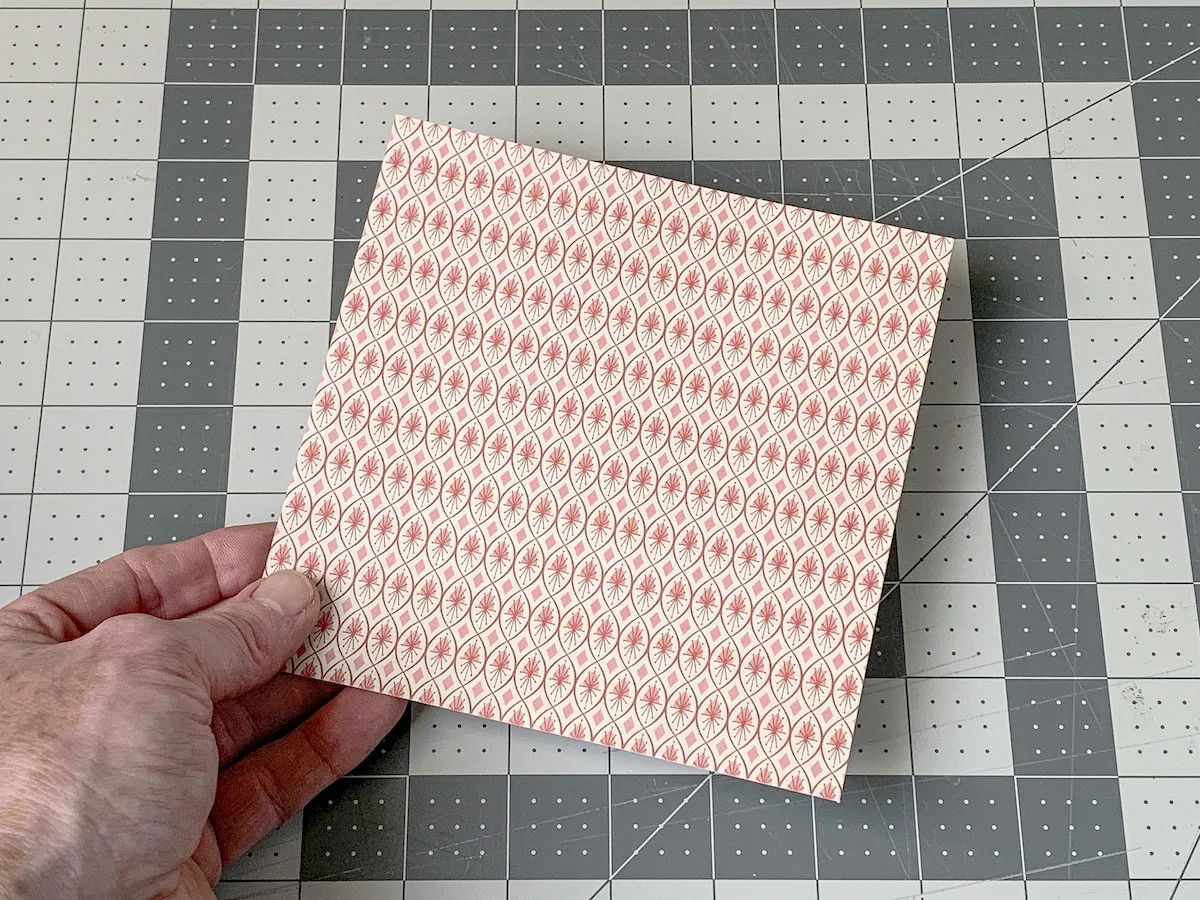
- Don’t pick a paper that is too busy. The paper just peeks out from behind your wood embellishment, so avoid big patterns or busy patterns. Simple works best, or repeating patterns like plaid, stripes, dots, etc.
- Any Mod Podge formula will work. We used Satin, but you can use Gloss or Matte – you can even use Sparkle if you’re so inclined! You can also add Sparkle to the wood embellishment.
Trace Lids and Cut Out Paper
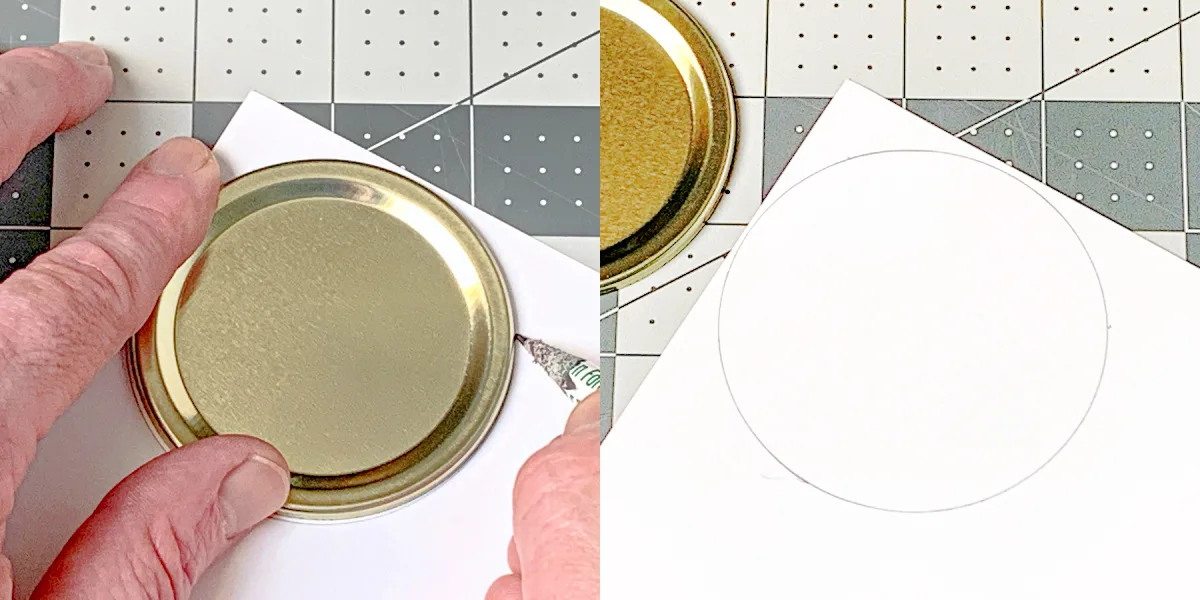
Start by removing the lid from the ring.

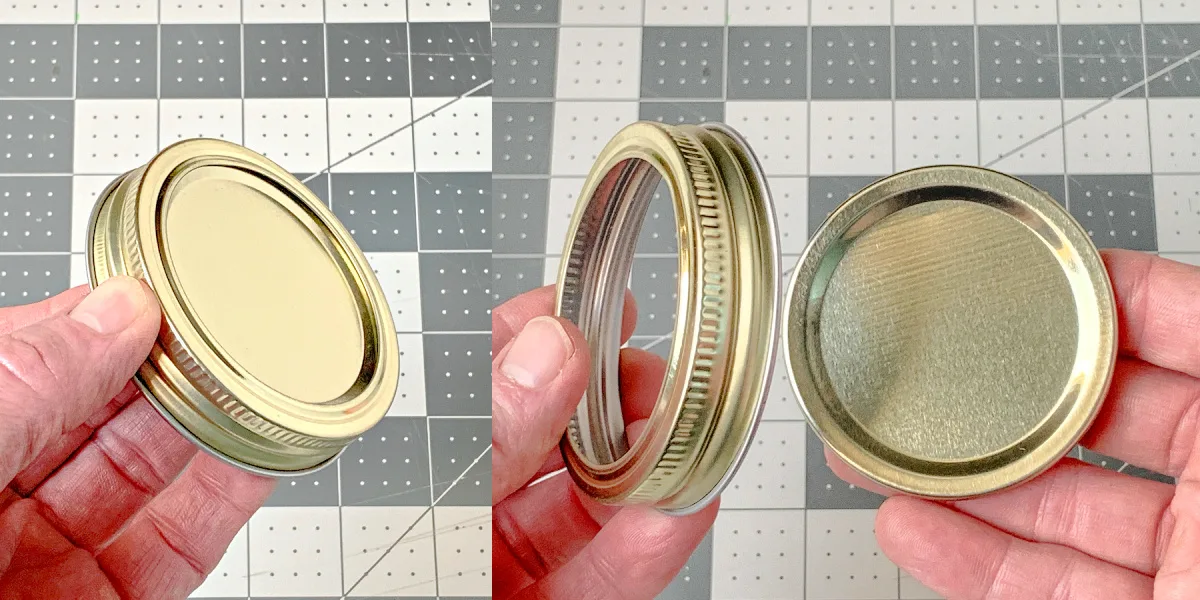
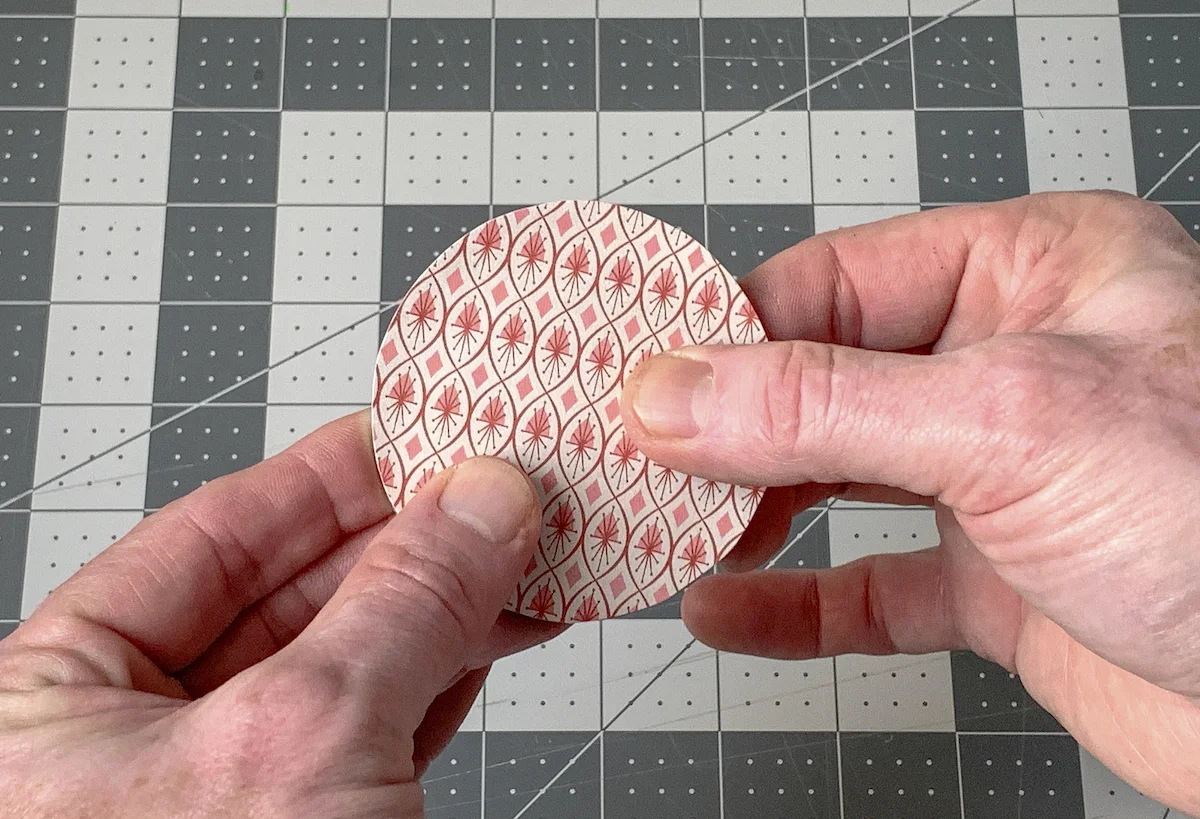
Choose your scrapbook paper and flip it over to the back.

Trace the inner lid with a pencil.

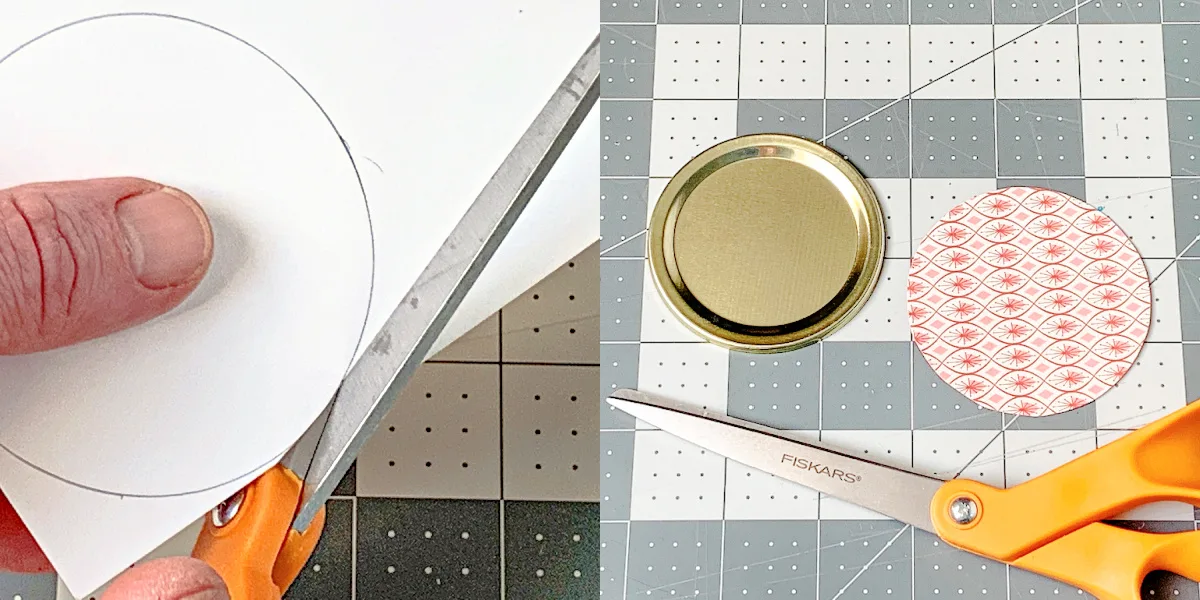
Cut out using the scissors. Trim the circle to fit the lid, making sure there isn’t too much excess paper around the edge. It will crumple when you put it into the ring.

Mod Podge Paper to the Lids
Choose your Mod Podge formula. I like Satin because it’s in between the finish of Gloss and Matte (just a little sheen). And because I have a big bottle of it!

Place a medium layer of Mod Podge onto the lid with a paintbrush.
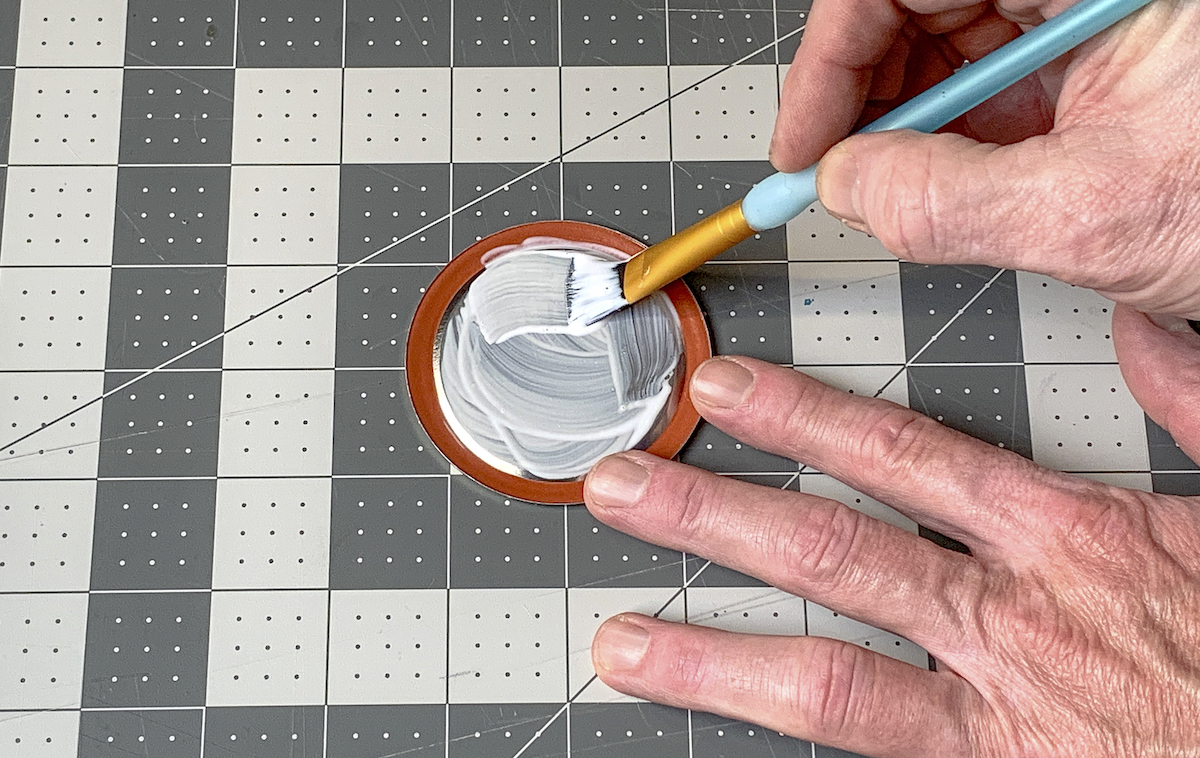
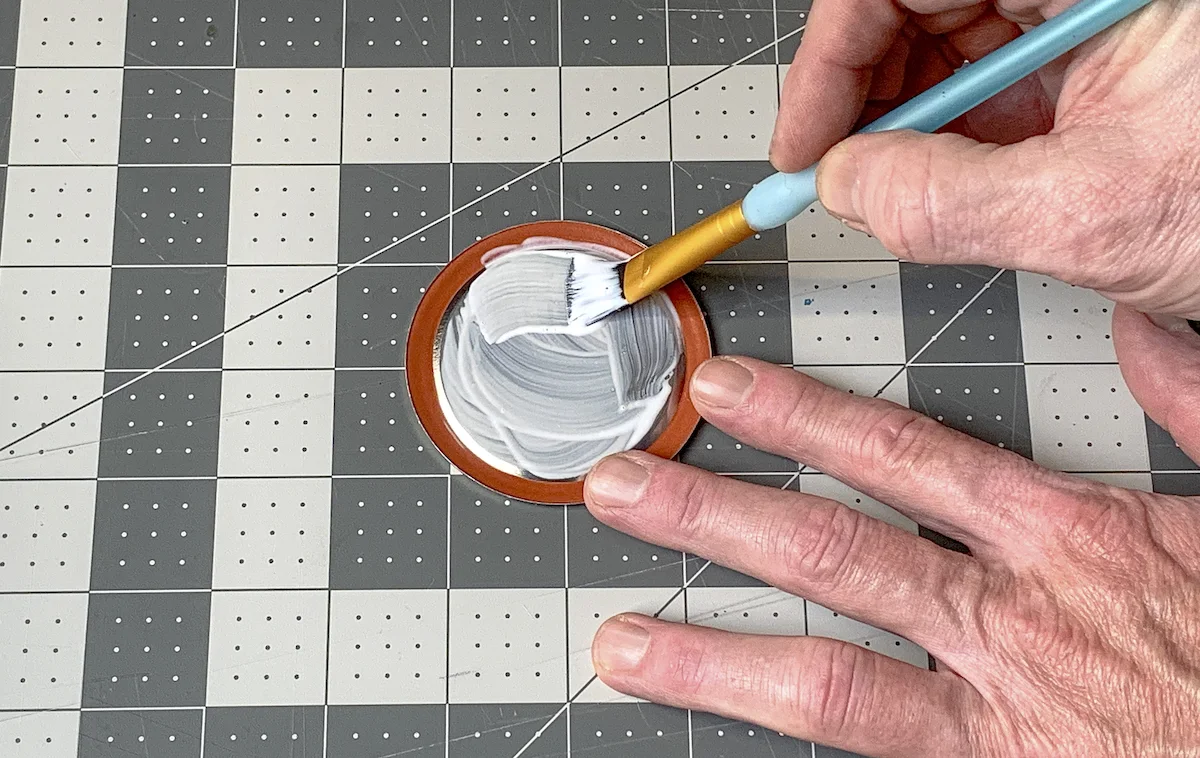
Smooth the paper down onto your mason jar lid. Let dry for 15 minutes or so.

Paint a layer of Mod Podge over the top of the paper. No, you don’t *have* to do this. Having said that, you can protect the paper with Mod Podge as well as add the sheen of your choice (or Sparkle if you are so inclined!). Let dry.


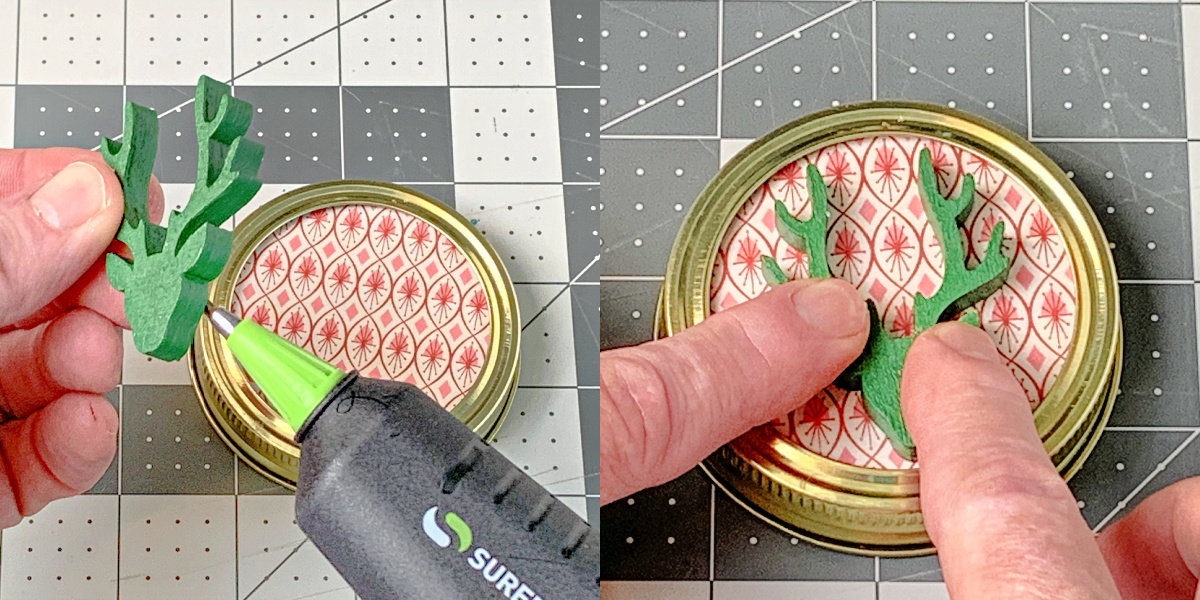
Place a line of hot glue inside the mason jar ring and place the lid down inside, holding until the glue sets.

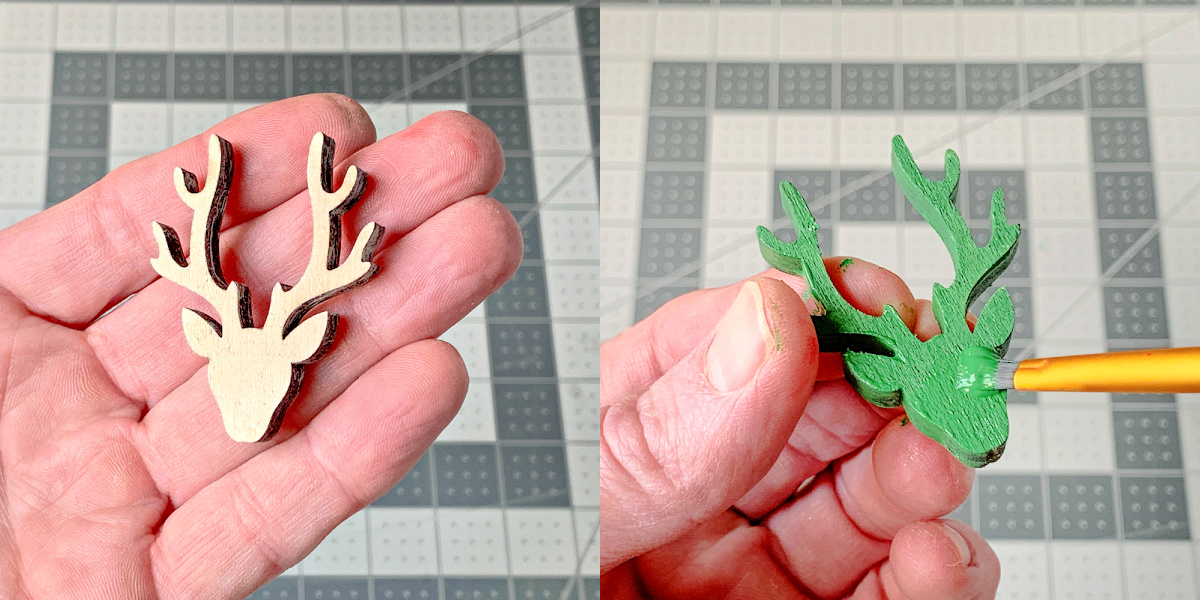
Paint and Add the Embellishment
Use an embellishment you like, small enough to fit inside the ring of your mason jar lid ornament. For me, it was some wood deer I bought at the craft store a long time ago! Paint them various colors and let dry.

Then use the hot glue to apply to the inside of the ring as shown. If you would like, add a nose with a small pom pom – so cute!

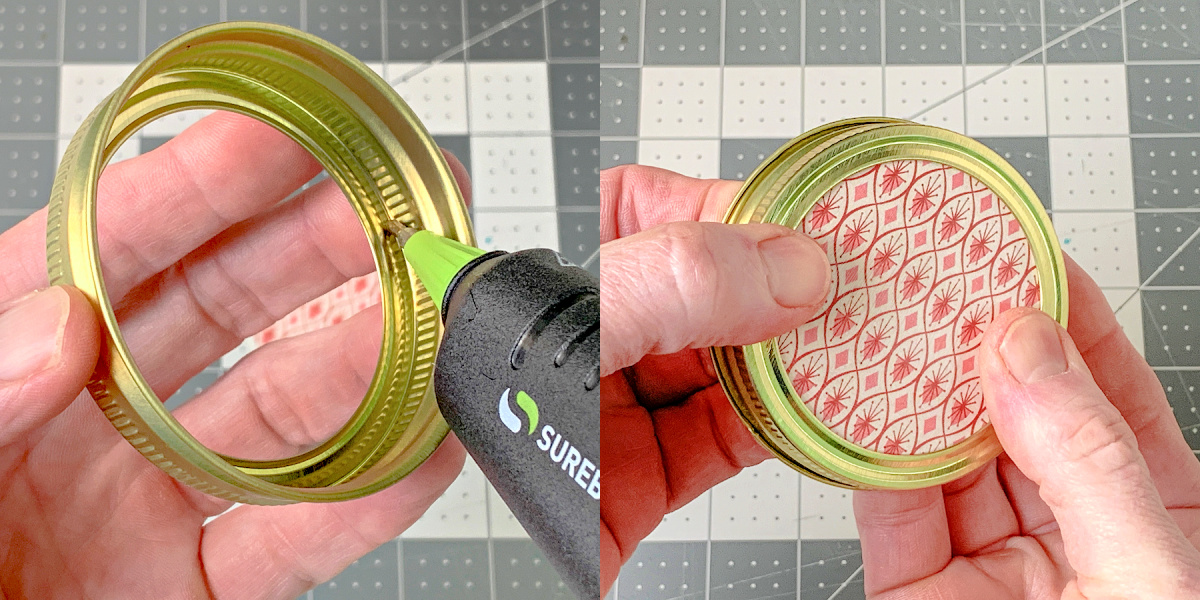
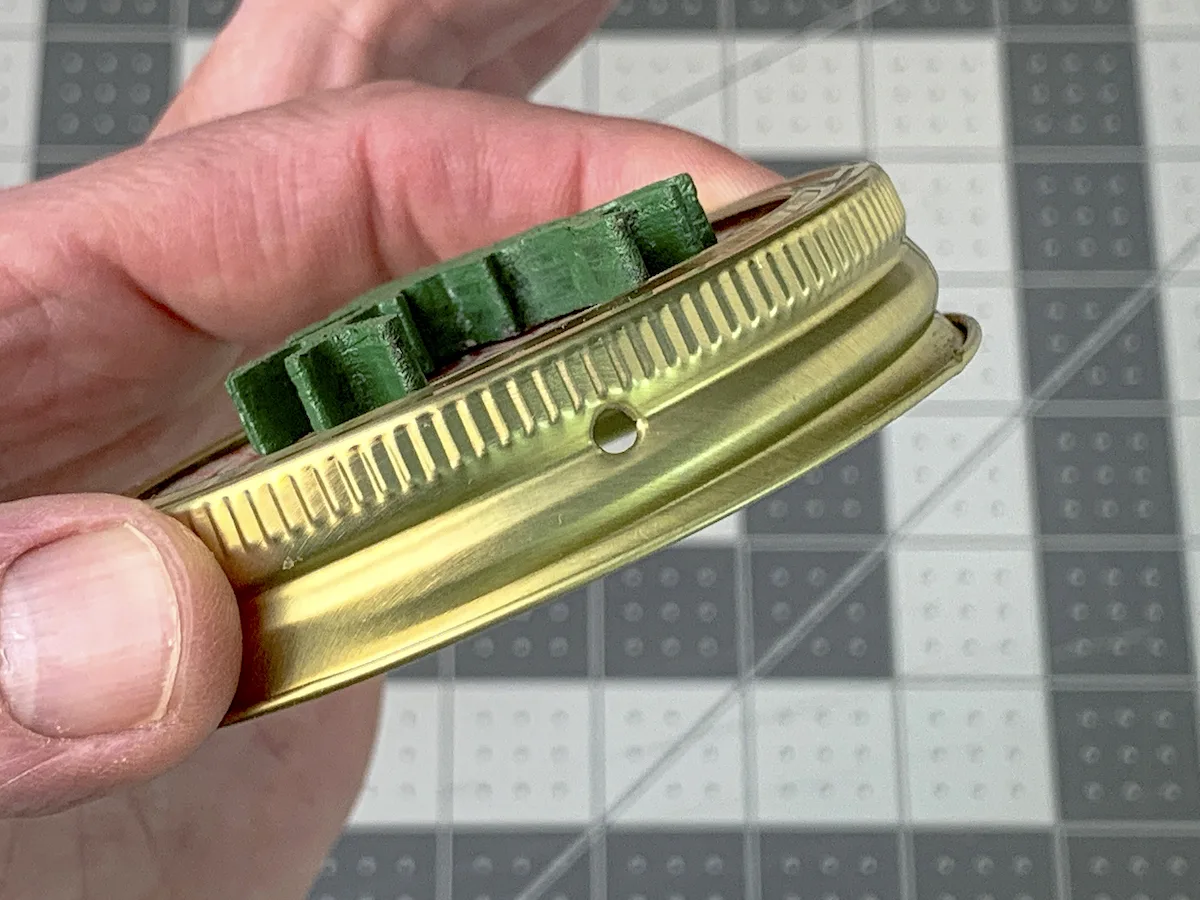
Punch the Hole and Hang
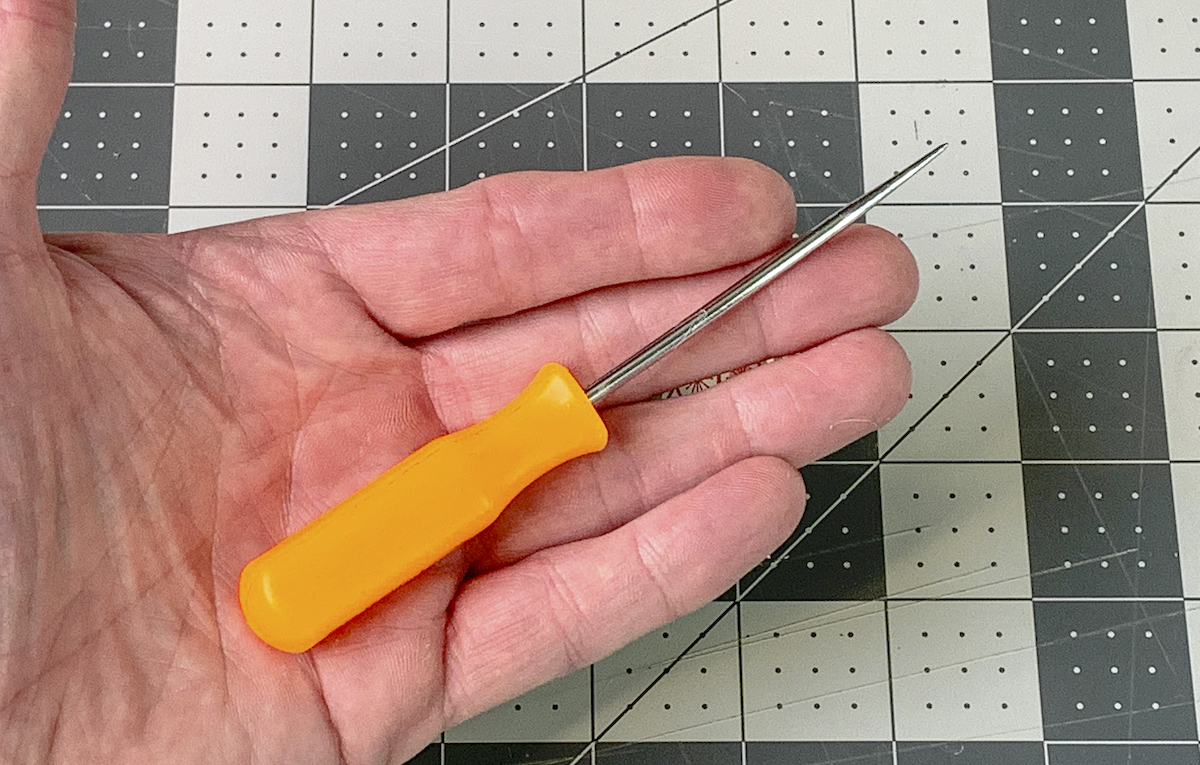
To punch a hole in the ring, I used a tool called an awl. You can see it in the picture below. There are other options, like a drill, or a nail and a hammer (lightly tap through).

Punch the awl through the top (make sure it’s actually the top!) and slowly wiggle through to make your hole. Please be careful so you don’t punch your own hand.
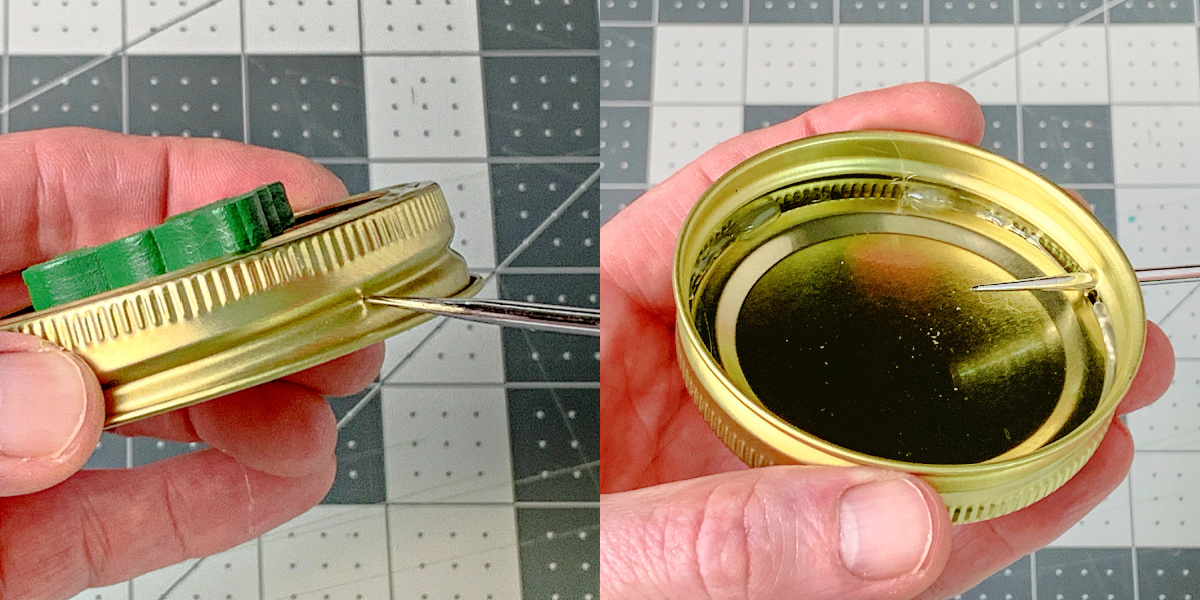

You should have a hole like this. You don’t want it to be too big because you need the twine to stay when you hang the ornament.

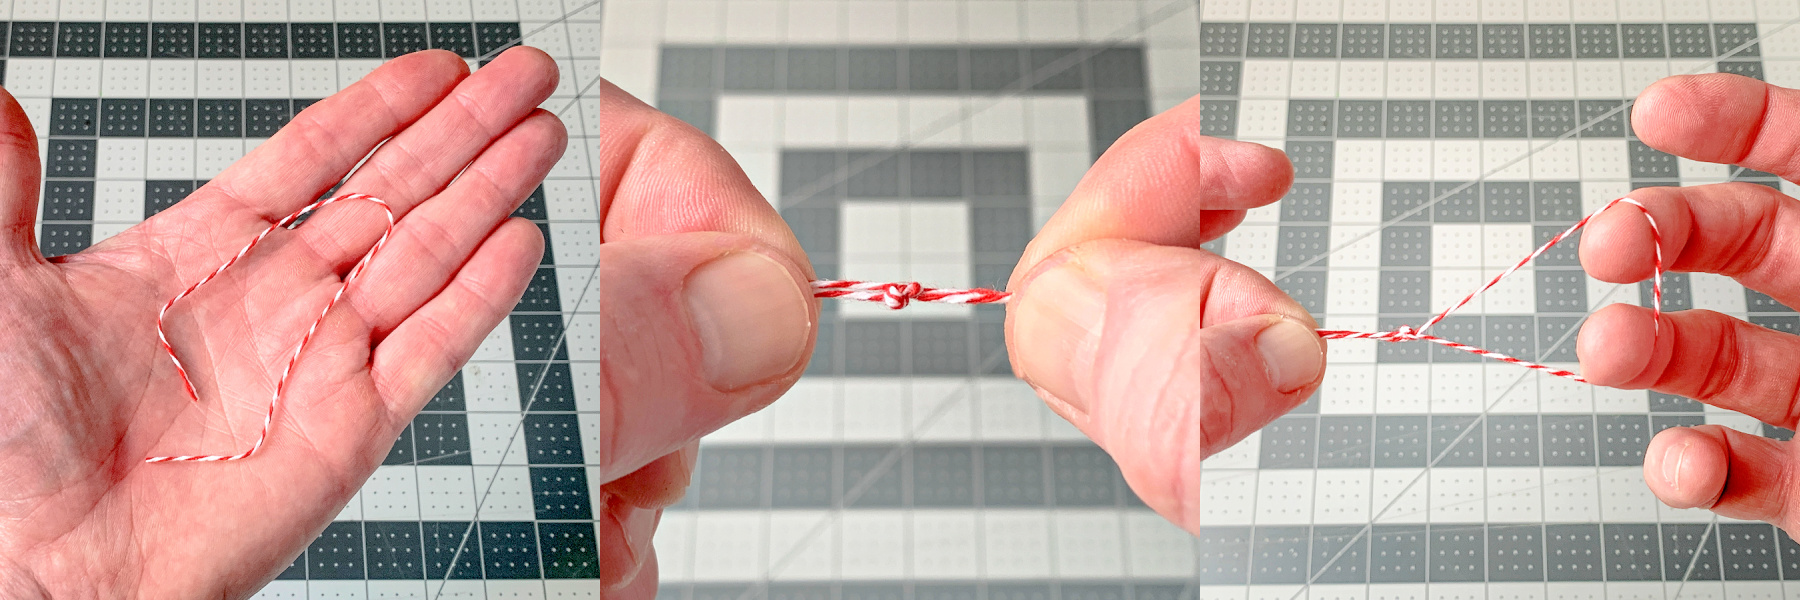
Cut a piece of baker’s twine and tie a knot at the end, making a loop. If you need to tie the knot twice to make it thicker, do that.

Pull the thread through the hole. If it doesn’t stay, secure with hot glue on the back side.
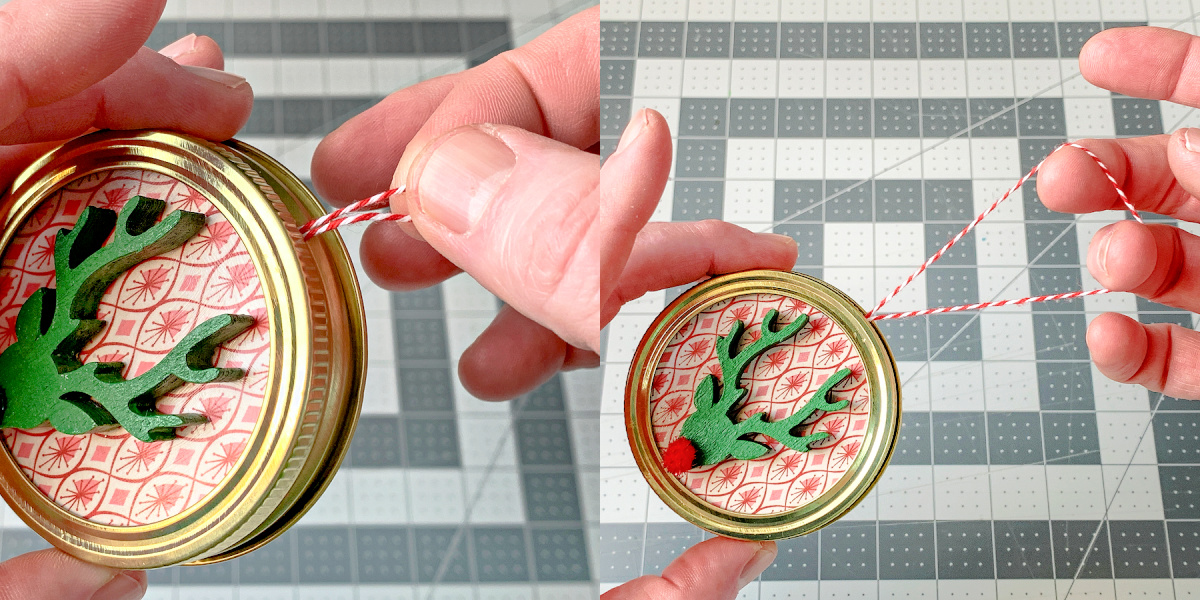
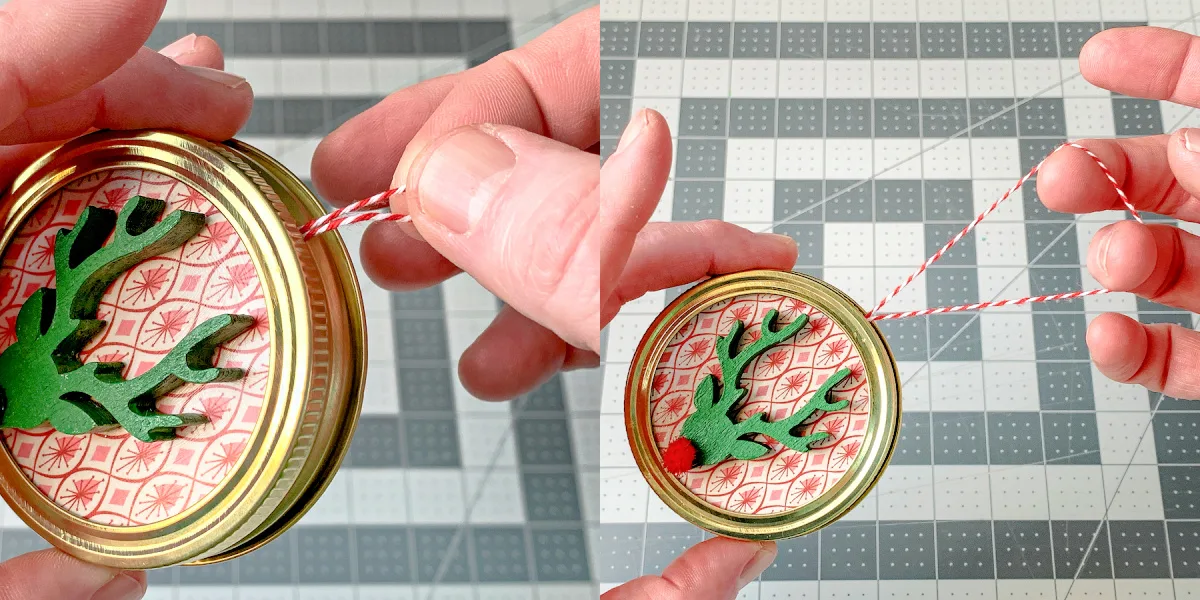
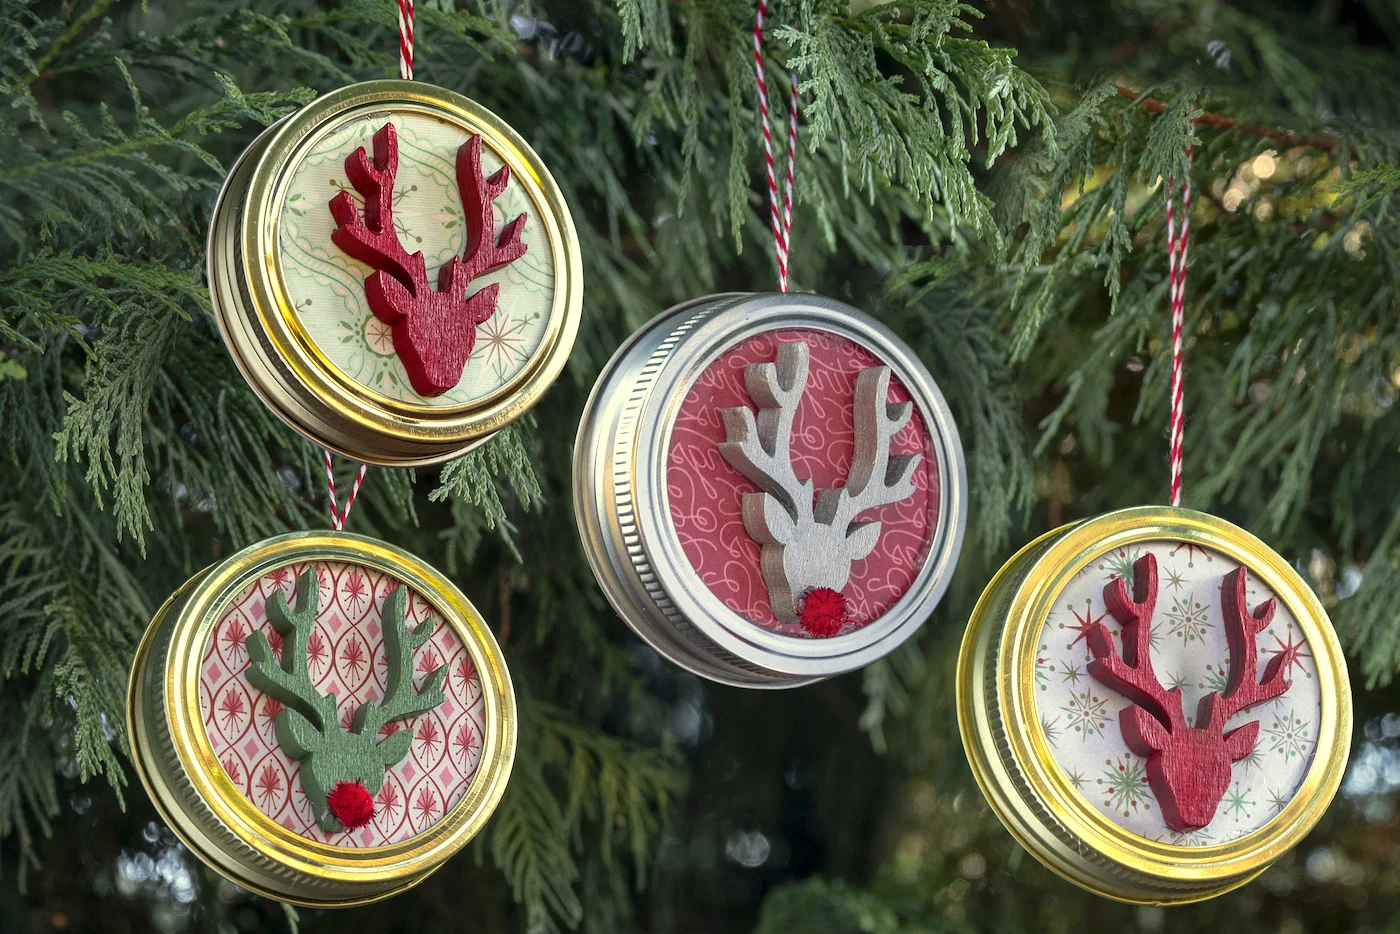
Your mason jar lid ornament is finished and ready to hang! Now make as many mason jar lid Christmas ornaments as you like. I fully encourage you to go to town as I did:

I challenge you to use different shapes, different color metal lids and rings (silver and gold for sure). Have a great time!
What do you think of my Christmas ornaments? Do you want to make some too? Let me know in the comments!
Mason Jar Lid Ornaments


Make the coolest Christmas ornaments using mason jar lids! These are perfect for rustic or farmhouse decorating.
Materials
- Mason jar lid and ring - one per ornament
- Scrapbook paper
- Mod Podge Satin
- Wood deer or other embellishments
- Acrylic paint
- Baker's twine
- Pom poms
Tools
- Glue gun and hot glue sticks
- Pencil or pen
- Scissors
- Awl
- Paintbrush
Instructions
- Remove the lid from the mason jar ring and place on a piece of Christmas scrapbook paper. Trace and cut out with scissors.
- Place a layer of Mod Podge on the back of the lid. Smooth the circle of paper down. and let dry for 15 minutes.
- Mod Podge over the top to seal and let dry.
- Place the lid back into the mason jar ring, adding a line of hot glue around the inside of the ring to secure.
- Paint a wood embellishment with acrylic paint. Let dry. Attach to the front of the ornament with hot glue.
- Punch a hole in the top of the mason jar ring using an awl. This will be the hole for your hanger.
- Cut a piece of baker's twine. Loop and tie into a knot(s) at the bottom. Thread through the hole to make a hanger.
- Add any other embellishments like a pom pom nose. Hang on the tree!
If you enjoyed these mason jar lid ornaments, I’d love for you to check out these other projects:
Janet
Monday 29th of November 2021
Very cute and even young children can do it with a little help with the string hole and cutting the paper. Very clever craft!
Amy
Monday 29th of November 2021
Thank you so much!
KRISTIN L HOWARD
Saturday 27th of November 2021
We made these years ago with craft paint and FREE metal tops we saved from frozen juice containers and a drop of hot glue for the ribbon on top. We also glued family pictures into them and added magnets to stick to the refrigerator. My kids were 3 & 4 and handled all of it but the cutting themselves. They are still hanging on our family's trees & fridges!
Amy
Monday 29th of November 2021
Oh awesome! I love that :)
Cathie Lederle
Thursday 25th of November 2021
Where do you get the reindeer heads for the mason jar lids?
Amy
Thursday 25th of November 2021
I got them at Craft Warehouse here in Washington state; having said that you might be able to find similar on Amazon: https://amzn.to/3DSFKIk I think at the craft store you could definitely find wood shapes you liked to substitute, especially at Hobby Lobby.
Deirdre Henry
Wednesday 24th of November 2021
These are lovely. You have some very clever ideas. The instructions couldn't be clearer. Thank you.
Angela J Short
Wednesday 24th of November 2021
Great ornaments! 🌻🧵📚