Learn how to make a DIY floor cloth using linoleum and your favorite fabrics. A perfectly unique alternative to a standard rug!
Skills Required: Beginner. Even newbie crafters can do this project. Lots of cutting and Mod Podging, but it’s pretty easy.

I cannot believe that it’s taken me a year to post this Mod Podge floor cloth – but it’s the truth! Here’s what happened . . . reader Georgia e-mailed me about her awesome floor cloths last August, and I loved her style so much that I asked her to make me one.
And because I always think about home decor tutorials for you guys, I also asked her to photograph the process. Georgia, being the completely wonderful and willing participant that she is, did just that.
She captured the process of this fabric craft, AND sent me the floor cloth.
DIY Vinyl Floor Cloth
So what took so long to get the floor cloth posted on the blog? Well, I moved into my studio last year and brought the floor cloth along for the ride . . . I packed everything into a second room in the studio and it took me THIS long to go through everything and photograph the floor cloth.
Yep, it was stuck in the back and I couldn’t find it. But now I’m proud to say it’s been out and displayed for several months, and I’ve gotten lots of compliments from guests who have visited and noticed it!
All I need now is Georgia’s forgiveness for taking so long. I am excited to share her beautiful work and hope you can appreciate it too. Here’s how she did it.
Gather These Supplies
- Linoleum
- Fabric in three patterns – enough to cover the linoleum
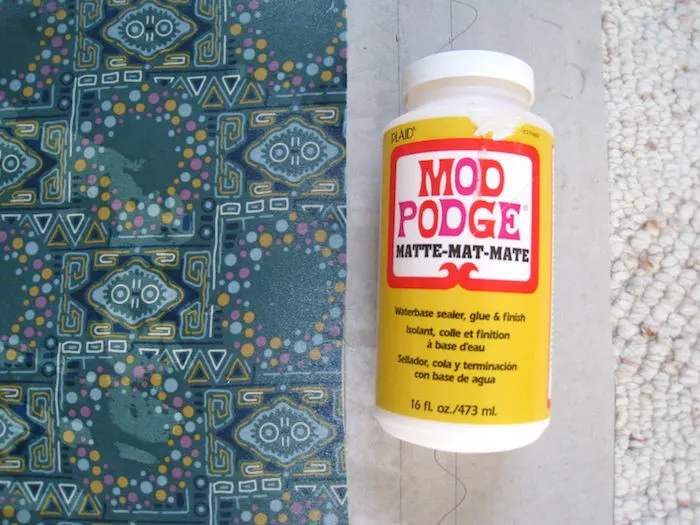
- Mod Podge Matte
- Minwax Polycrylic
- Scissors
- Pencil
- Ruler
- Paintbrush or foam brush
- Box cutter
- Rotary cutter (optional)
- Cutting mat (optional)
Notes about this project:
- Typical kitchen rugs are 2′ x 3′ or 4′ x 6′ – but you can make this any size you like. There are no limits, so make it work for your space. This one is 2′ x 3′.
- This is regular, standard issue linoleum used in this project. The kind that covers a kitchen floor. You’re going to use the back of it. Turns out the top is perfect for putting on the floor, while the back is perfect for decoupage!
- Several people have asked if a piece of canvas would work and the answer is – yes! Thick canvas is very similar to linoleum. At least, it’s similar enough and is a fine substitute in this project.
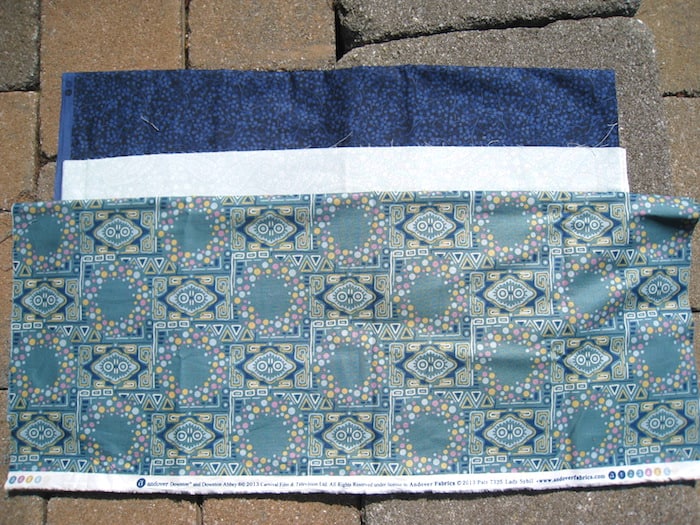
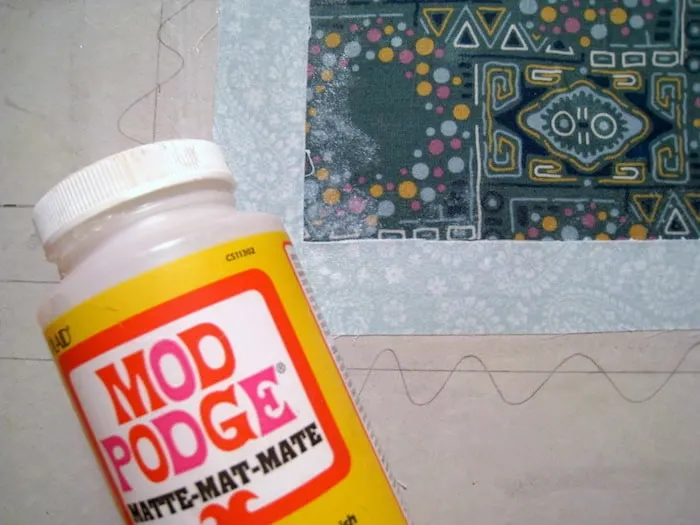
- Typically you’ll use three patterns of fabric that work together. I told Georgia that I love blues, so she was kind enough to pick some beautiful fabrics that I would love!
- The design you make on the vinyl is up to you. Stripes seem to work quite well.
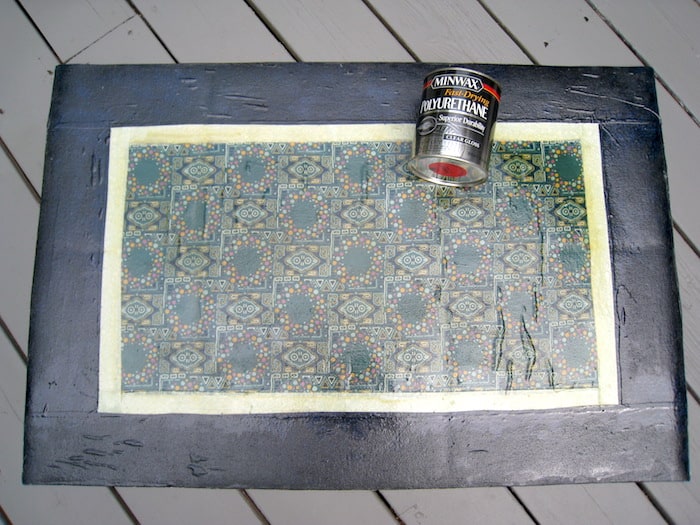
- Using the polyurethane method in this project will allow the floor cloth to be impervious to wet, muddy shoes for years (another tip from Georgia).
- After your final fabric is decoupaged (before the poly) you can also get a little creative and paint some little designs just to make things a little bit more fun! Some crafters like to add little painted accents like flowers, scrollwork, etc. You can paint right on top of the Mod Podge and then poly over it.


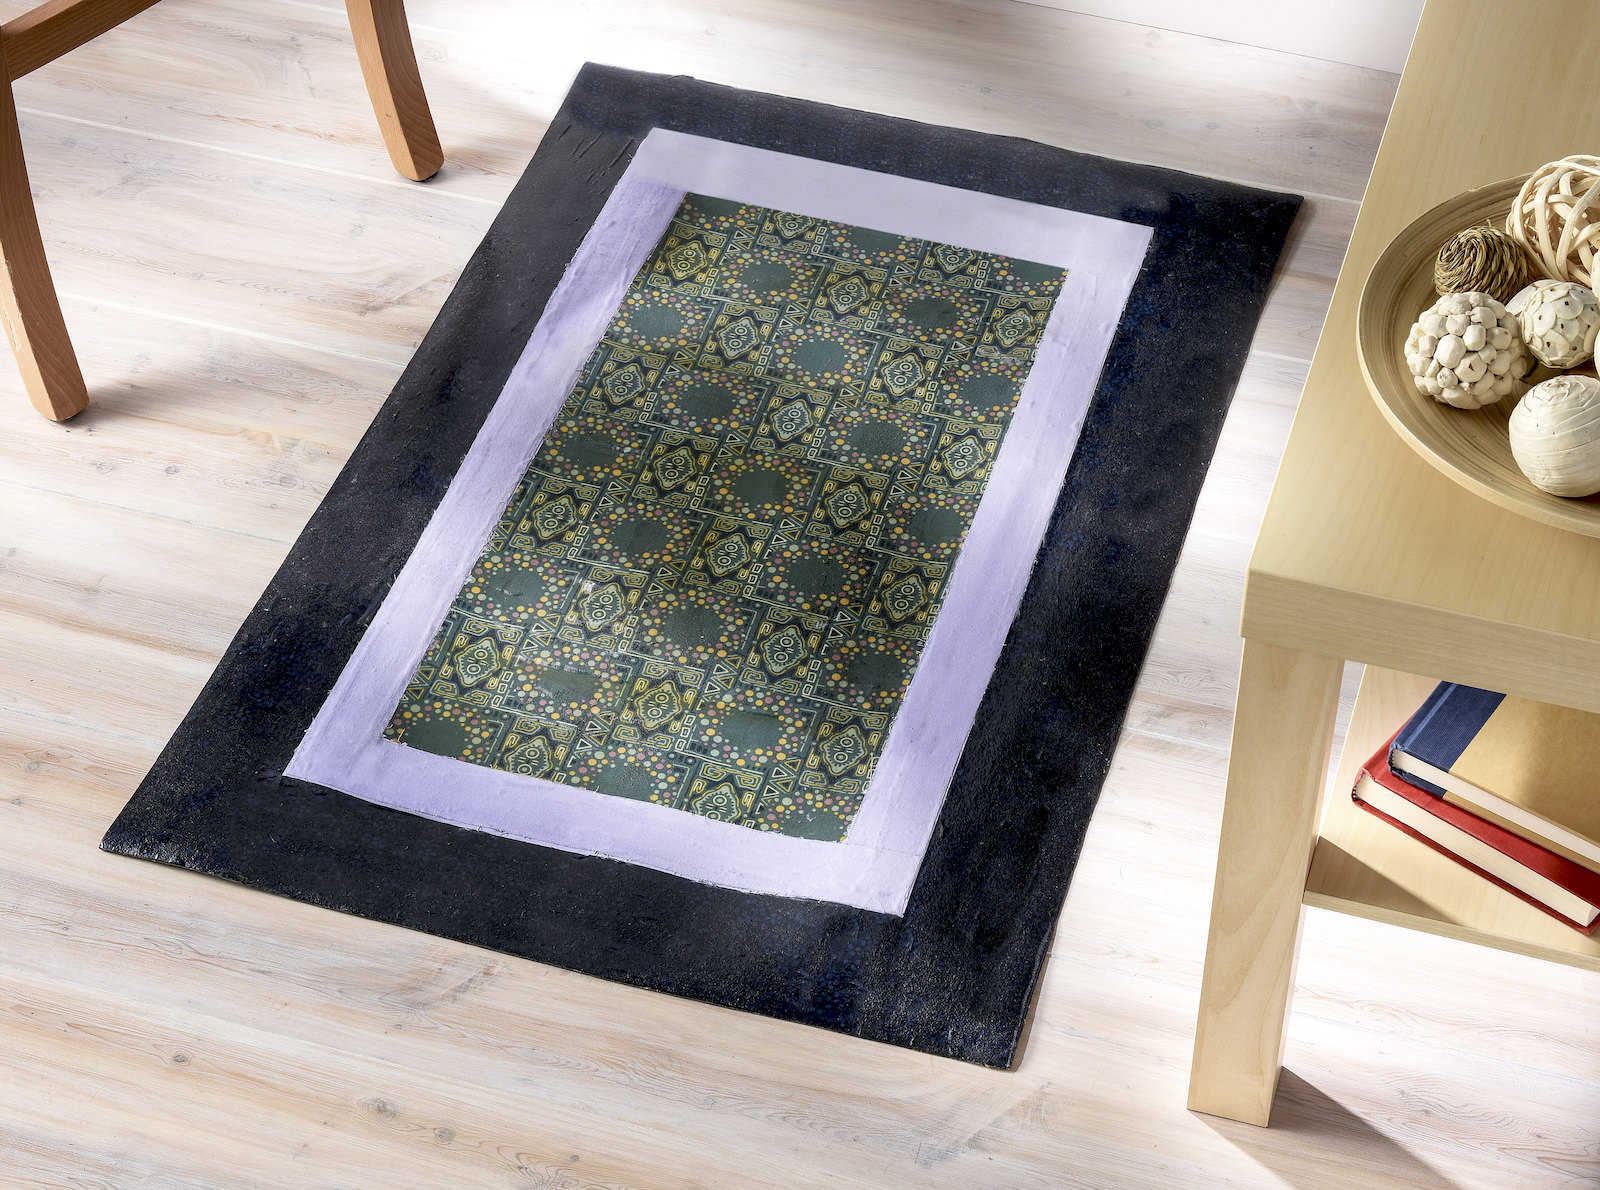
And there you have it – a DIY floor cloth customized just for me! I absolutely love it.
Thank you Georgia! Your project turned out amazing. Get the how to card below.
DIY Floor Cloth


Learn how to make a vinyl floor cloth using your favorite fabrics and Mod Podge. This is very durable and inexpensive to do.
Materials
- Linoleum
- Fabric in three patterns
- Mod Podge Matte
- Minwax Polycrylic
Tools
- Scissors
- Pencil
- Ruler or tape measure
- Paintbrushes
- Box cutter
- Rotary cutter (optional)
- Cutting mat (optional)
Instructions
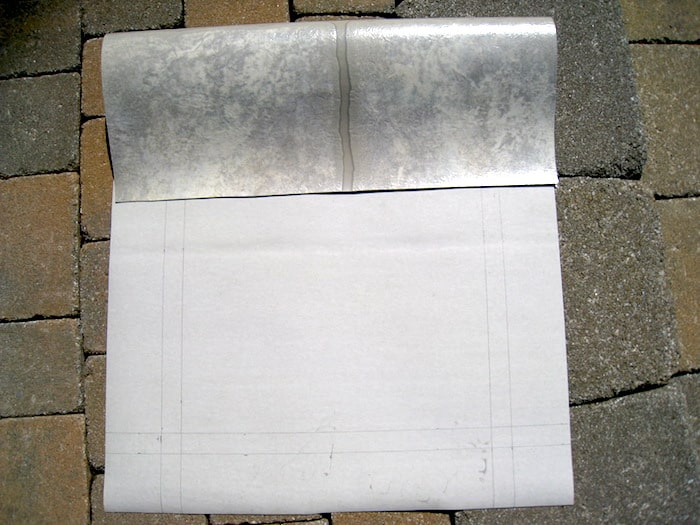
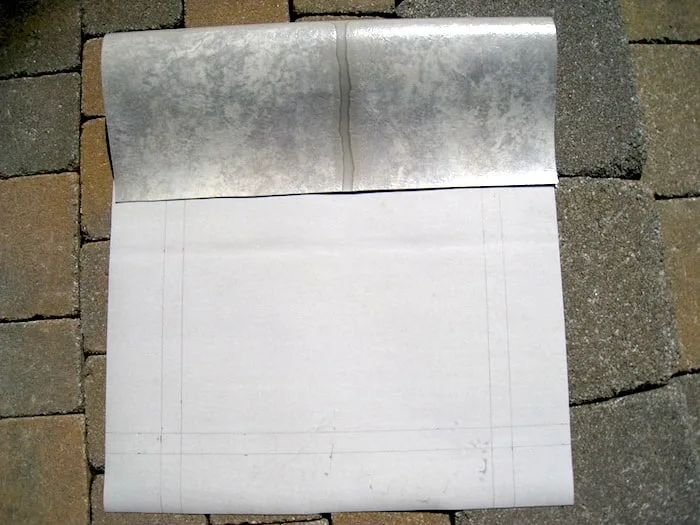
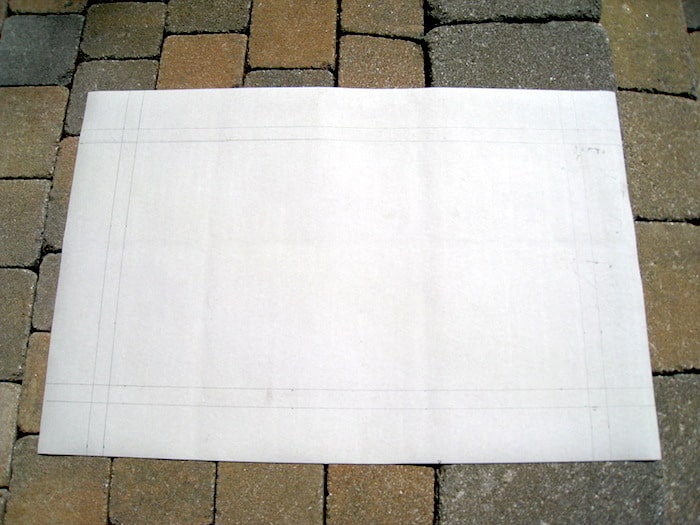
- Cut linoleum to the desired size using the box cutter.
- Choose the fabric you want to use - I selected three patterns. Cut down to a smaller size just larger than the areas they'll go on.

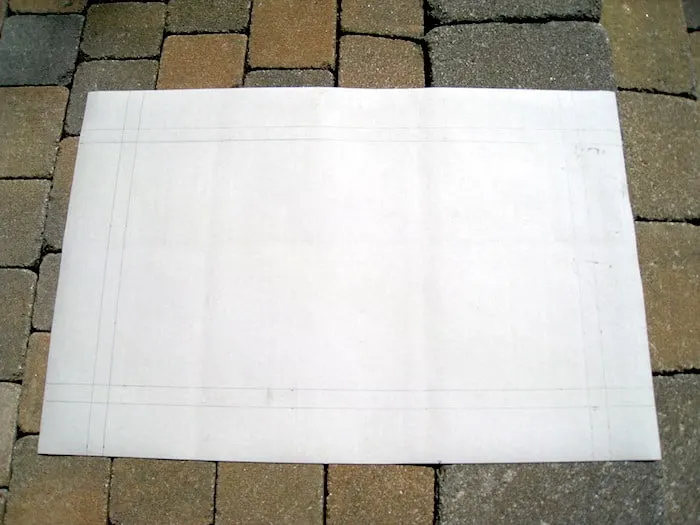
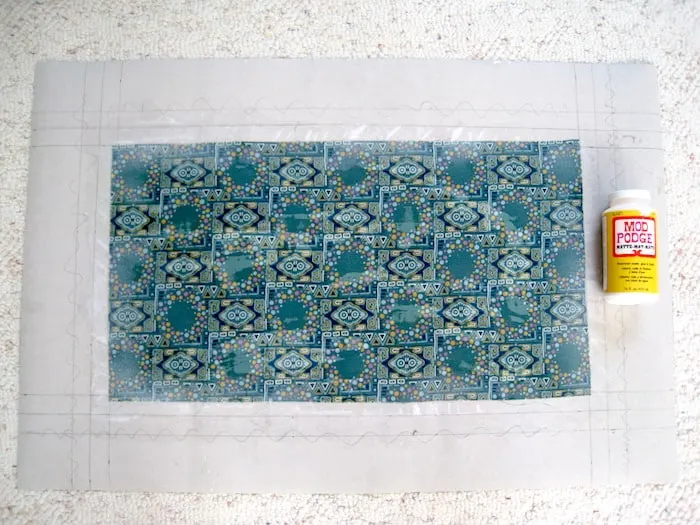
- Mark out where you want to fabrics to go onto the linoleum using a ruler and pencil.
- Trim the fabric to fit the designs you have created. I find a rotary wheel and ruler are quite helpful, but you can also just use scissors.

- Mod Podge your first fabric onto the linoleum. You'll do this by applying a layer of Mod Podge down with a brush, smoothing down the fabric, and letting the layer dry completely.
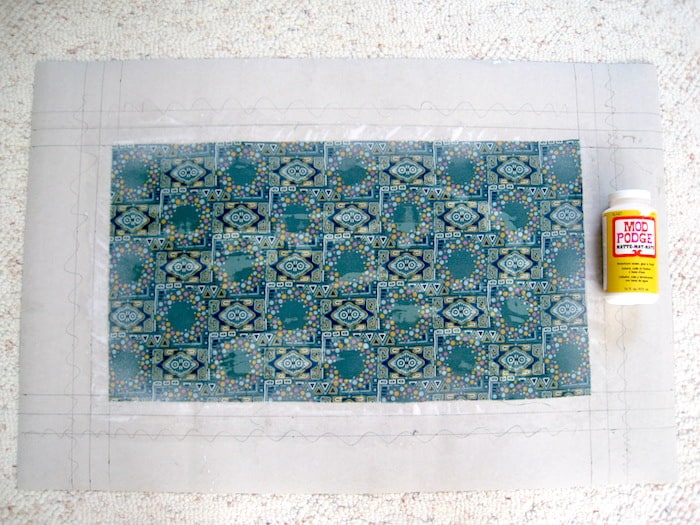
- Decoupage the next fabric on your floor cloth. Let dry.
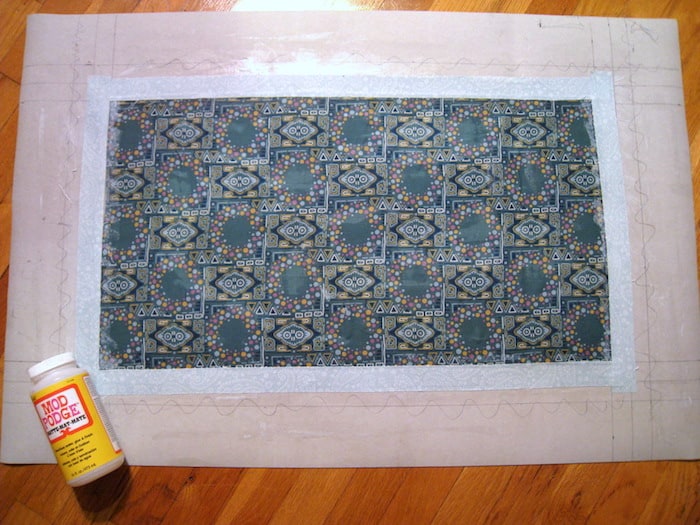
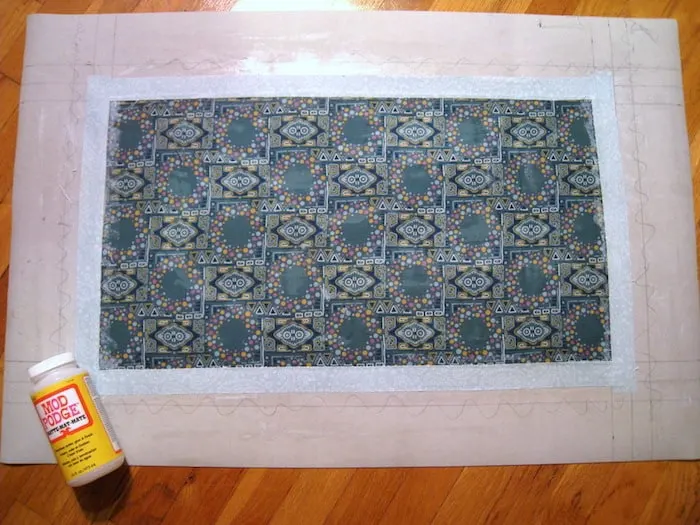
- To finish, Mod Podge the final fabric. Wrap this one over the edges to the back. Let dry.

- Seal fully by adding polyurethane. Do this four times, allowing to dry between each coat.

- Let dry overnight before using. Wipe with a clean, damp cloth to remove dirt.
Now I’m curious – what colors would you make your floor mat? If you enjoyed this project, I’d also love for you to check out these other ideas:
Wanda
Sunday 1st of October 2023
I made a comment about a squishy mat for my kitchen. I am going to do that. It will be of the same color as my dinner plate design. For my front door I will probably do something that coordinates with my walls which are a light teal color one with a greener tone and one with a bluer tone. Black and a pink or mauve would look great there. May have to send a photo to update what I have done.
janet
Saturday 20th of November 2021
Do you have to wash the fabric first?
Amy
Saturday 20th of November 2021
You don't have to but it can help with discoloration from sizing or other chemicals on the fabric. Just don't use fabric softener when you dry it!
Cherie
Saturday 24th of October 2015
This really is gorgeous. It would be a great way to upcycle a piece of lino too. Just flip it over give it a good clean and make the back beautiful.
Rutabaga
Saturday 12th of September 2015
Thanks for the great idea! I had a really ugly but comfy/squishy mat for standing on when I cook - so I covered it with some day of the dead sugar skulls. It's fabulous!
Wanda
Sunday 1st of October 2023
@Rutabaga, What a great idea! I have a squishy mat also that has torn on the edges. I am going to glue them together and do the same with some cloth. With this though I think I should use some semi tough cloth rather than something that is lightweight.
Lucia
Saturday 12th of September 2015
This is beautiful. I was thinking this would also be a great way to make placemats and mug rugs!