Learn how to dress up plain gift boxes for teacher gifts, graduations, weddings . . . use this floral gift box for any occasion at all!
Skills Required: None. Even if you’ve never used Mod Podge before, you’ll be able to achieve success. You’ll apply scrapbook paper cutouts to a box with decoupage medium.

Hi! Cheryl from a pretty cool life here! Today I’m sharing an idea to dress up plain gift boxes {which I never seem to have enough of this time of year!}. My go-to solution is to turn regular gift boxes into floral gift boxes.
Use this technique for teacher gifts, graduations, weddings . . . any occasion at all! Learn how to make this pretty floral gift box below. Don’t forget to check out our gift bag and gift wrap ideas too!
Floral Gift Box
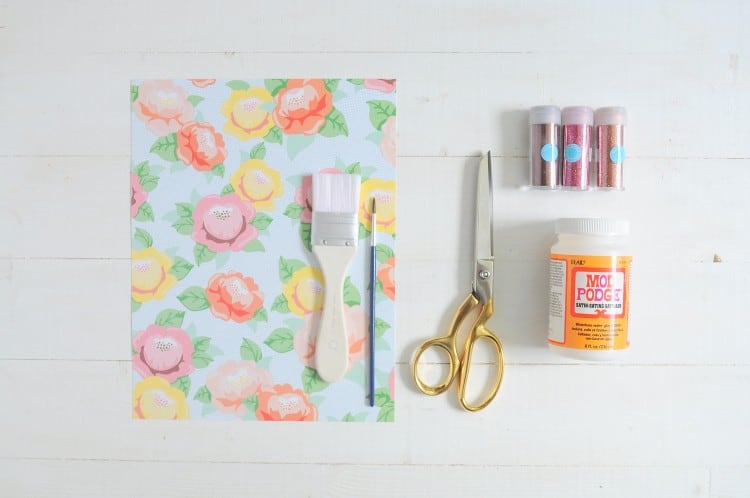
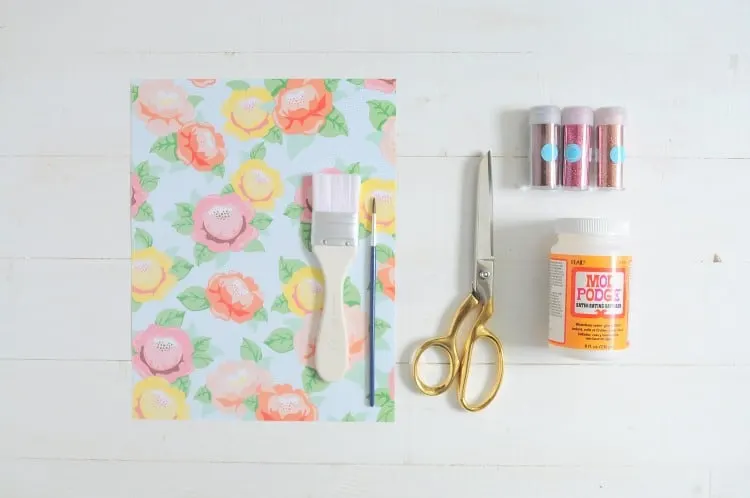
You’ll need:
- Plain heavy weight box
- Floral or other design scrapbook paper
- Mod Podge Satin
- Paint brushes
- Sharp scissors
- Glitter {optional}

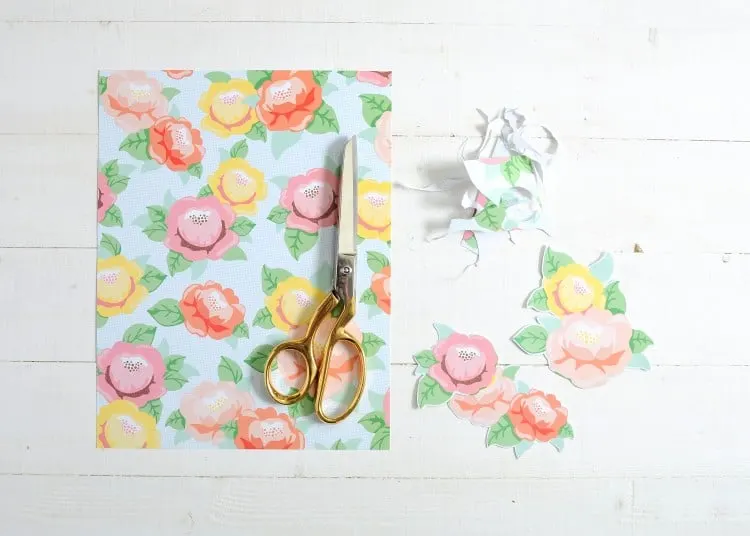
Start by carefully cutting your designs out of the scrapbook paper using the scissors. Depending on how intricate the designs are, you might want to use smaller detail scissors.
By the way, you can use wrapping paper, comic books, book pages, fabric . . . it doesn’t have to be scrapbook paper.
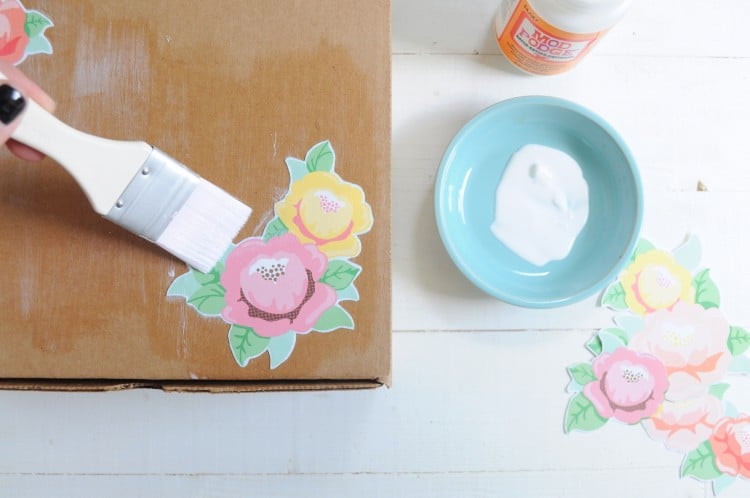

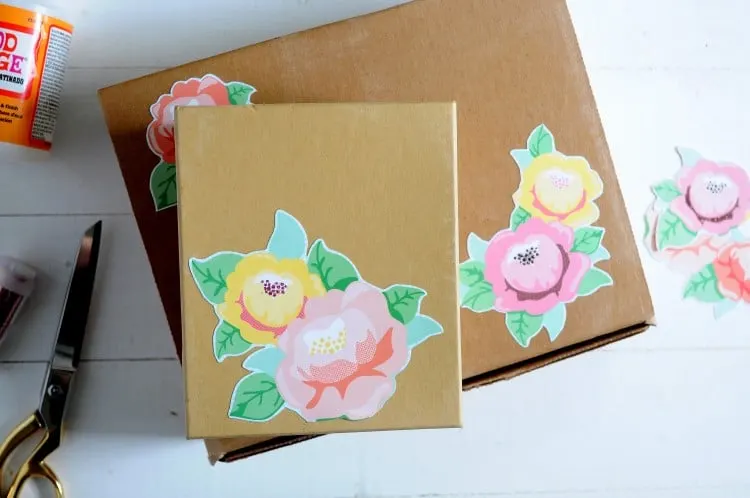
Brush backs of designs with Mod Podge and place down in the pattern of your choice on the surface of the box.
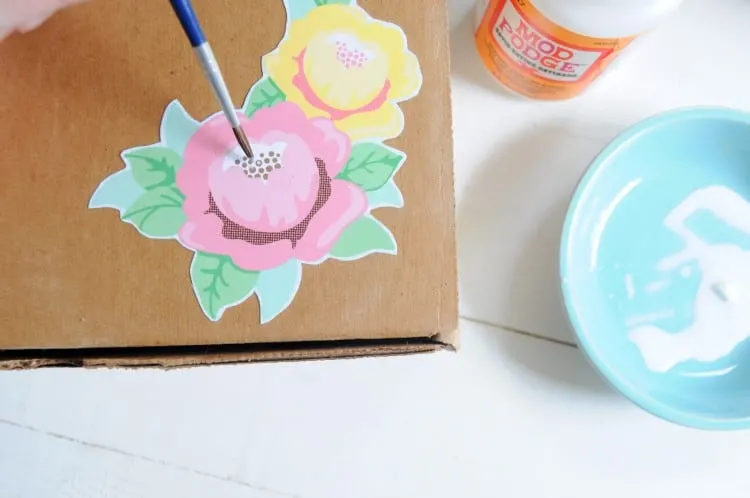
Let your floral gift box dry for 15 – 20 minutes, then do a top coat. If you’re wondering if you should do the entire lid of the box, the answer is yes. It will darken the cardboard slightly.

After that first layer, brush the gift box tops generously with a second coat of Mod Podge to seal design. Allow to dry completely.

If you wish to add glitter to your floral box, use a fine tipped brush to apply Mod Podge.
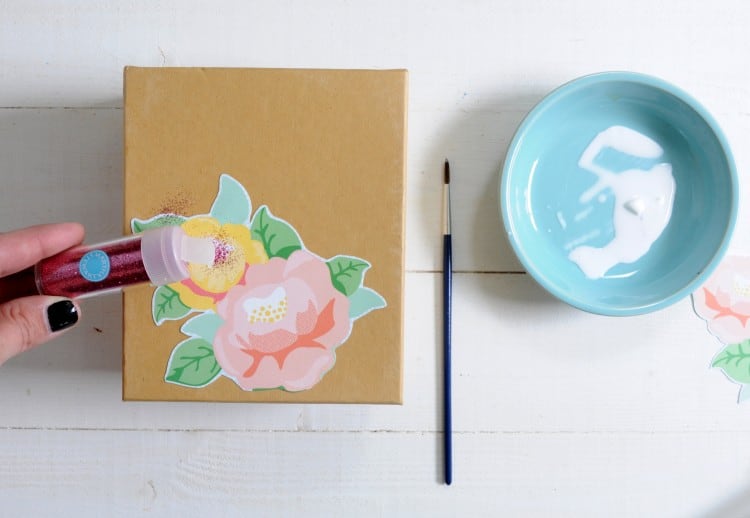

Sprinkle with glitter and gently tap away excess onto your work surface. You can wipe away any excess glitter with a dry brush.
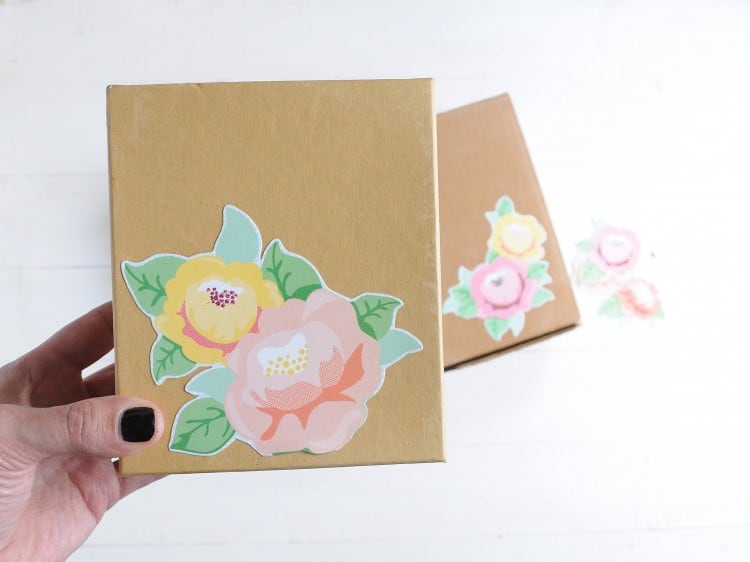
That’s it! Your floral gift box is complete. Have a stack on hand, ready to gift to your favorite friend, teacher, or grad! The great thing about these gift boxes? They can be reused, whether for additional gifts or for storage. Happy making!
For more amazing inspiration, visit some of the unique ideas below:
jules
Friday 22nd of May 2015
Thank you awesome idea!!!
Sophie
Friday 15th of May 2015
wow! That's so cute! I'll try that as decoration for my bedroom :) Love your ideas. Mostly they are so simple, but still beautiful.
Shawnna
Wednesday 13th of May 2015
That's really cool!!