Make this fun DIY spring sign using dollar store materials! Pick your favorite colors and scrapbook papers to personalize.

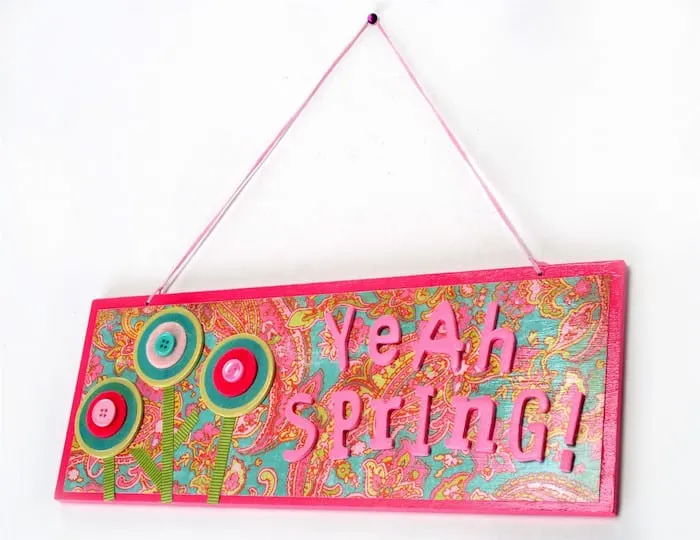
Spring is such a great season that I had to pay homage – and you know how I express myself. With interpretive dance? No. With a DIY spring sign!
You definitely need to celebrate something with Mod Podge too, so let me show you how I made this sign and then you can personalize it.
I encourage you to, whatever you do, add lollipop flowers. They are so cute and SO fun to make. So let’s do this thing.
DIY Spring Sign
Gather These Supplies
- Wood sign – Got mine from the Kroger Easter clearance section. $.99, baby! They have similar at the Dollar Tree
- Scrapbook paper – I used two sheets of Basic Grey Gypsy
- Craft Paint – You’ll obviously want to match your paper. I used the following: FolkArt Acrylic Paint – Pink, Hot Pink, Soft Apple
- Gloss Mod Podge
- Wood letters to spell the saying of your choice
- Felt – small
- Chipboard circles – 3 one-inch diameter
- Buttons – 3 coordinating
- Ribbon – 12″ to make flowers stems
- Flat paintbrush
- Craft glue
- Pencil or pen
- Craft knife and mat or scissors
- Sandpaper
- Pink string or other to hang – 12 inches
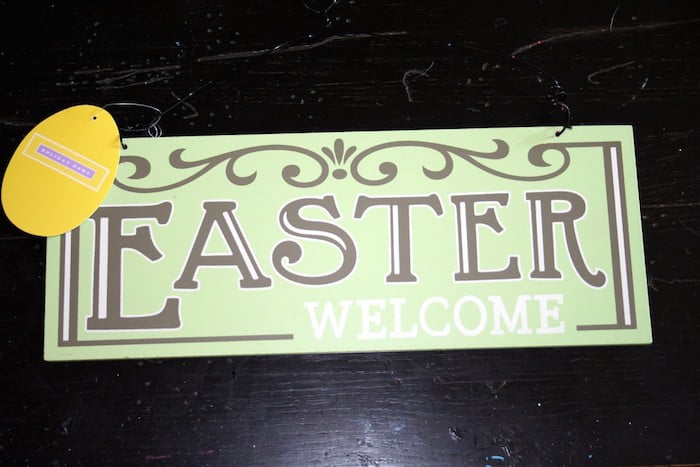

Here’s the sign before I re-did it – welcome Easter! Welcome to my Mod Podge jar, that is . . . Sand the sign lightly and wipe away the sanding dust with a damp cloth.
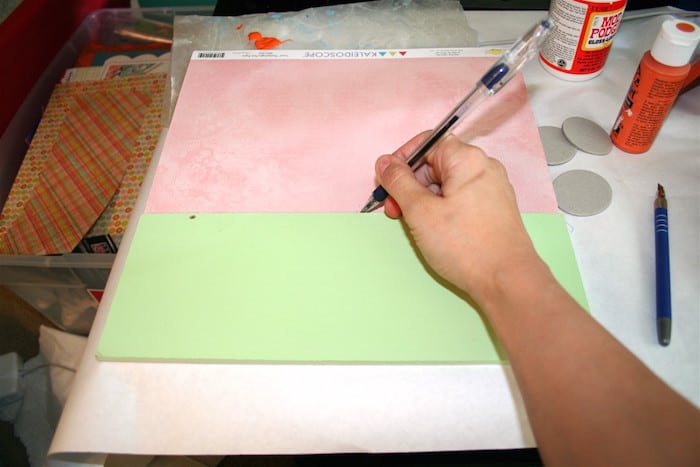
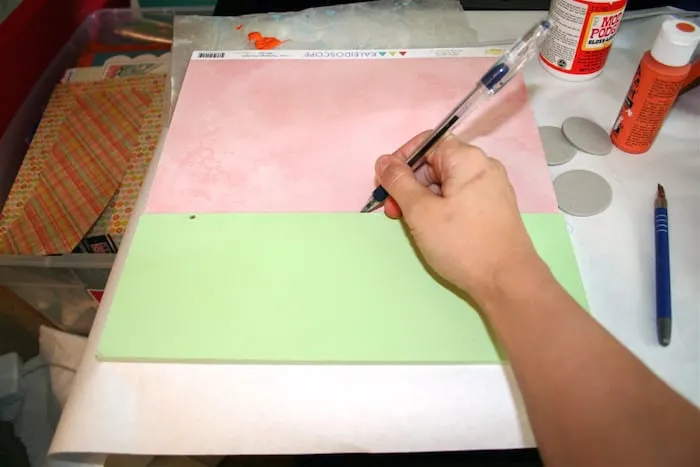
There was a black wire coming out the top of my sign – I removed it. I traced my sign, face down on the back of the paper.
I then cut the paper about 1/4″ within the tracing so that some of the paint would show around my paper when I Mod Podged it to the front. Set aside.


Take your chipboard circles and trace them. You should also cut these out just inside the lines so that some of the paint peeks out the side. Want perfect circles? Use a Sizzix Big Shot or punch (or similar). Set aside.

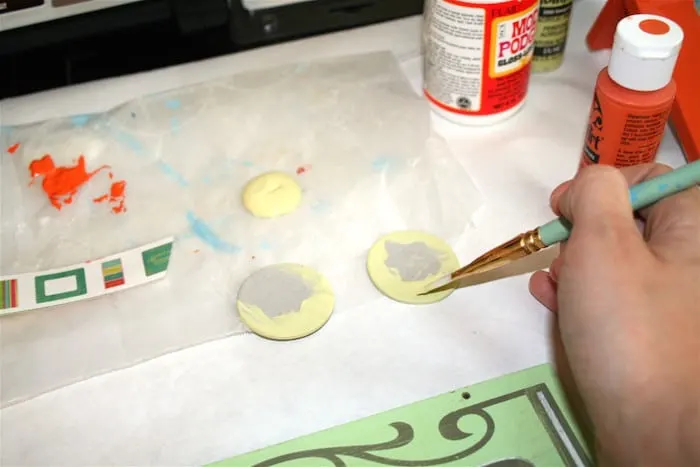
Paint your chipboard circles with Soft Apple. Paint the edges and around the tops until completely coated. Set aside to dry.
At this point, choose wooden letters for the saying of your choice and paint them. I chose “Yeah Spring!” and painted them Pink. Set those aside to dry as well.
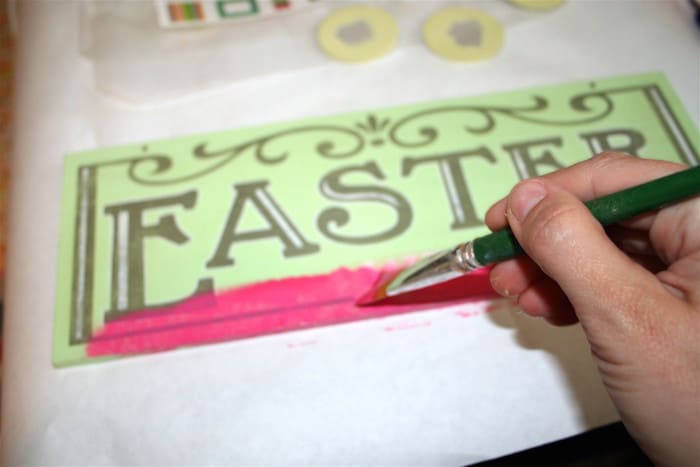
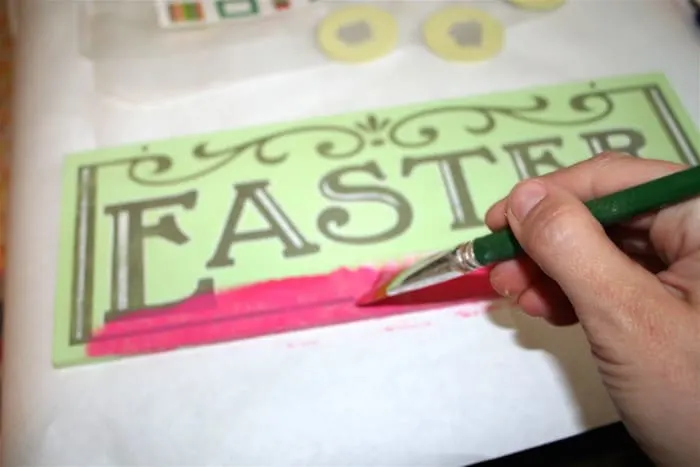
Paint the sign with your FolkArt color of choice (mine is Hot Pink). I painted the edges, back and sides until everything was fully covered. Allow to dry.
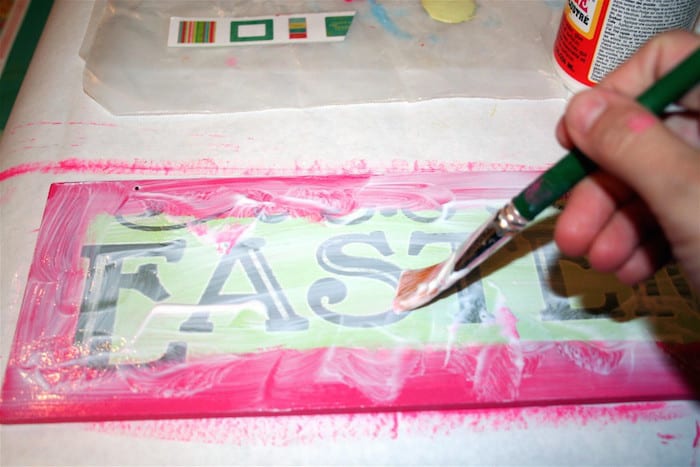

Once the sign is dry, you are ready to Mod Podge. Spread Mod Podge over the front of the sign in a medium layer.

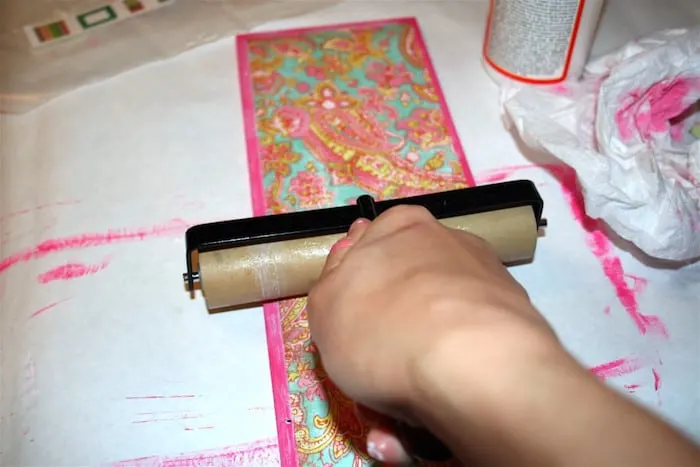
Place your paper over the top and smooth down thoroughly, for several minutes. A brayer is a great tool; I highly recommend one. Allow to dry for 15 – 20 minutes.
While this is drying, go back and Mod Podge the small paper circles you cut out to the fronts of the painted circle shapes. Allow to dry.
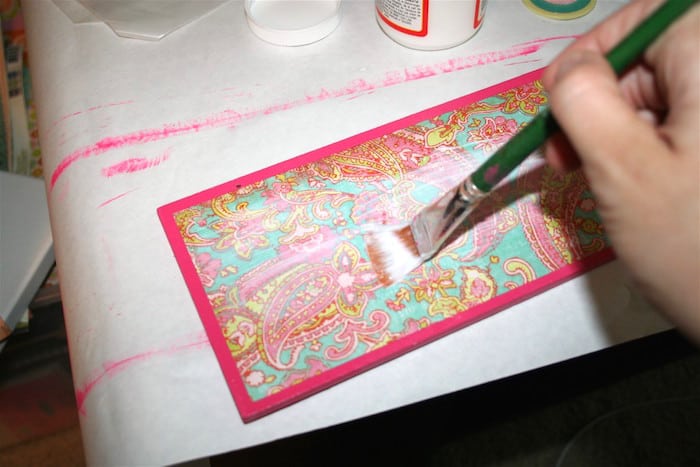

Spread a medium layer of Mod Podge over the top. Allow to dry and then coat the back and the front again. Give another coat over the entire plaque and allow to dry.
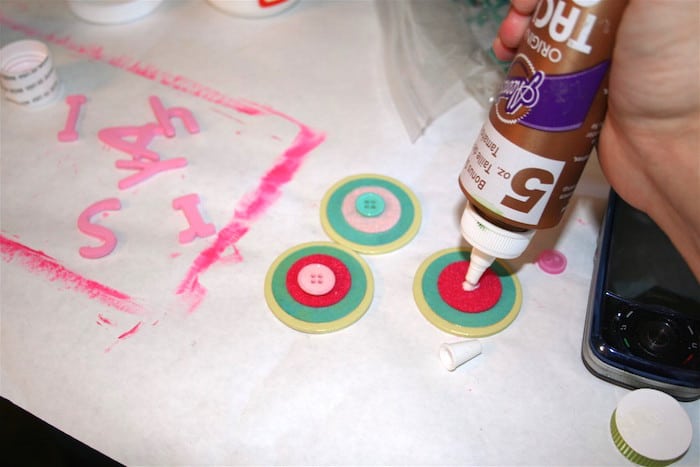

Your letters are dry and so are your circles. It’s time to assemble everything! I cut small felt circles to fit the centers of my chipboard circles, and then glued those and the buttons to the fronts to make flowers.
Use the tacky glue to attach the letters and the flowers in the place that you want them.
To finish your DIY spring sign, glue ribbon to make flower stems and then add a string to hang. You’ve done it!
If you enjoyed this spring project, I’d love for you to check out these other ideas:
Jamie
Monday 28th of March 2011
What a cute sign. I would love it if you linked your project up to More The Merrier Monday.
https://diyhshp.blogspot.com/
Amanda K @ Every Crafty Endeavor
Monday 28th of March 2011
This is so darling! I love the bright colors!
I am having an "every crafty blog" linky party and would love for you to come and join!
Mimi
Sunday 27th of March 2011
That is so colorful and cheerful! Great job!
Jaime
Thursday 24th of March 2011
I love LOVE LOVE THIS!! And I'd love for you to link up to Wow Me Wednesday!
http://polkadotsonparade.blogspot.com/2011/03/wow-me-wednesday_23.html
Valery (CEO Wanna Be)
Wednesday 23rd of March 2011
Stopping by to say hi from Wednesday blog hopSuch a CUTE idea!http://thisnthatboutiqueblog.blogspot.com/ https://www.etsy.com/shop/ThisanThatBoutique