Want to make a DIY pencil case? Grab a dollar store surface and some fabric Mod Podge and get to work – these could be used for so many things!
Skills Required: Beginner. You’re going to be applying fabric to a pencil case with Mod Podge. You’ll have to cut the fabric carefully and have just a little bit of skill to apply on such a small surface.
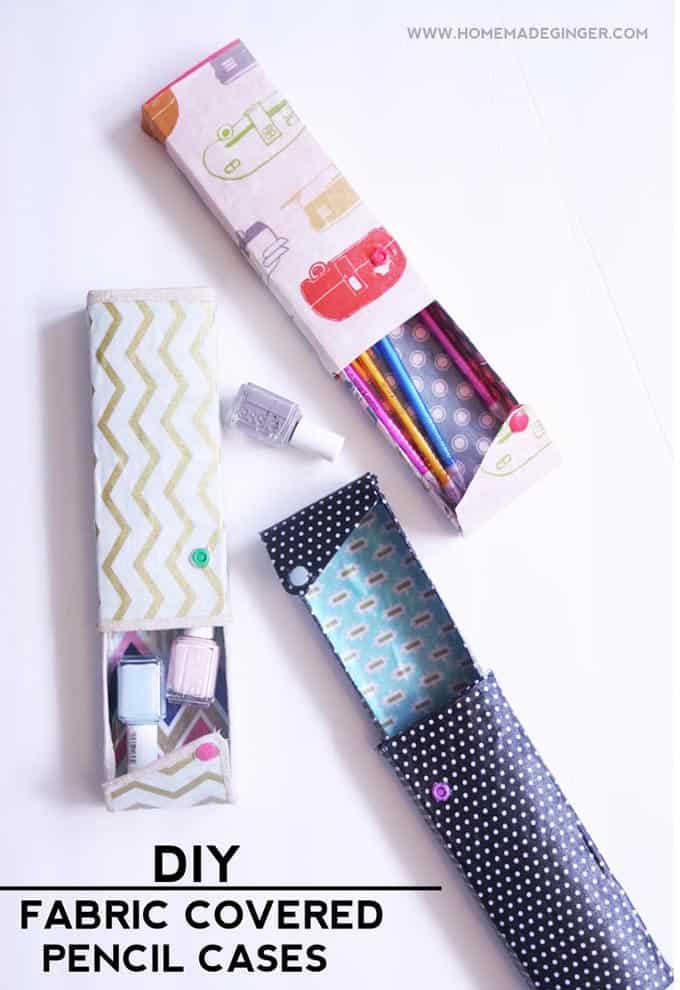

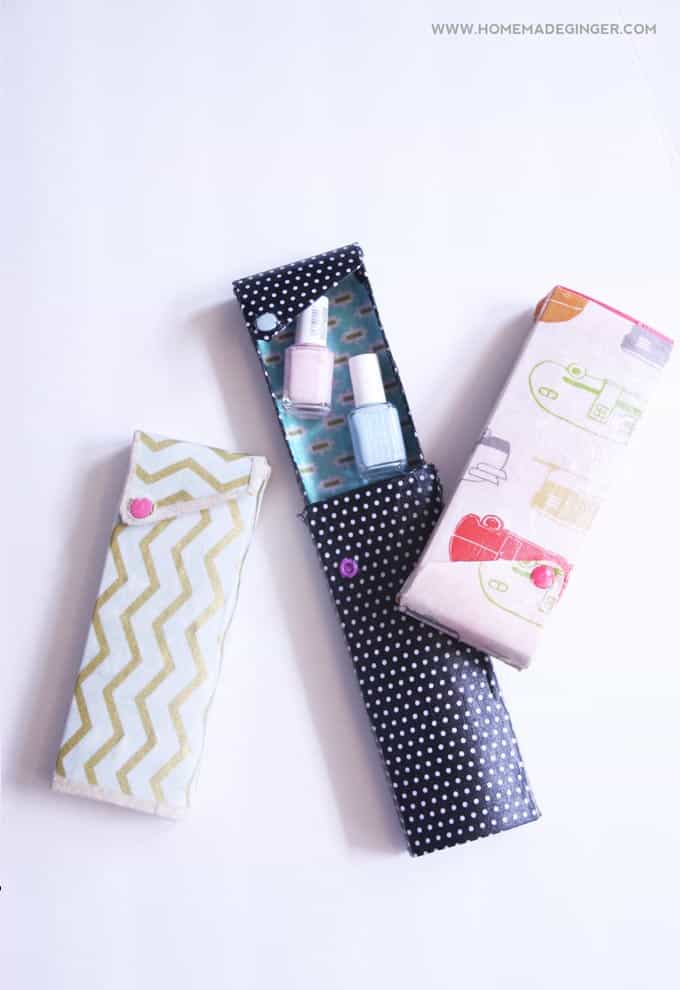
Greetings friends! This is Megan from Homemade Ginger and I’m back to share another easy DIY! I came across these fun slide out pencil cases at the dollar store and thought that they would look super cool covered in fabric.
So, I grabbed my Fabric Mod Podge and got to work. I think they turned out pretty cute and could be used for lots of things besides pencils!
DIY Pencil Case
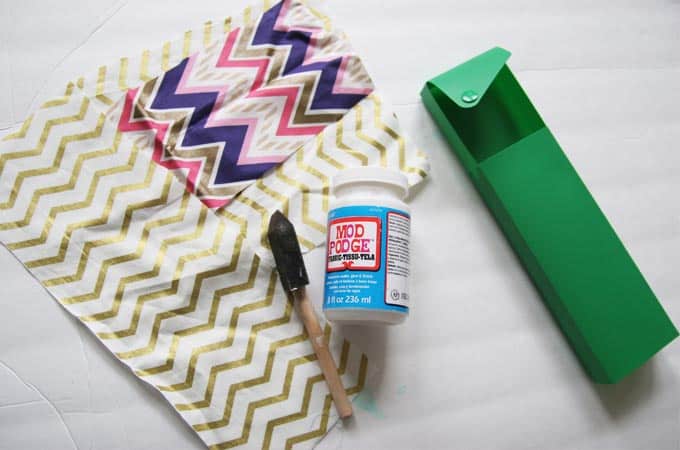
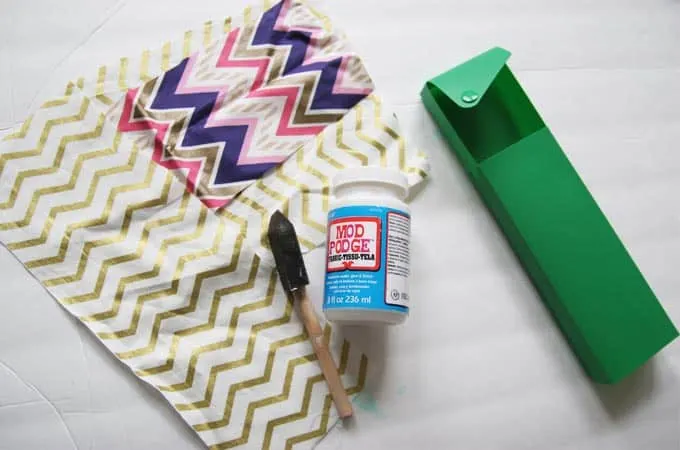
Here’s what you will need:
- Slide Out Pencil Case (I found mine at Dollar Tree)
- Fabric Mod Podge
- Fabric
- Foam Brush
- Nail Polish
- Scissors
- Paintbrush
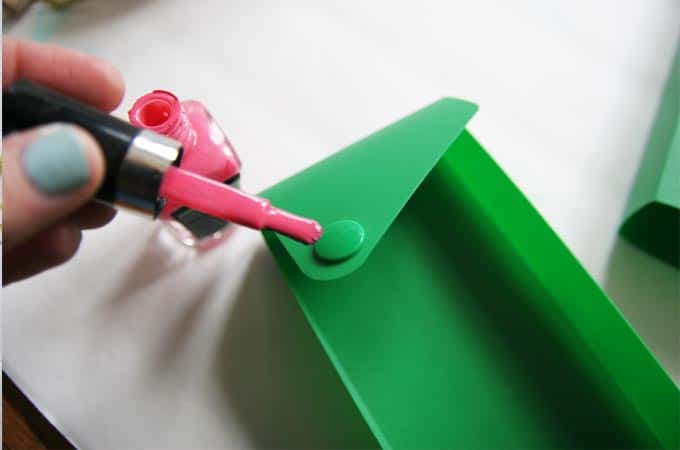
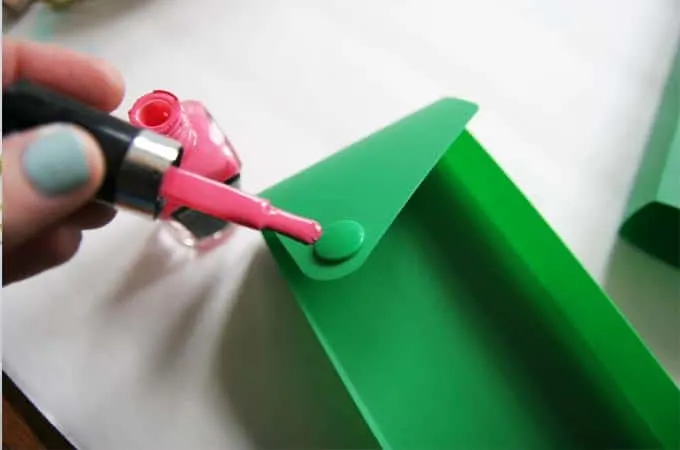
The first thing I knew I wanted to do for my DIY pencil case was change the color of the snap. So, I grabbed my nail polish and just gave it a few coats.
Don’t worry about it being too perfect since you will be covering the rest with fabric.
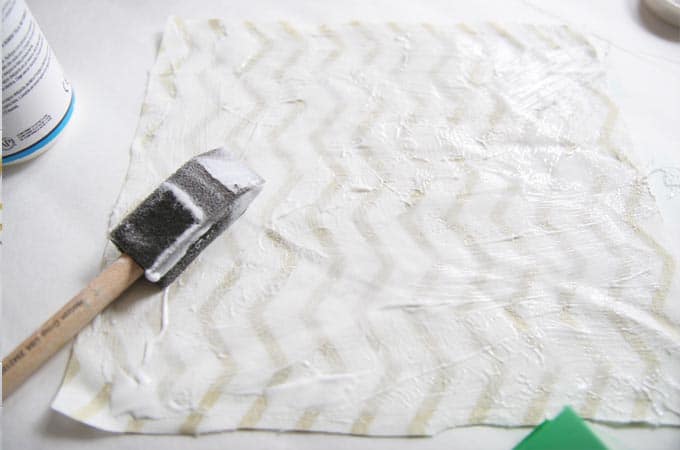
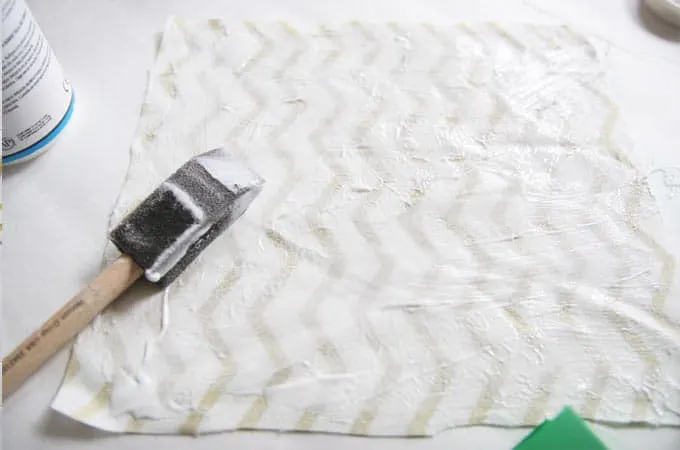
Next, “measure” the fabric by wrapping it around the pencil case and cutting. Then, brush on a layer of the Mod Podge onto the back of the fabric.
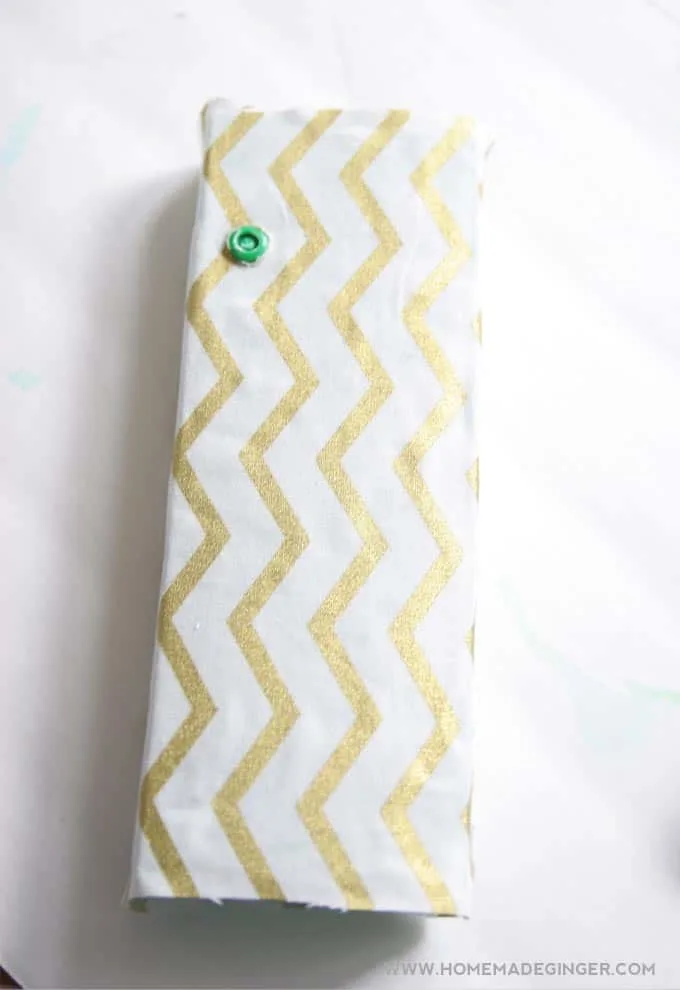
You will need to cut a small hole for the snaps. Just a tip, after the Mod Podge is on the back of the fabric and it is slightly wet, the fabric will stretch easier around the hole.
So I found that I didn’t need to cut my holes perfect to size, they were actually slightly smaller but I was able to stretch the fabric around them for a snug fit.

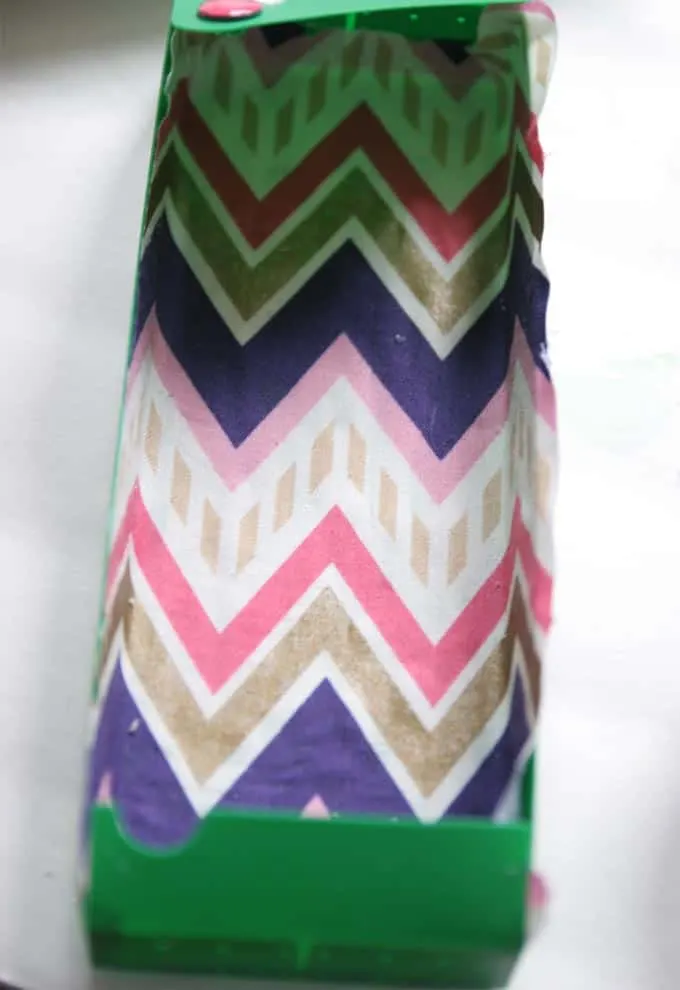
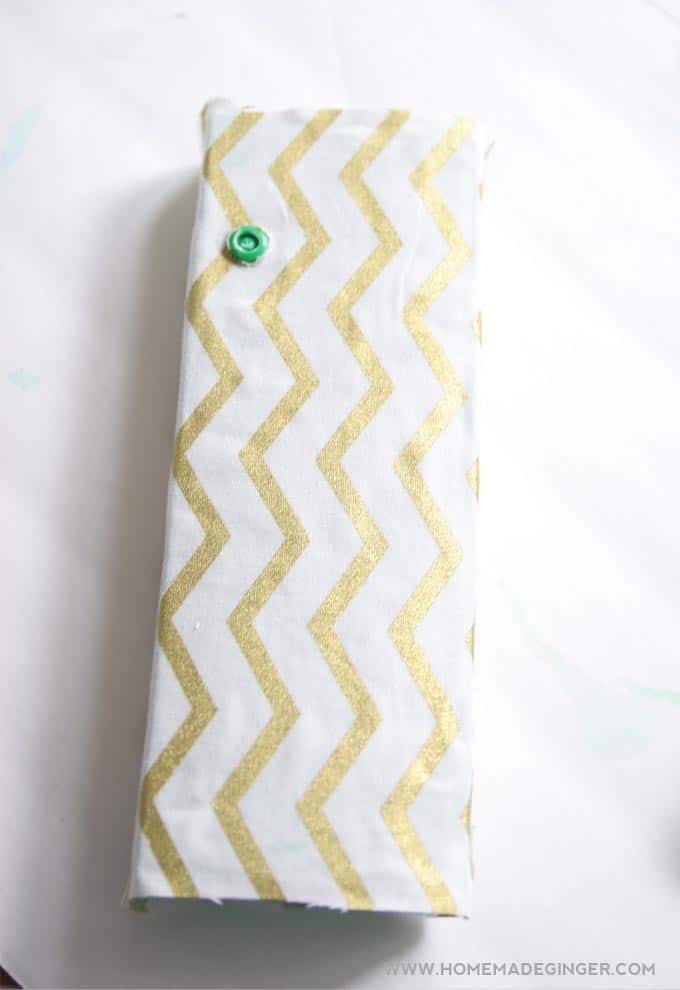
If desired, use a different coordinating fabric for the inside of the case. Don’t worry if there is excess fabric, it can all be trimmed after the Mod Podge is dry!
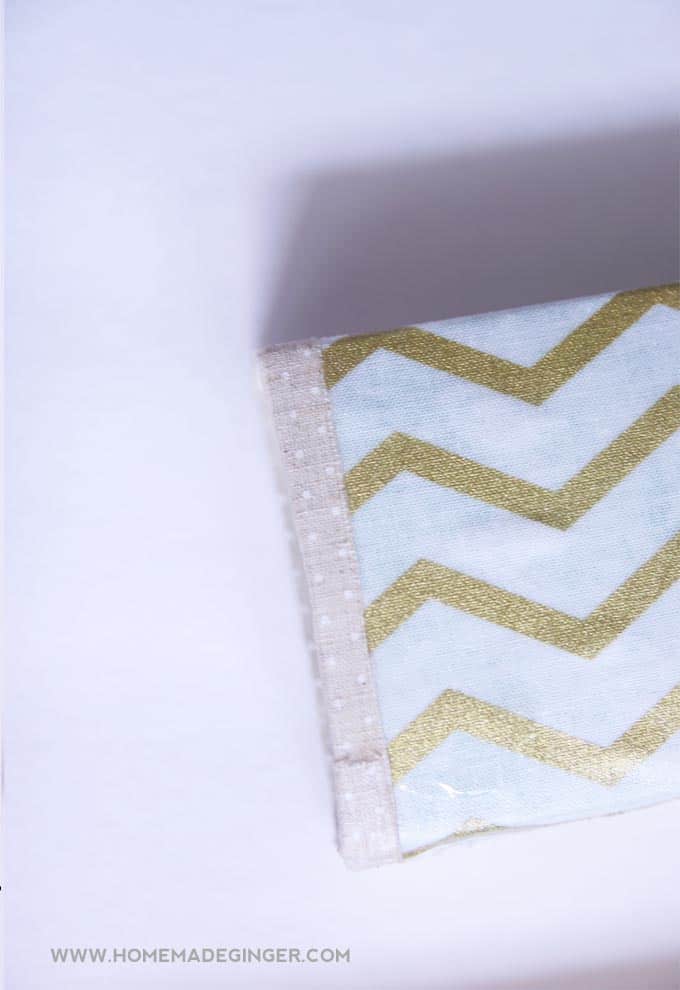
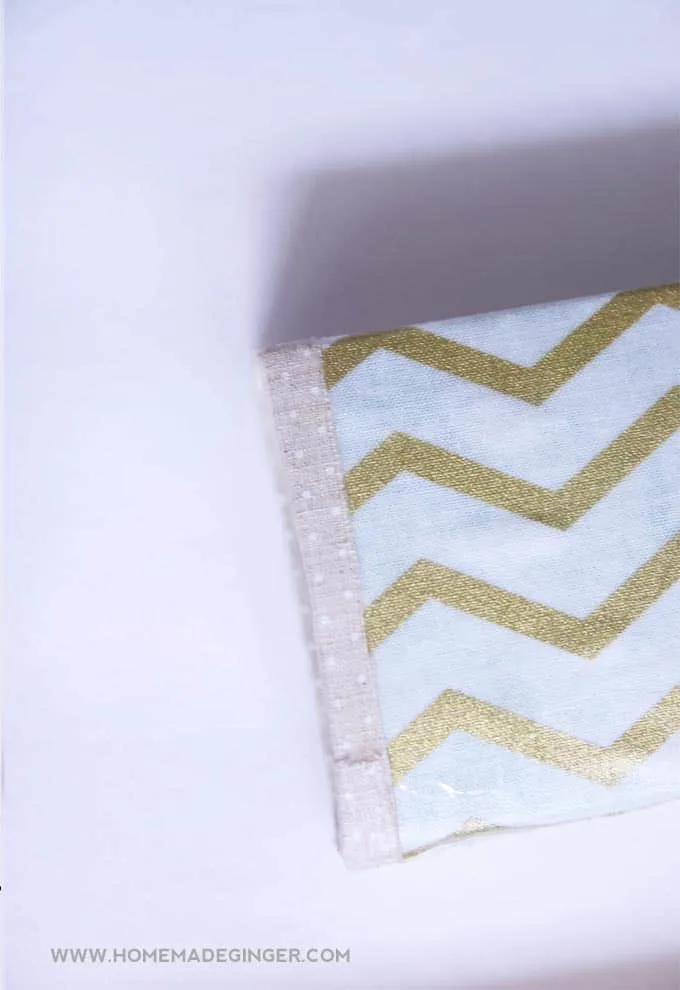
To finish off the edges of my DIY pencil case, I used fabric washi tape on one of the boxes. I left the other two unfinished.
Either way works! After you have done this step and the Mod Podge is dry, give the entire thing another coat of Mod Podge on the outside of the fabric and allow to dry.
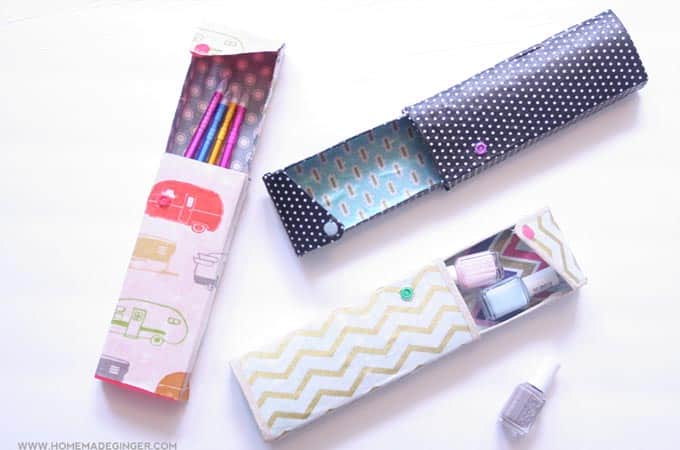
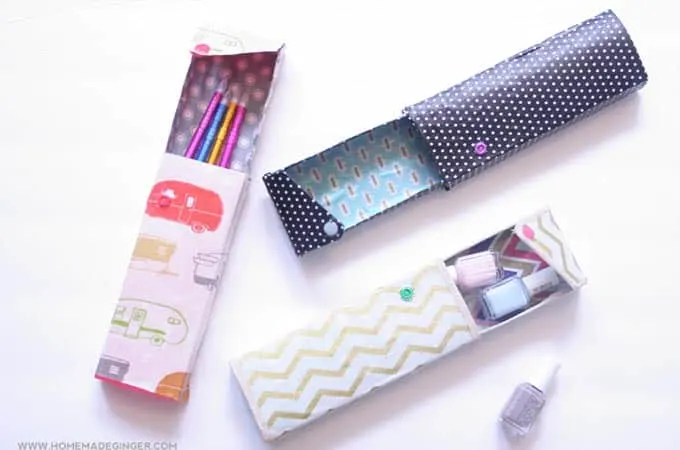
Each DIY pencil case will take about 24 hours to fully dry. Have fun filling them with your treasures or giving them to your kids for their art supplies!

Did you enjoy this simple dollar store craft? I’d love for you to check out these other project ideas:
CreativeKhadija
Wednesday 16th of September 2015
Just wow, So beautiful! and easy too :)