These cool DIY wooden pins feature the almighty ampersand. You’re going to love the wood inlay effect – and you can customize any way you like!

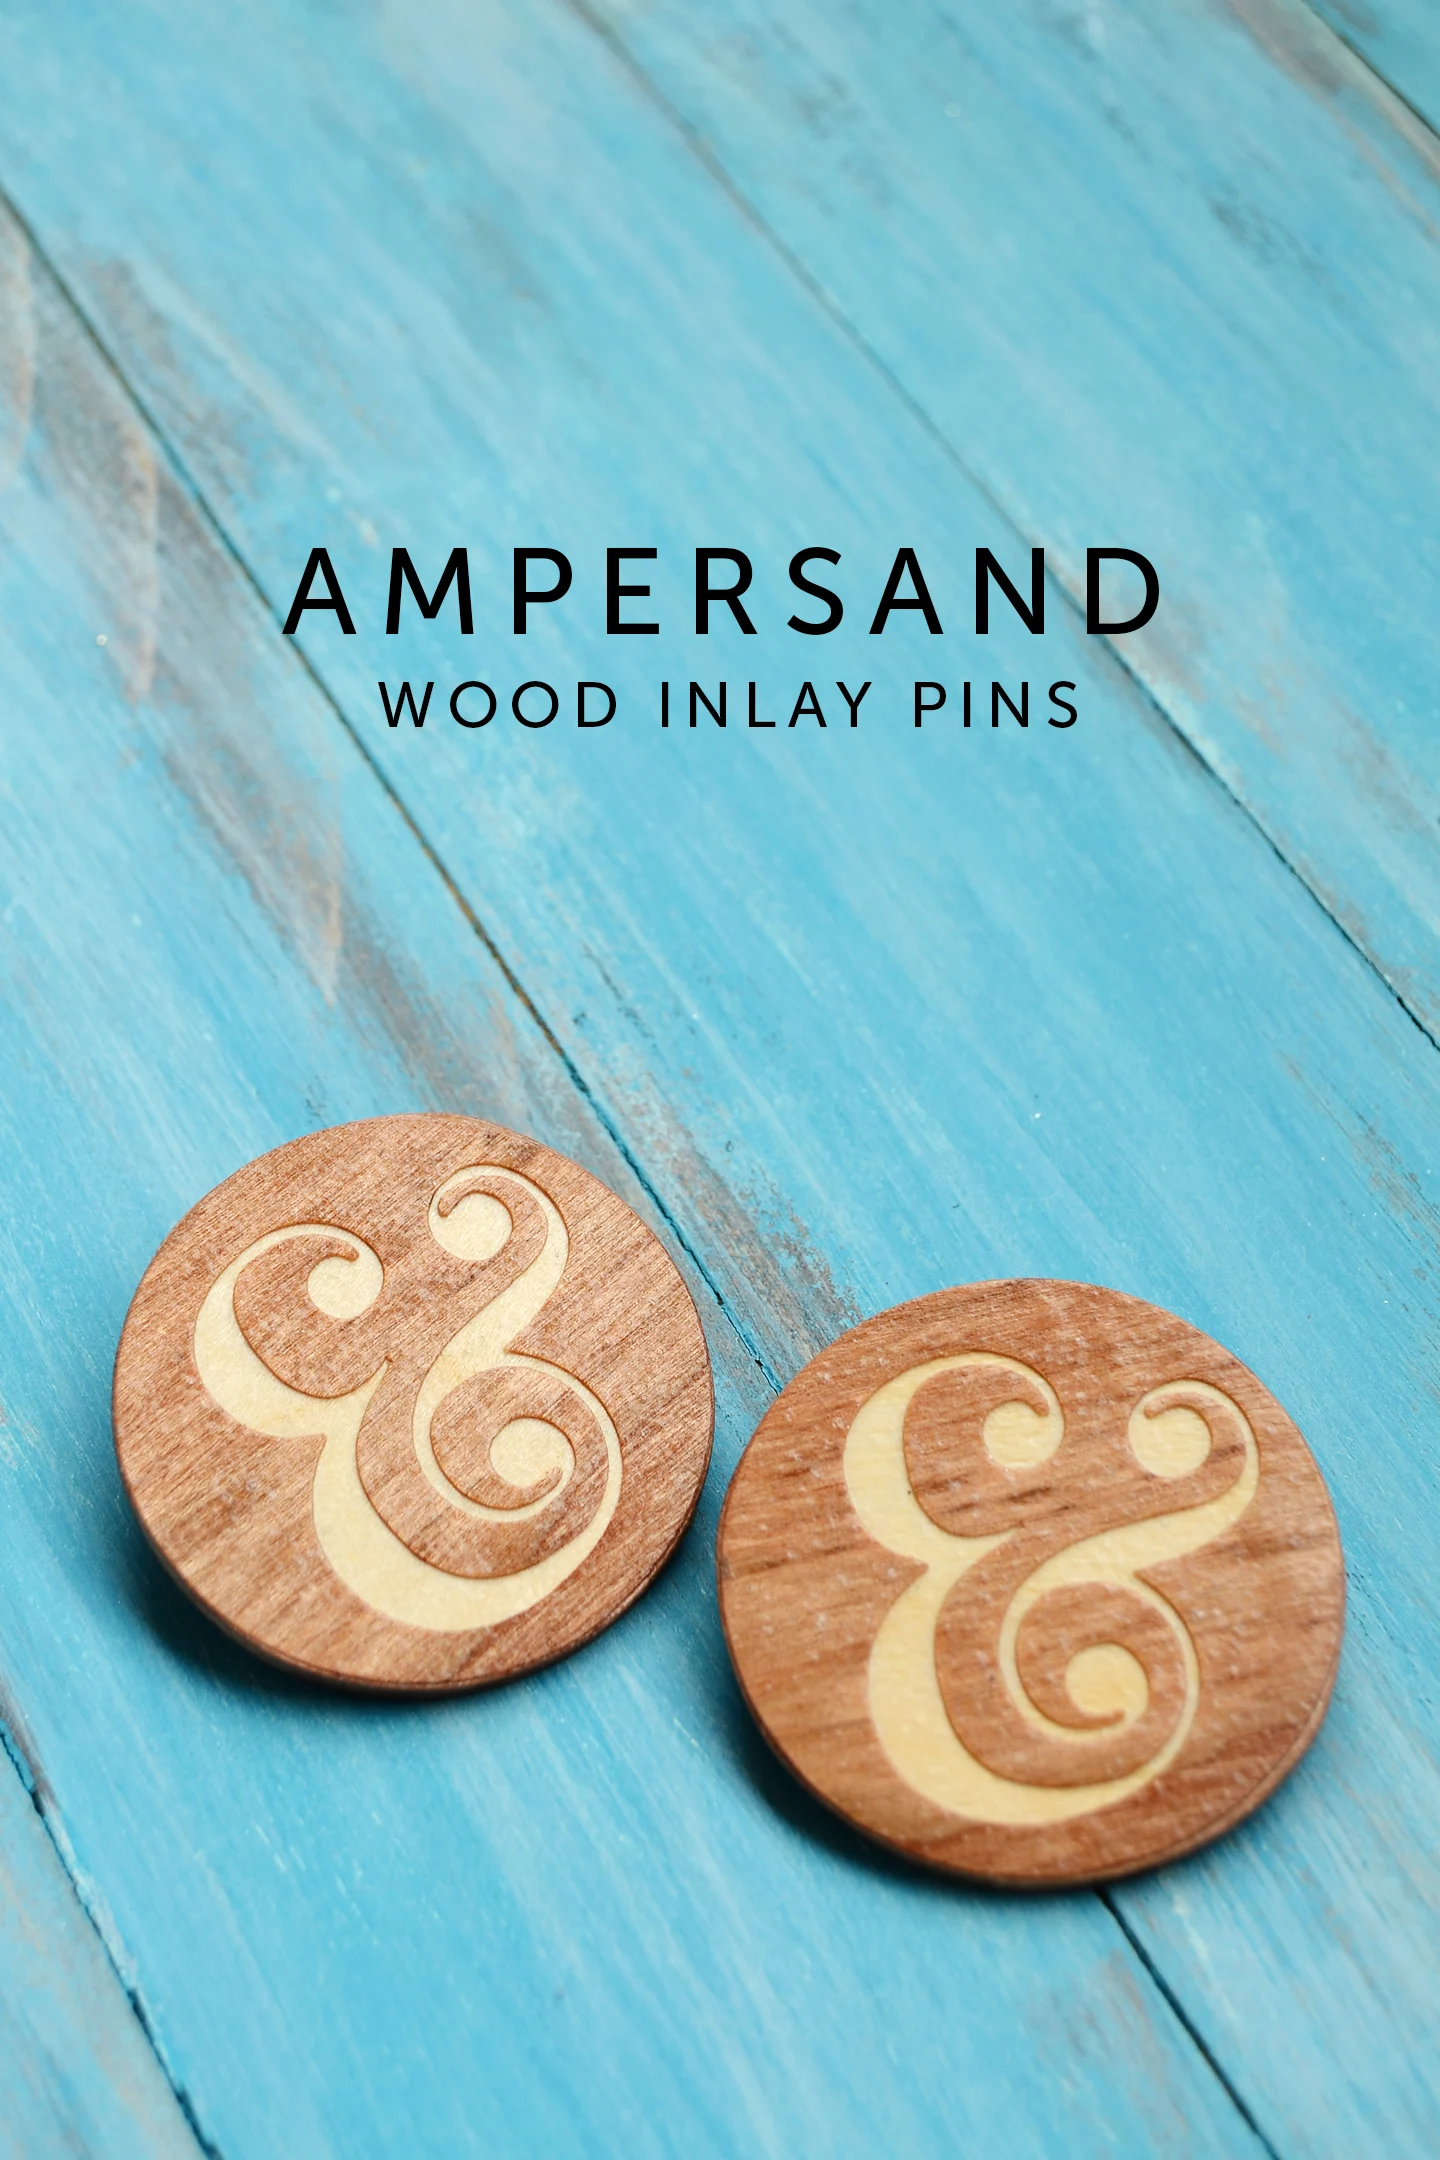
I love ampersands – I just think they’re the most gorgeous letter-form known to man. I recently discover wood veneer and I thought it would be a great idea to create these Wood Inlay Ampersand DIY pins – and they were really easy to create, too! Come and check out how I did it!
DIY Wood Pins
Supplies:
- Wood craft circle
- Wood veneer sheet (in Cherry)
- Silhouette Cameo / Other die-cutter / Paper punches
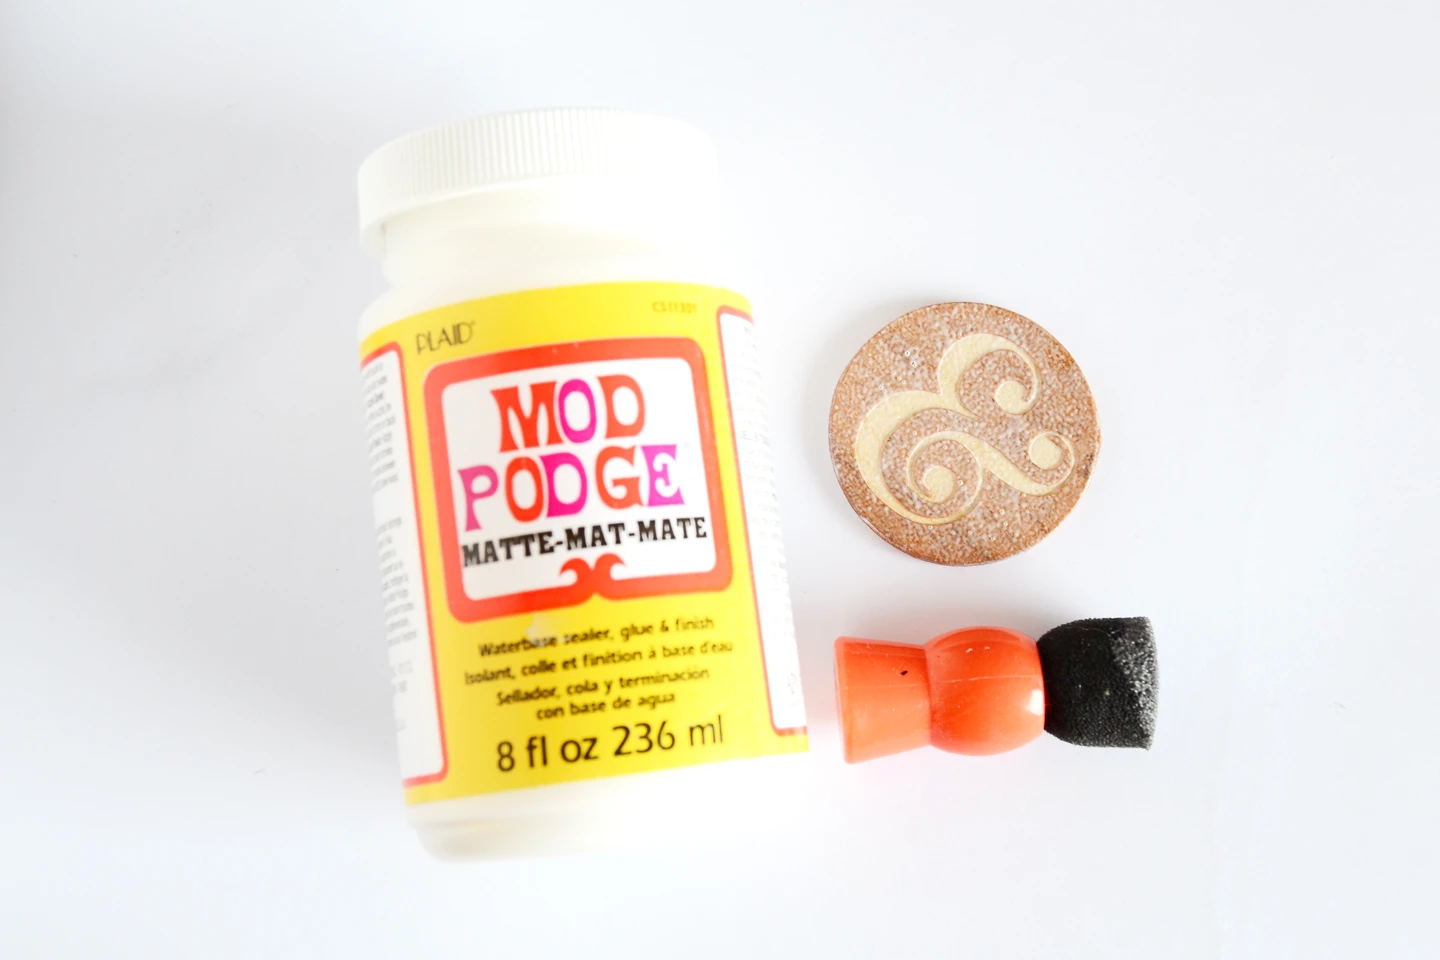
- Mod Podge Matte
- Mod Podge Hard Coat
- Watercolor (I used Burnt Umber)
- Paintbrush
- Sponge dauber
- Sandpaper
- Hot glue gun
- Pin Backs
Your first step is to find artwork in an ampersand shape! You can search for clip art if you don’t have a cutting machine. If you do have a cutting machine, check the design store (Silhouette has ampersands here).
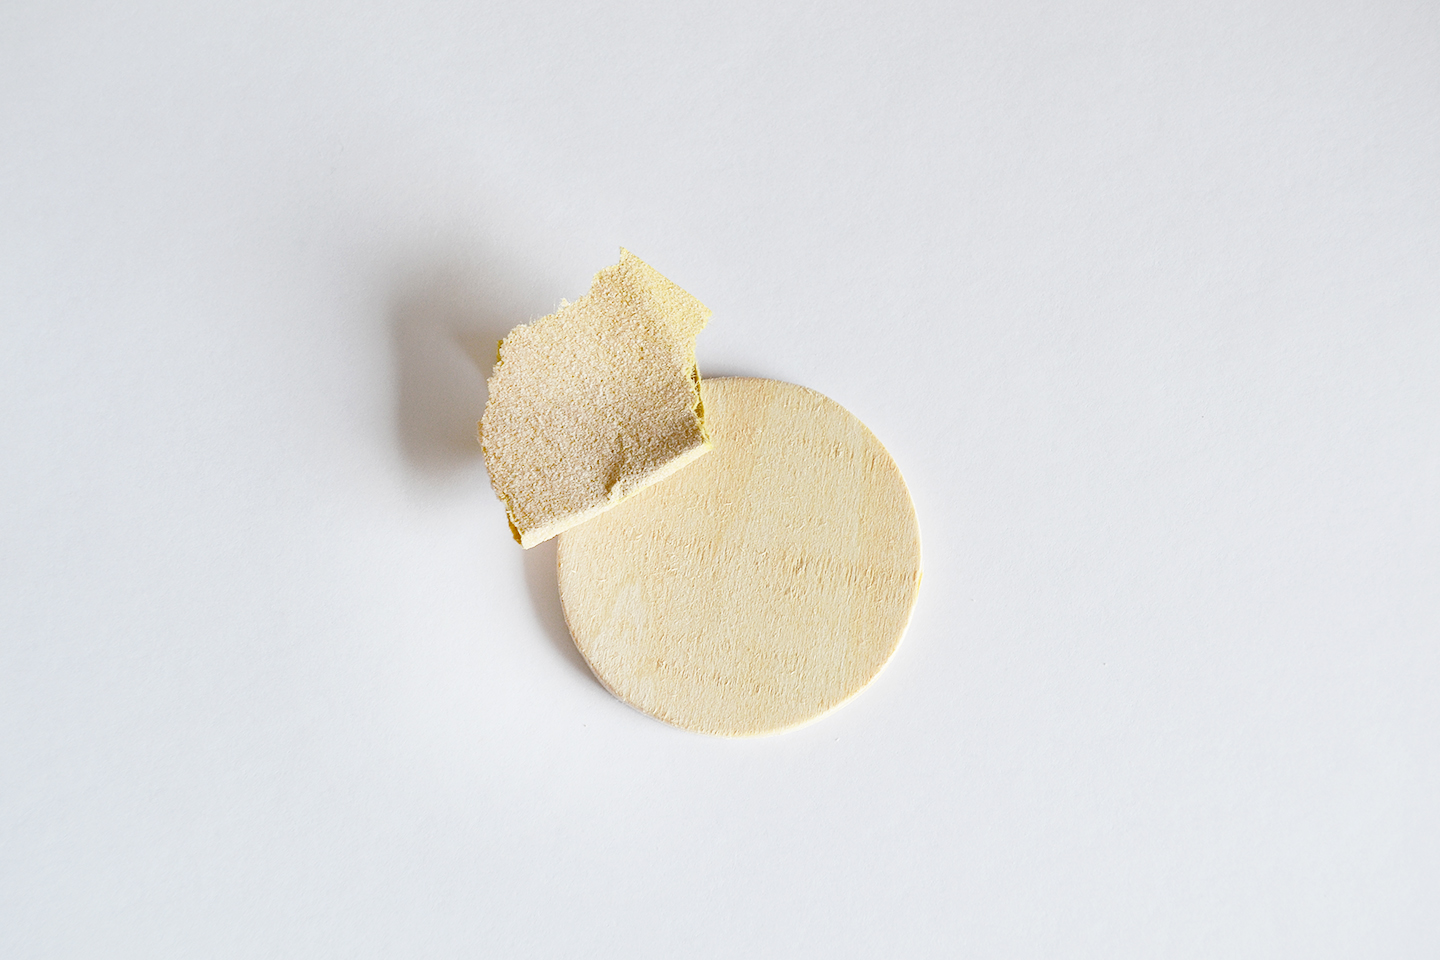
Step 1. Sand down your circle for it to be clean and free of splinters – most craft store wood circles that come in big packs aren’t sanded down and smooth.

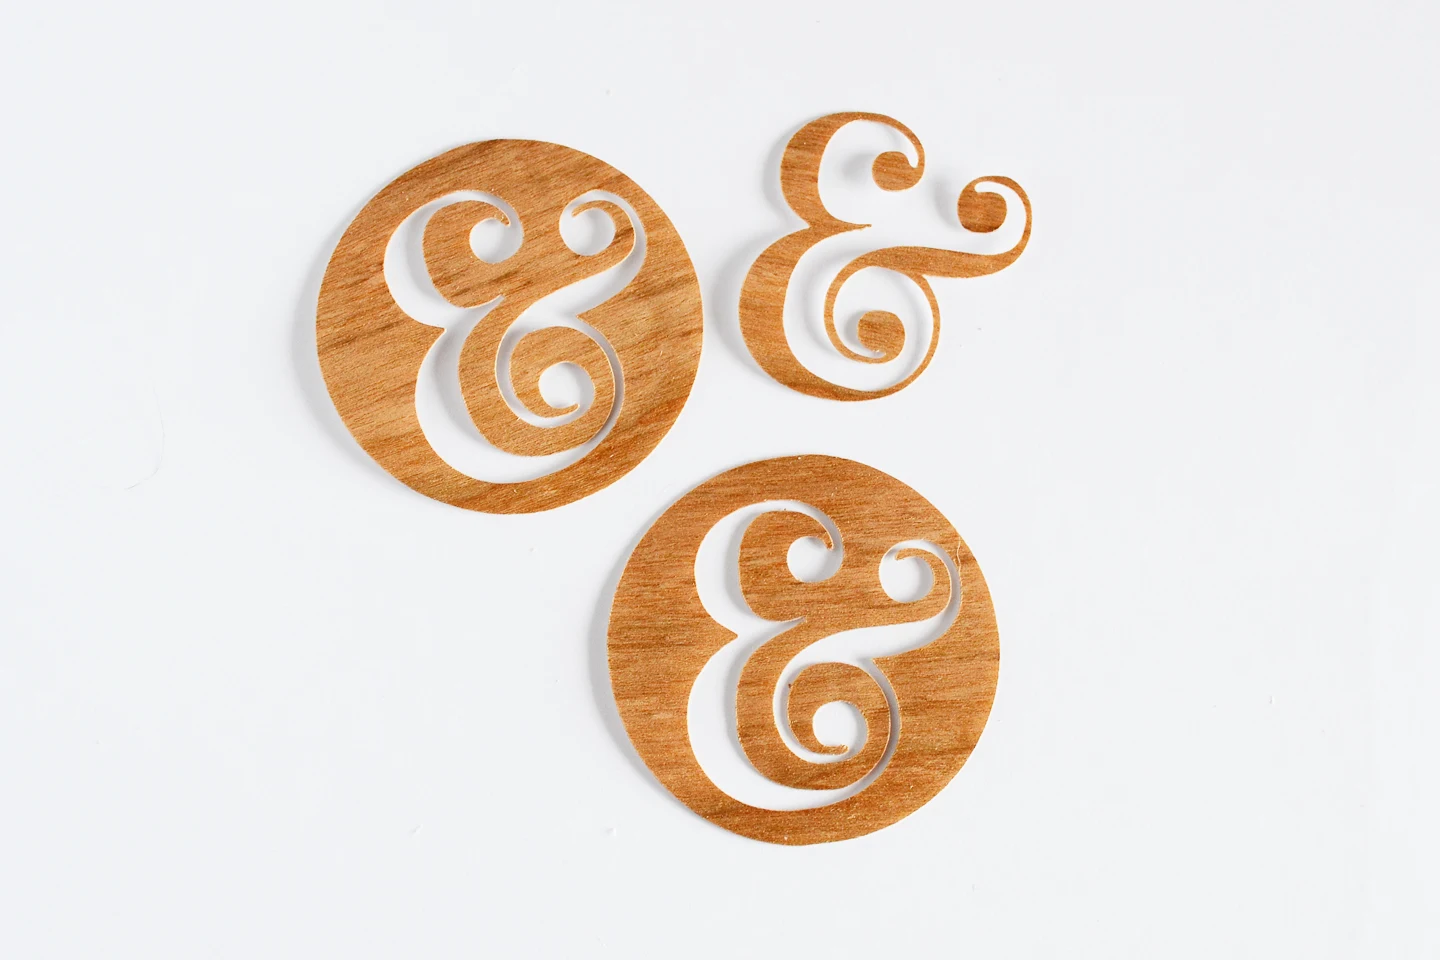
Step 2. Measure your circle. With your die cutter, cut a circle from the wood veneer the size of your wood circle, with the ampersand image (or any letter) you want to use. No die cutter? No problem – you can also use a wood circle punch and a shape punch of your choice.


Step 3. Adhere the punched circle veneer onto the craft store wood circle – most wood veneer sheets have an adhesive backing, but if yours doesn’t, a light coat of Mod Podge before application will do the trick.
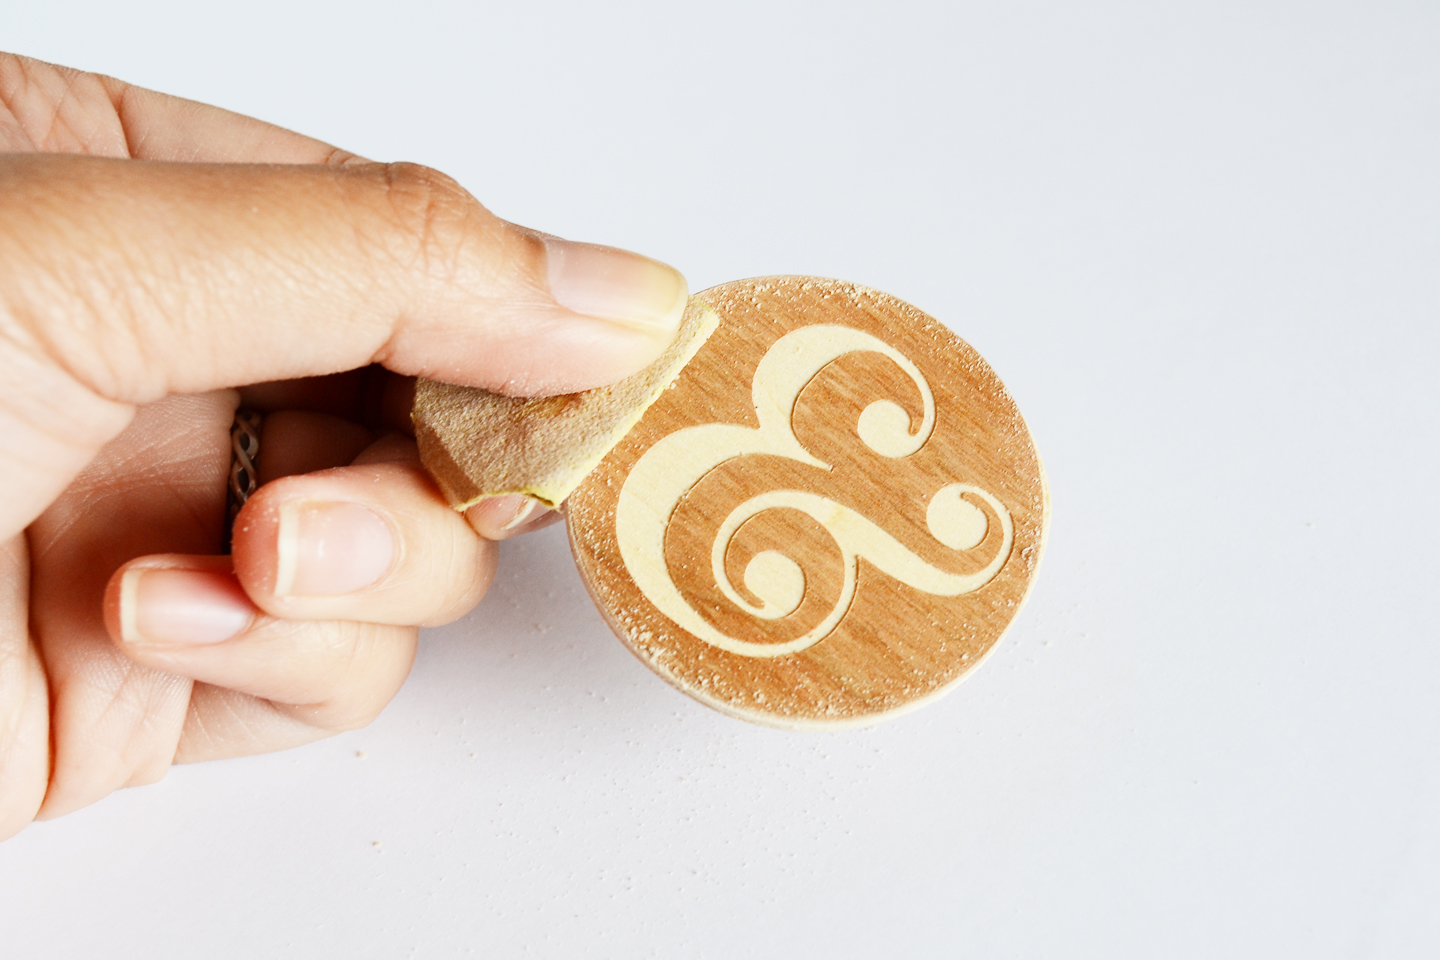
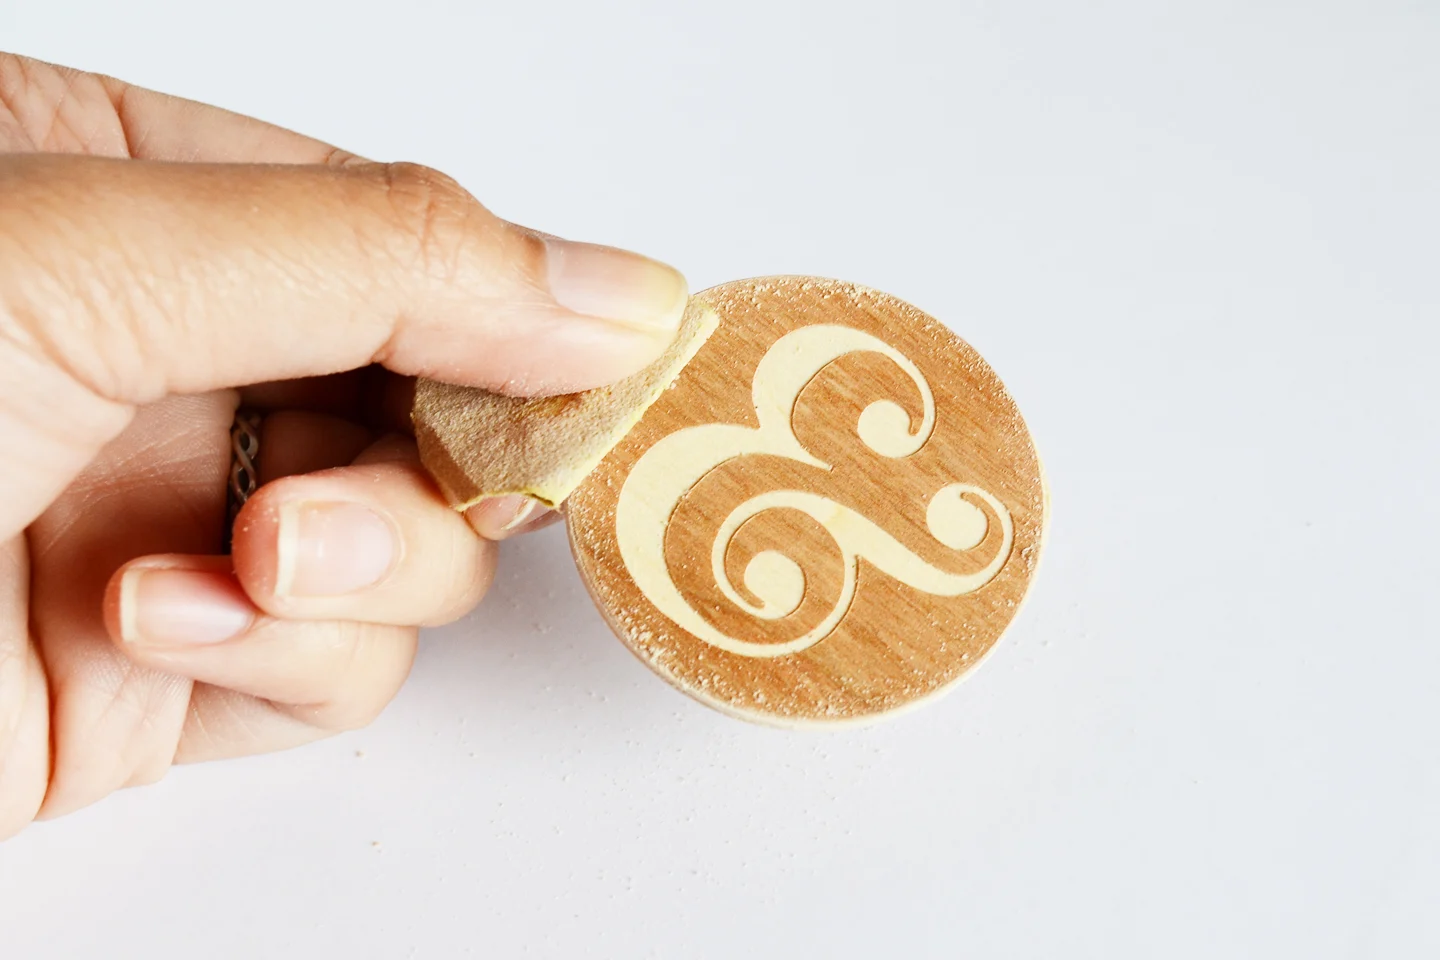
Step 4. Sand the edges of the veneered circle to ‘blend’ the veneer onto the wood to make it look seamless.
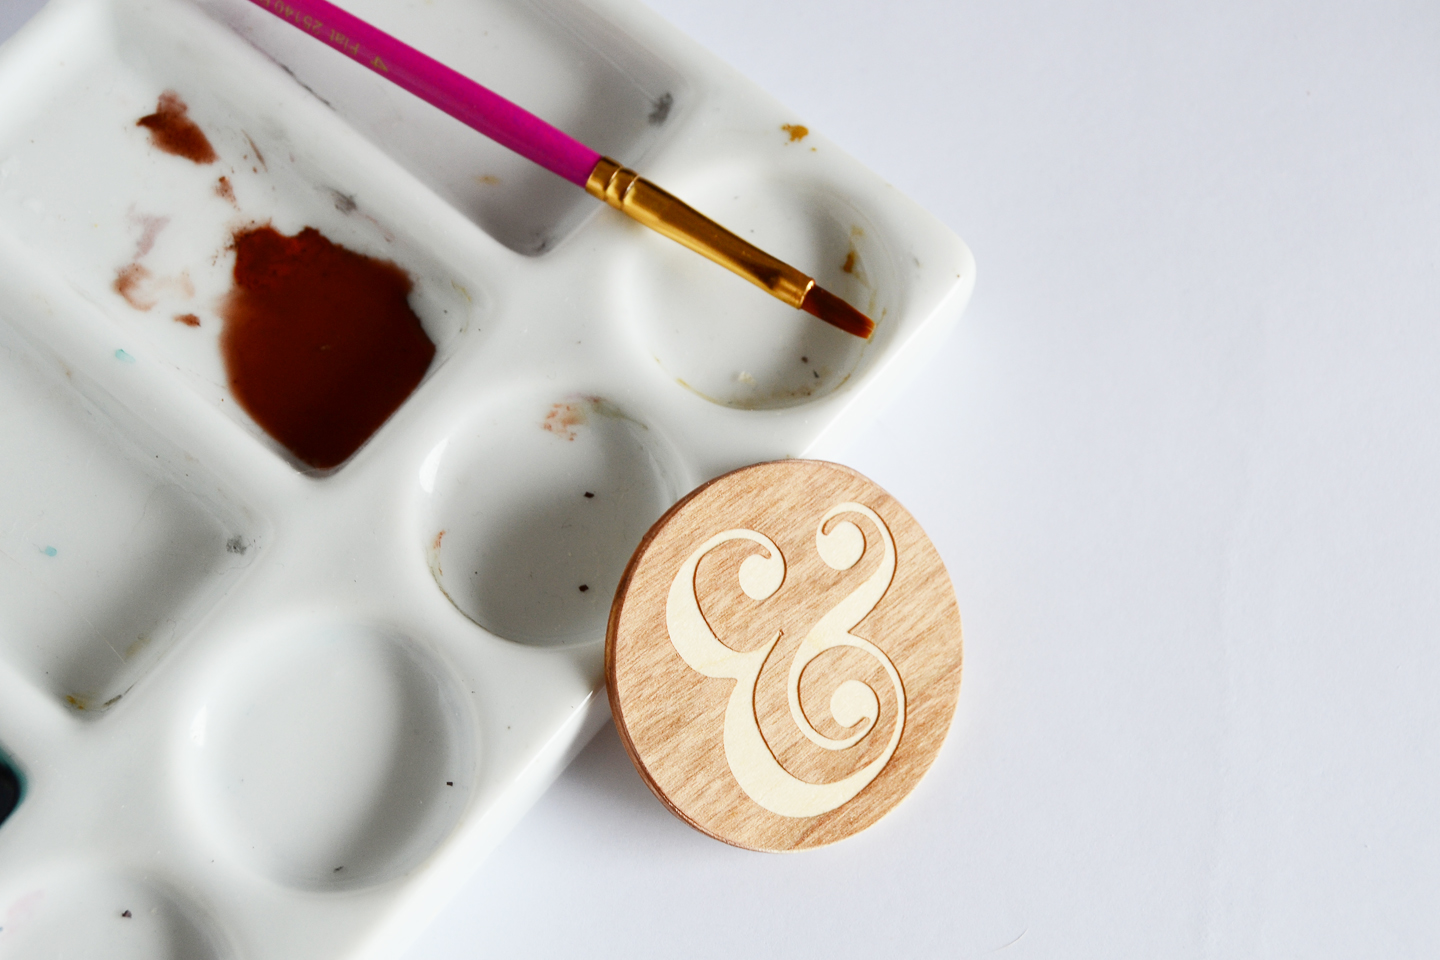
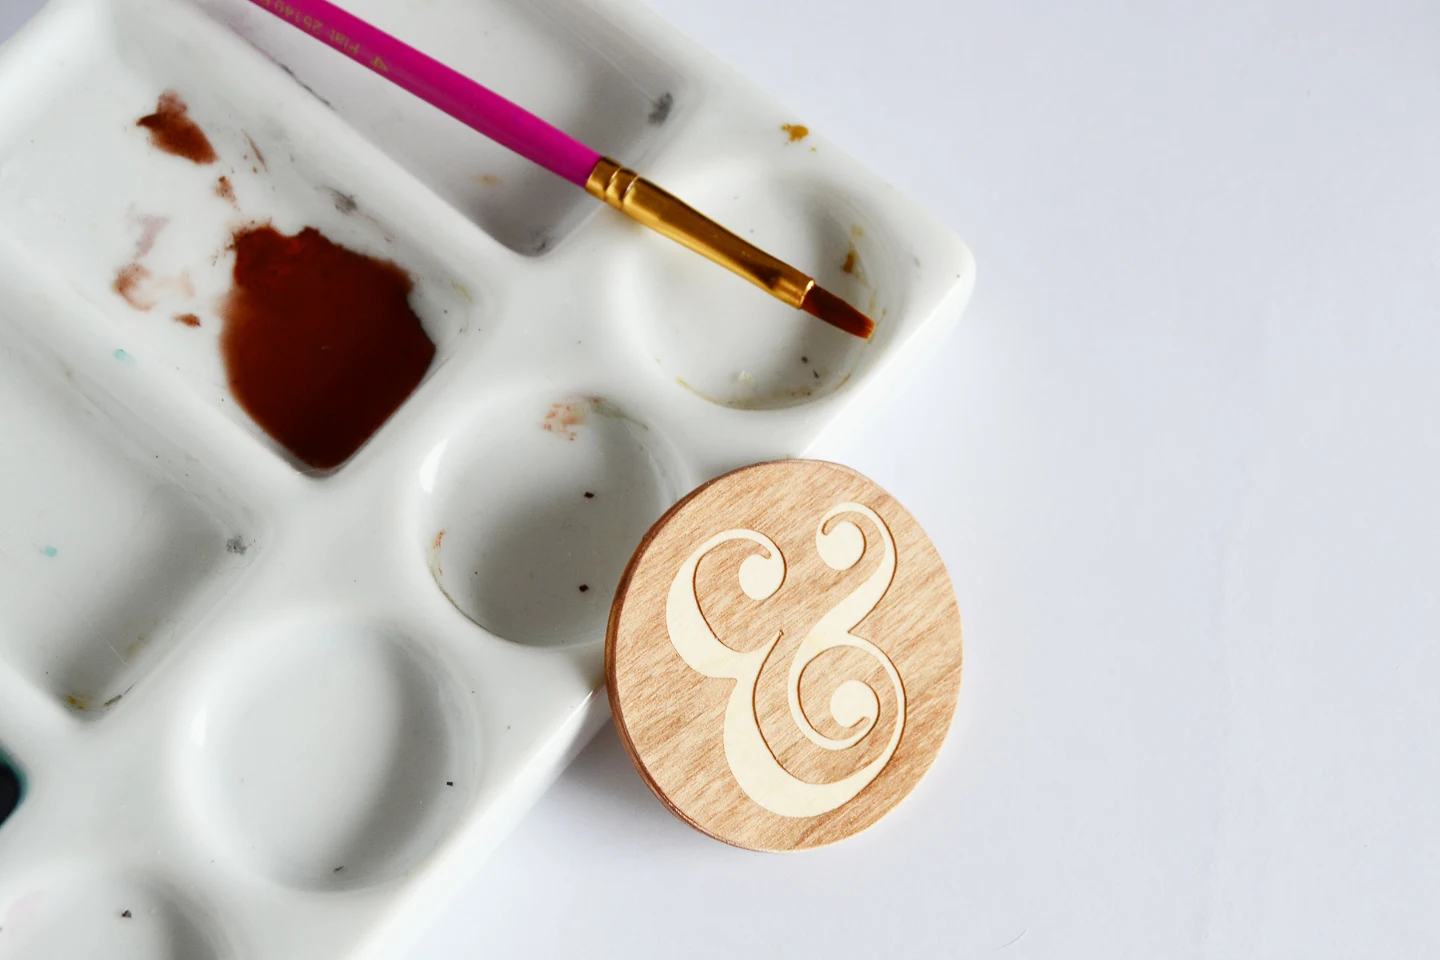
Step 5. Use watered down watercolor paint to paint the edges and the backside of your circle – this is to make it look like one whole piece even further.

Step 6. Use Mod Podge to fully coat the pieces and make them sturdy for daily use. I did at least two coats of Matte Mod Podge, and one coat of hard coat Mod Podge.

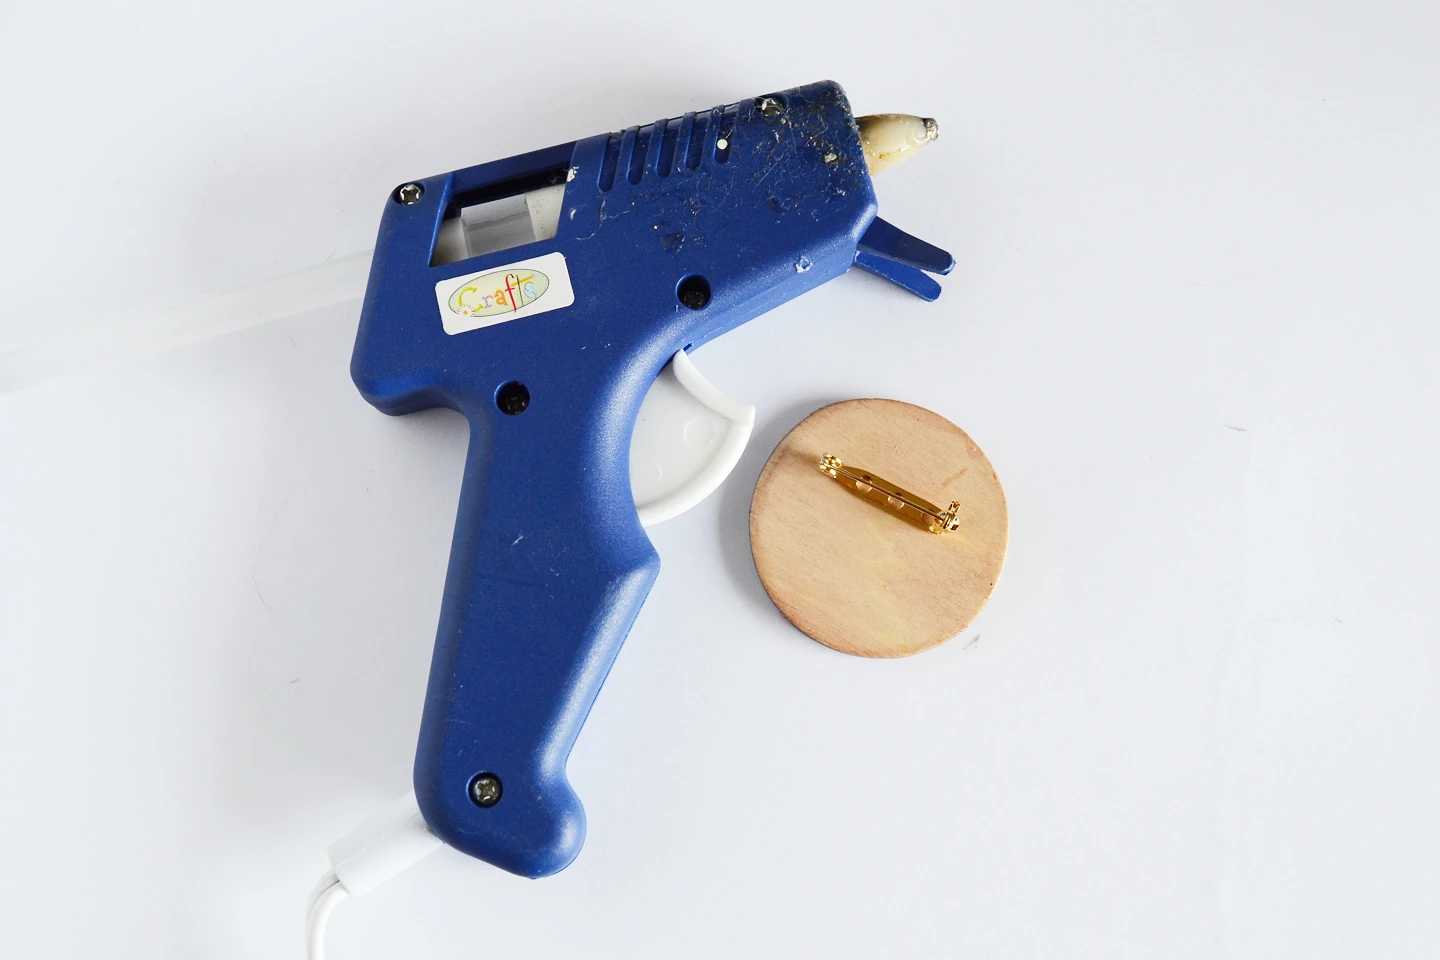
Step 7. Finally, attach your pin backs using hot glue – I find that stronger glue isn’t needed for wood pieces and that hot glue is sufficient, but you can always use E-6000 glue or something similar.
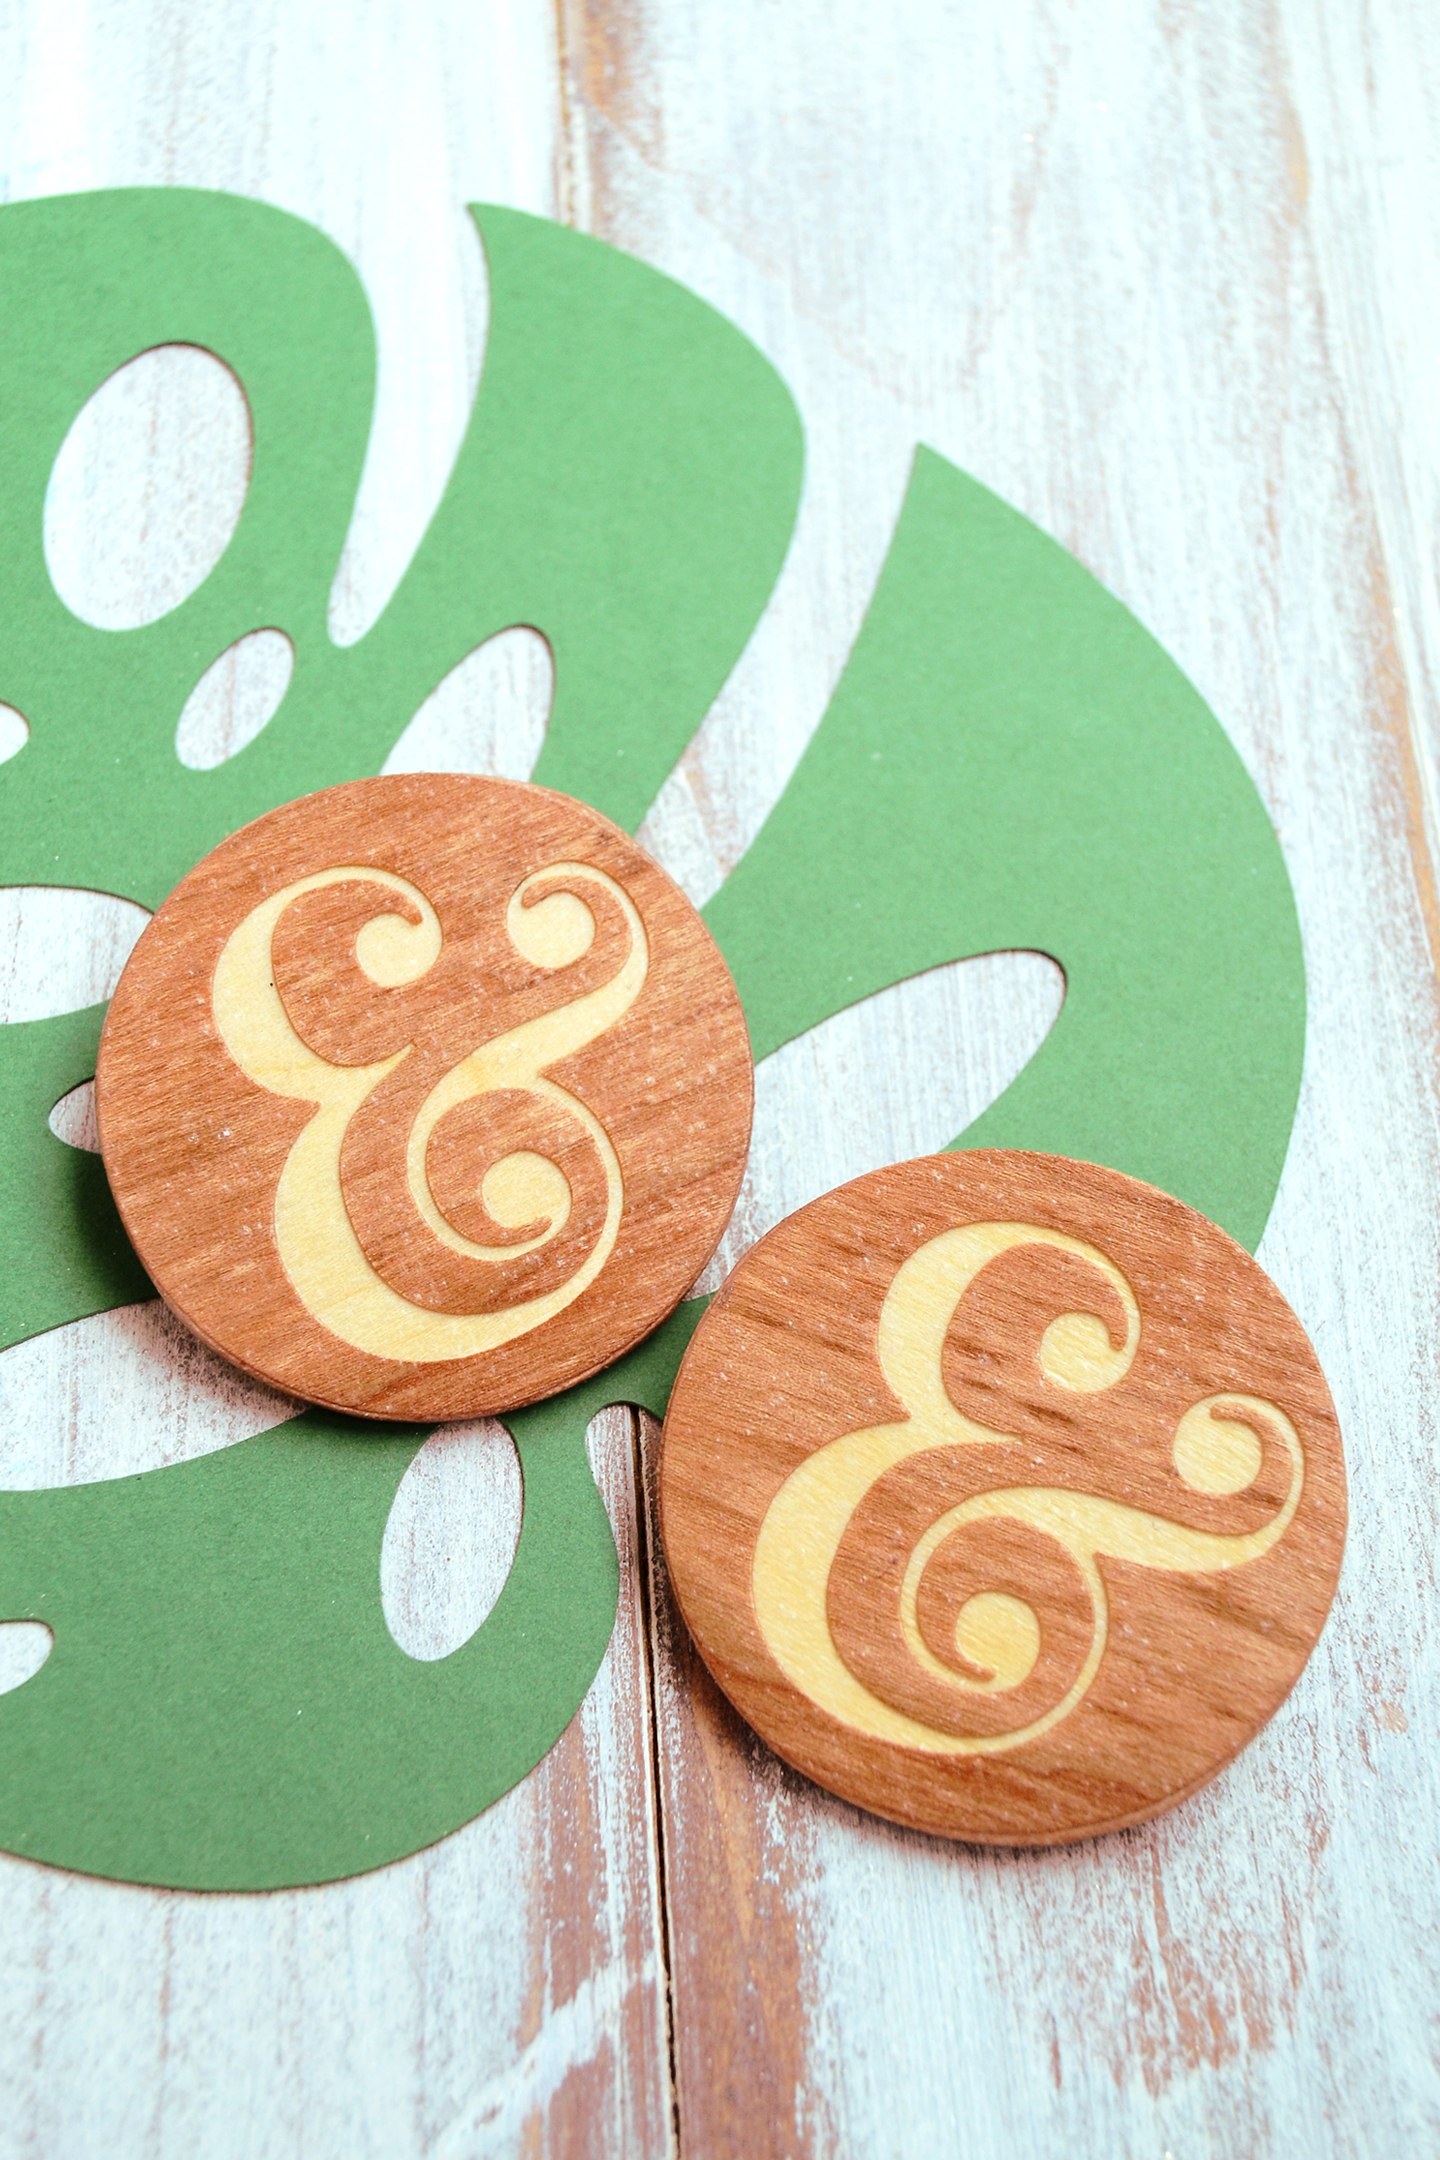


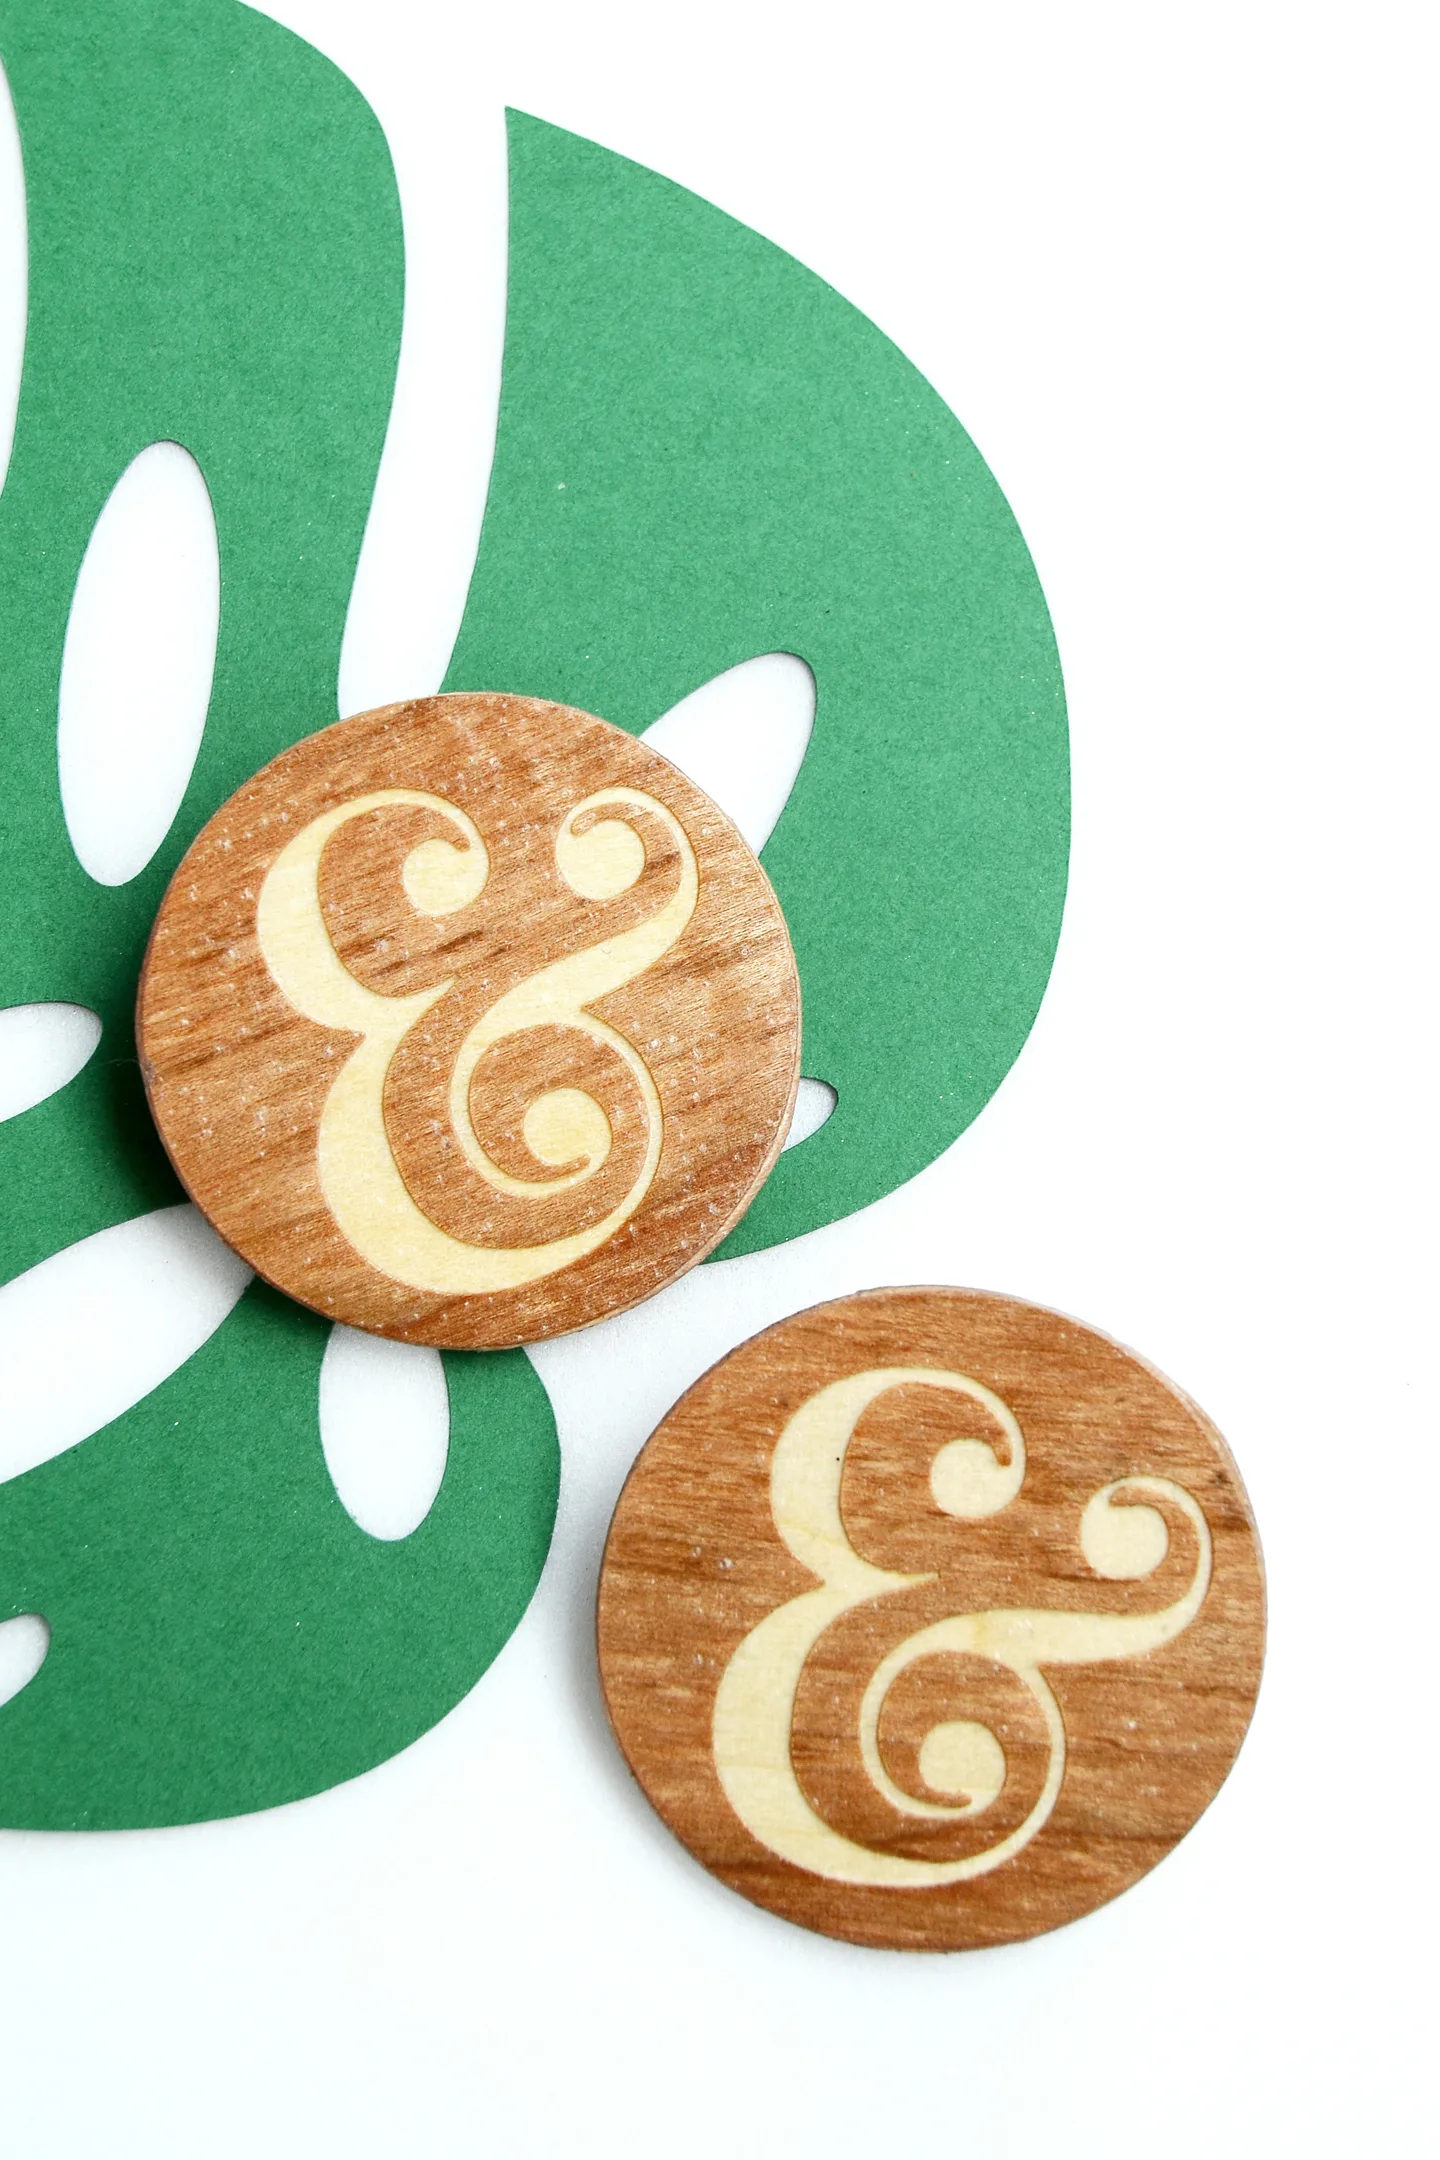
And you are done! The awesome thing about these DIY pins is that you can do not only ampersands but words as well – customize it and create your own!
I would love it if you follow me or check out my blog for more tutorials and ideas like this 🙂 I’d also love it if you’d check out the ideas below:
Marie Anderson
Thursday 6th of October 2016
Ampersands are pure design. It’s great that you’ve found such a creative way to pay homage to it! It’s really cool to come here and always find new inspiring stuff! Thanks a lot.:)