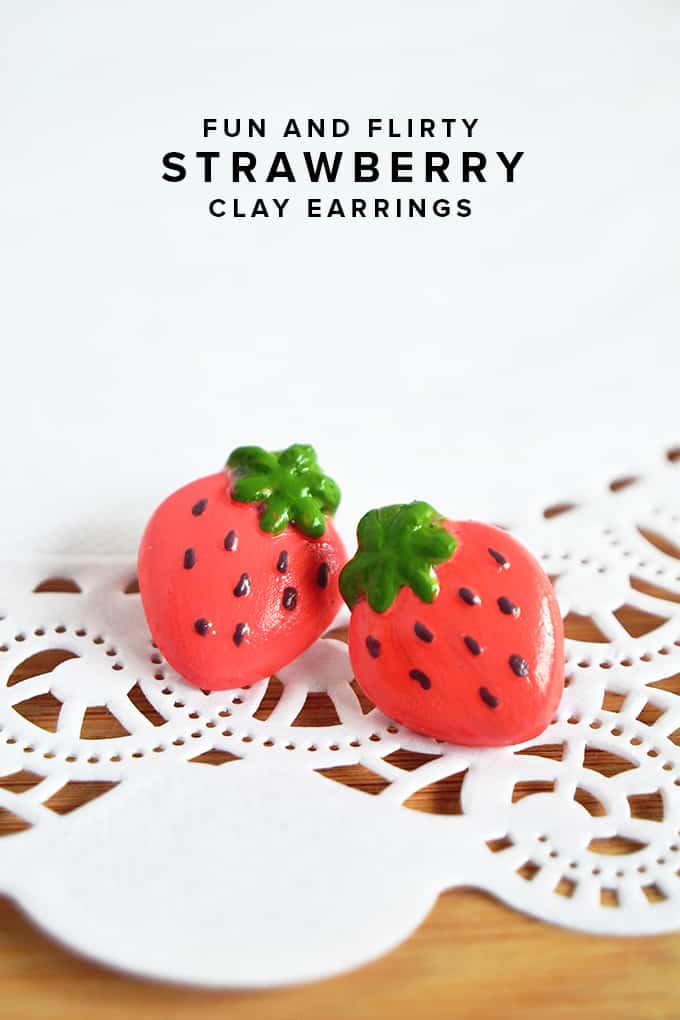
Just in time for strawberry picking season – some fun and girly handmade earrings! These are such a great gift and are easy to make with Mod Molds.
Skills Required: Beginner. You’ll make these clay earrings by pressing your material into a silicone mold. It’s pretty simple, even if you’ve never made jewelry before.

Hey guys! It’s Aki again from Minted Strawberry, back with another jewelry tutorial! It’s almost strawberry picking season here, and I was dreaming of making some fun and girly strawberry clay earrings.
I decided I would gift these homemade earrings to my little sister since we both love strawberries. This is a great craft for people of all ages, including teens. Thanks to the Mod Melts Trinkets mold, this project was fast and easy! See how I made it.
Handmade Earrings
Gather These Supplies
- Mod Melts Trinkets Mold (or other silicone mold from the craft store)
- Paintbrush
- Cornstarch or baby powder
- Polymer clay
- X-Acto knife or Box knife
- Earring posts
- E-6000
- Mod Podge Dimensional Magic
- Acrylic paints
- Floral foam
Prepare Your Mold
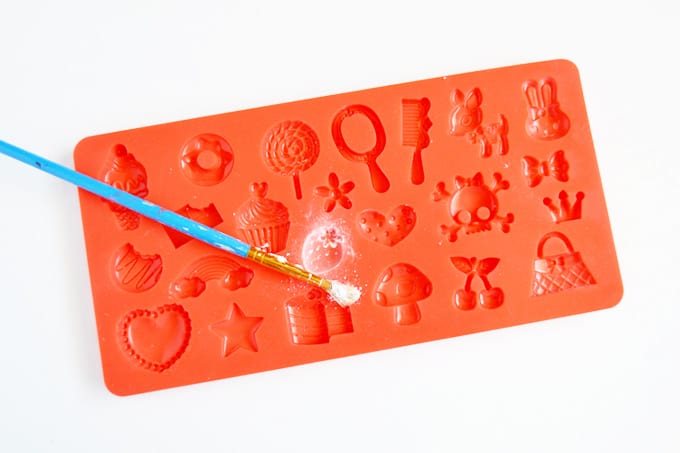
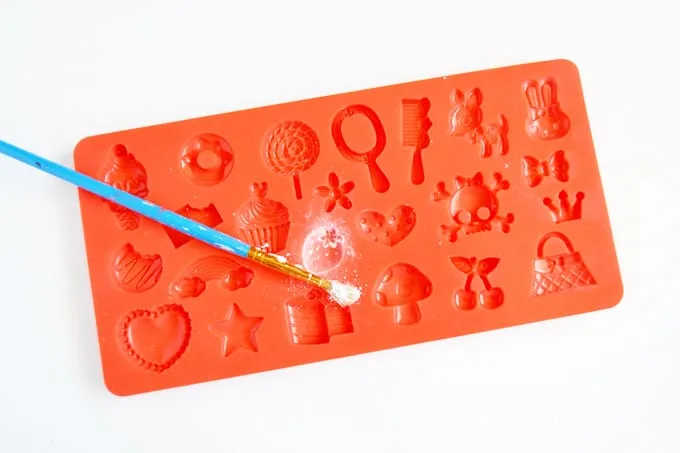
Step 1. Dust your mold with some cornstarch or baby powder. In my opinion, it’s important to apply this technique when using molds with more details (such as the trinkets mold in the picture below).
Why do this? So that when you press the clay down into the smaller grooves of the mold, it’s easier to release – since the clay won’t stick to the powder.
Form the Earrings Shape
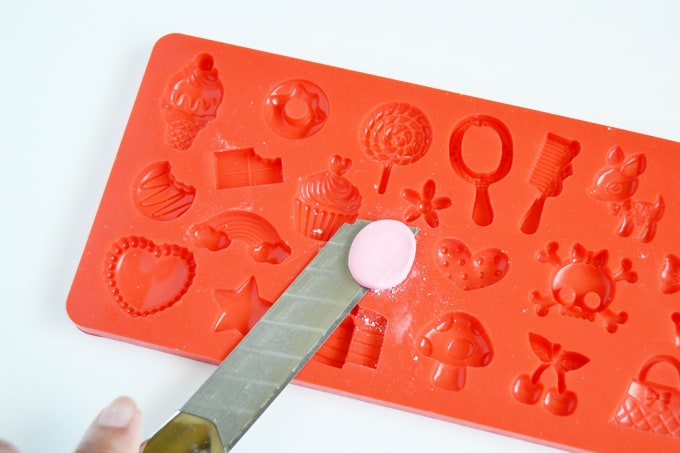
Step 2. Knead your polymer clay until it’s softened and roll into a small ball. Press the ball of clay onto the strawberry mold, forming it to the edges. Release your clay from the mold and chill in the fridge for about 20 minutes to harden.
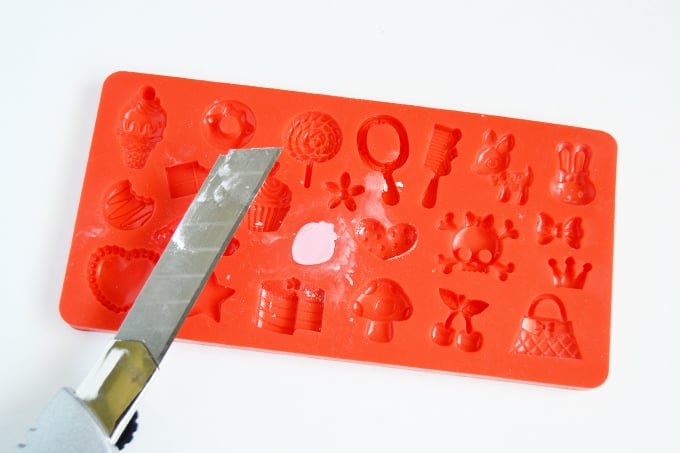
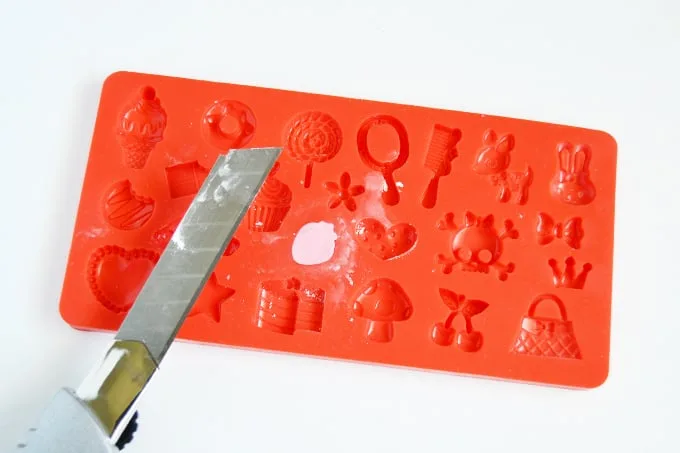
After hardening, put it back in the mold and use a box cutter or X-Acto knife (coated with a bit of cornstarch so it doesn’t stick to the clay) and saw off the excess clay like in the photo below.

Step 3. After removing the excess clay, press your clay once again to the mold to flatten the back of the strawberry shape.
Release the Clay and Bake
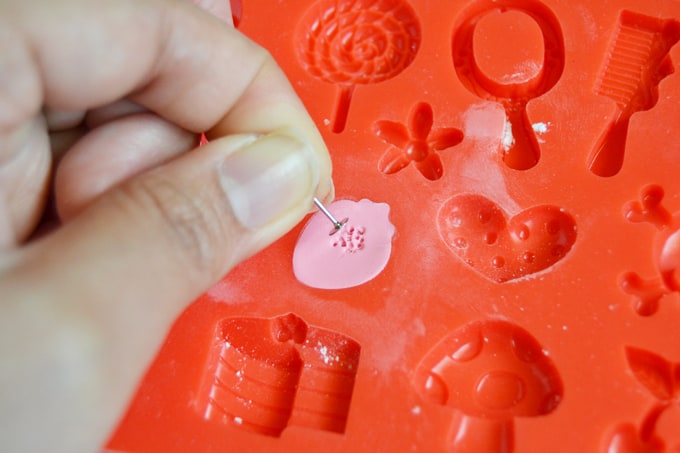
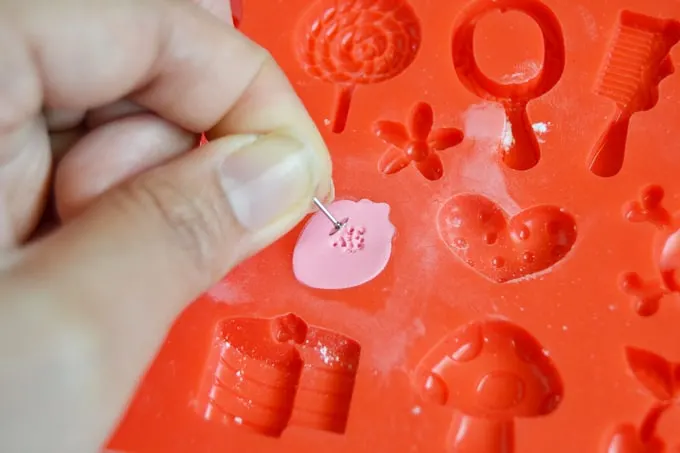
Step 4. Poke some holes into the back where you want to adhere your earring posts onto. Again, release the clay from the mold. Do it carefully so that you don’t mess up your shape.
Bake your handmade earrings according to your polymer clay package’s directions. Mine took about 15 minutes at 275 degrees.
Paint Your Earrings
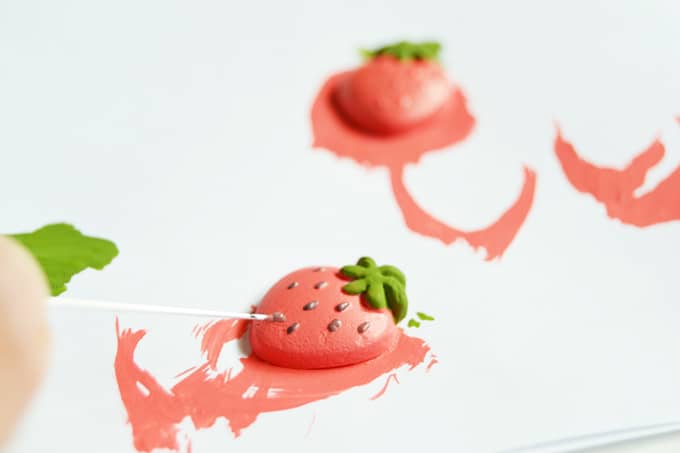
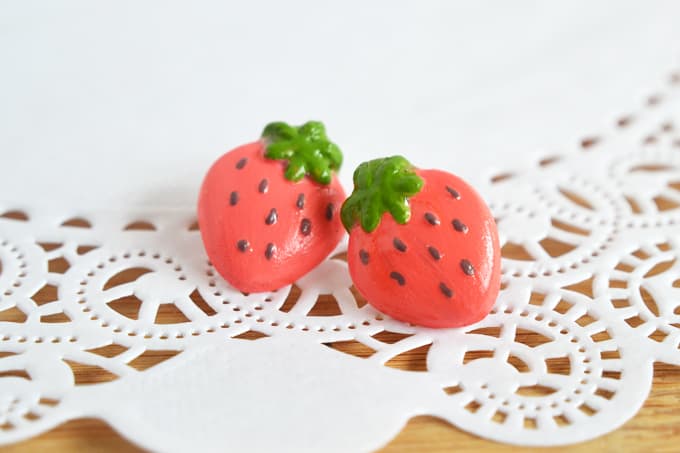
Step 5. Start painting the details of your strawberries! I used a leaf green for the tops to compliment the pink color of the clay.
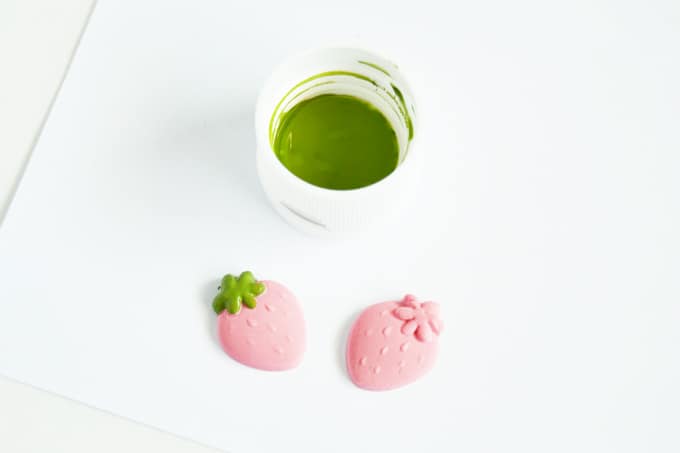
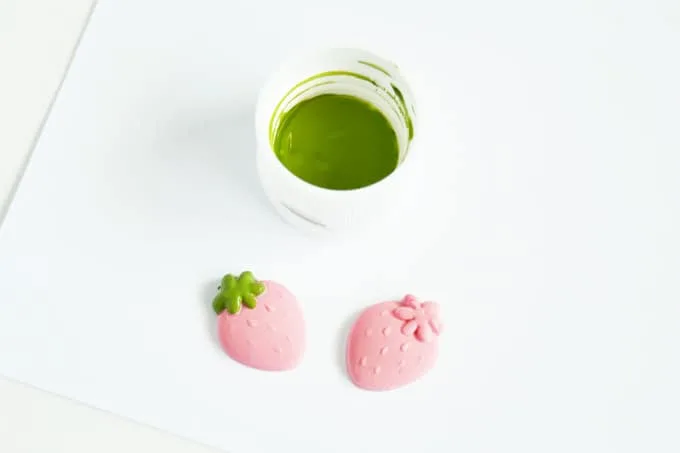
Then I decided I wanted to paint the strawberry itself a coral pink color instead of leaving it a bubblegum pink color.
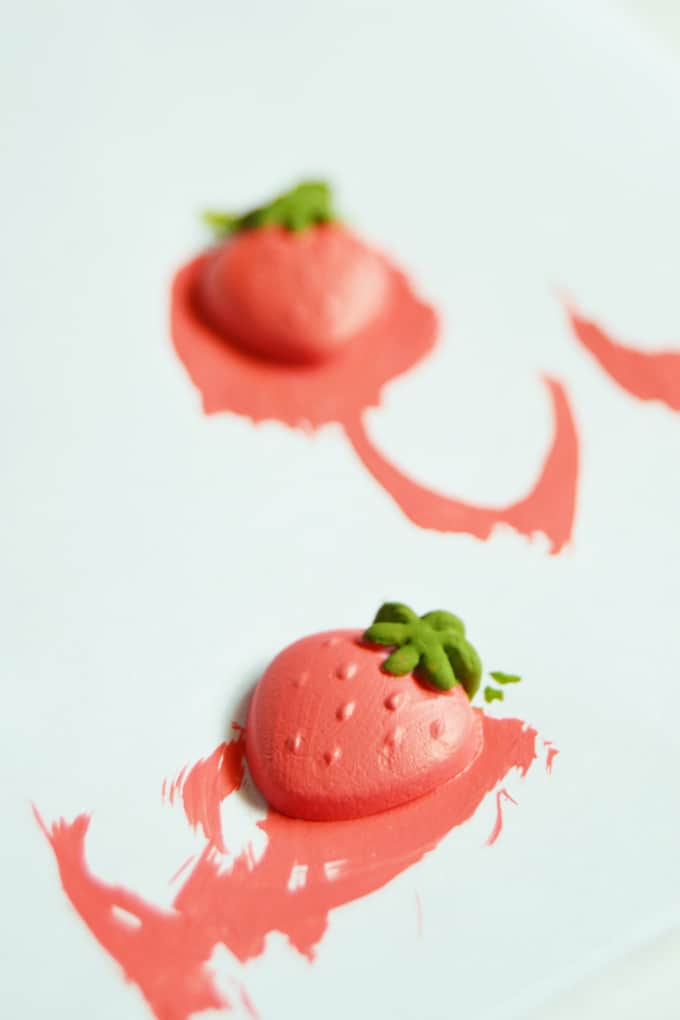
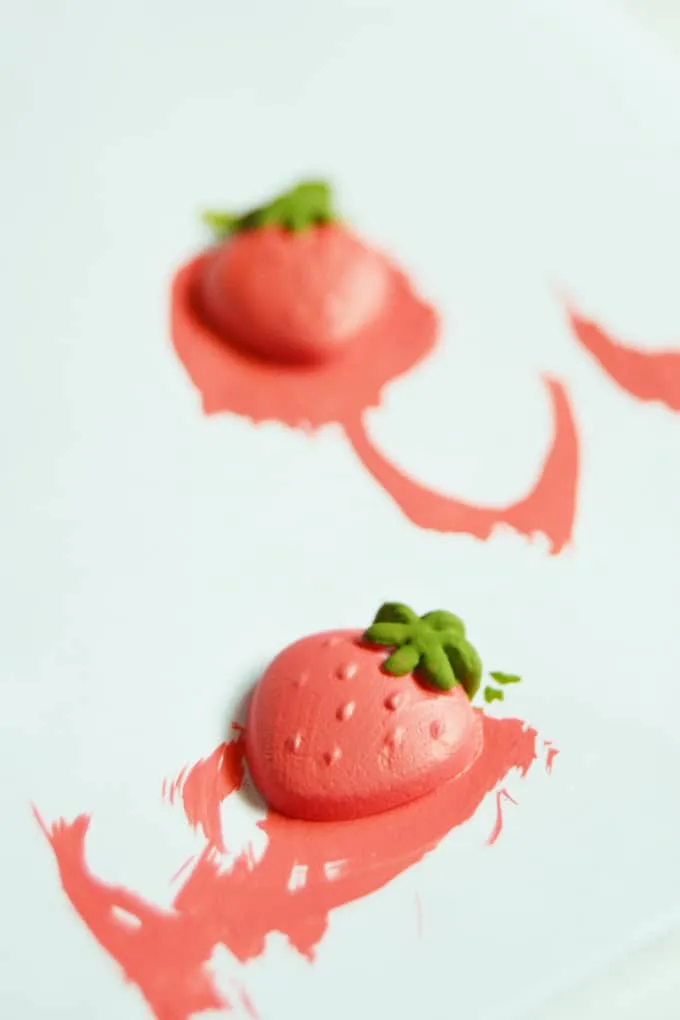
Step 6. Use a sewing pin to paint in small details such as the seeds.

Attach the Posts
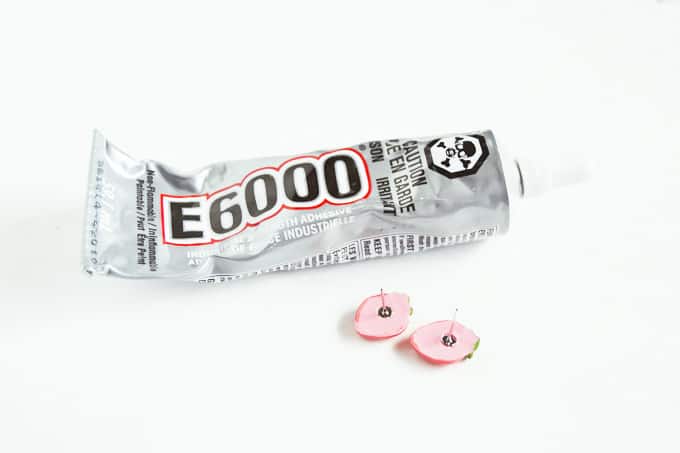
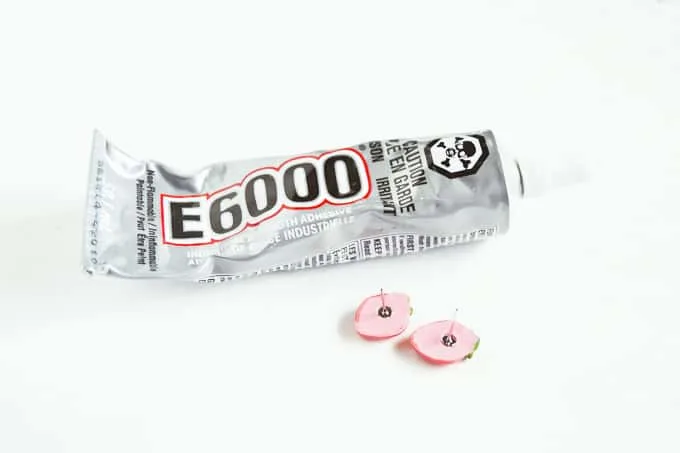
Step 7. Attach the earring posts using E-6000 glue. Let dry for several hours.
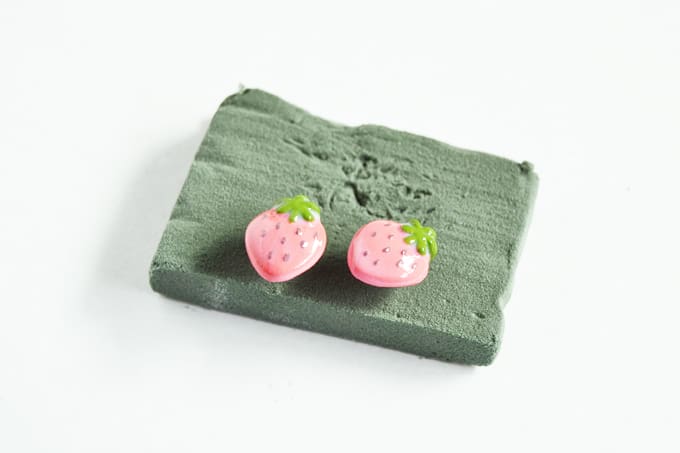
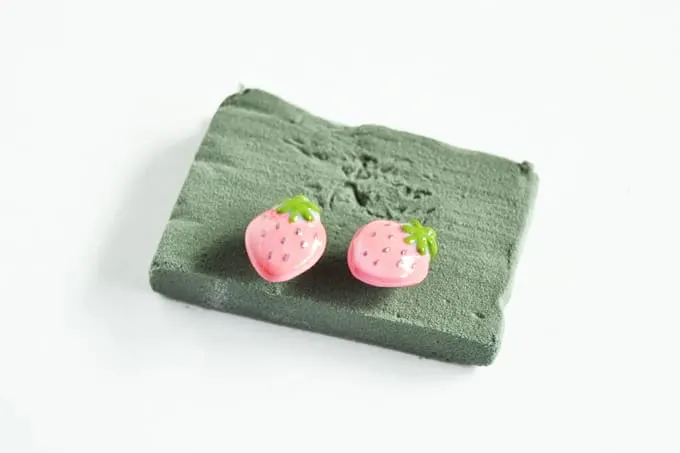
Step 8. Finally, coat your strawberries with some Mod Podge Dimensional Magic to seal the paint, and leave it for a couple of hours to dry. Stick it onto foam while drying so all sides can be aired out.
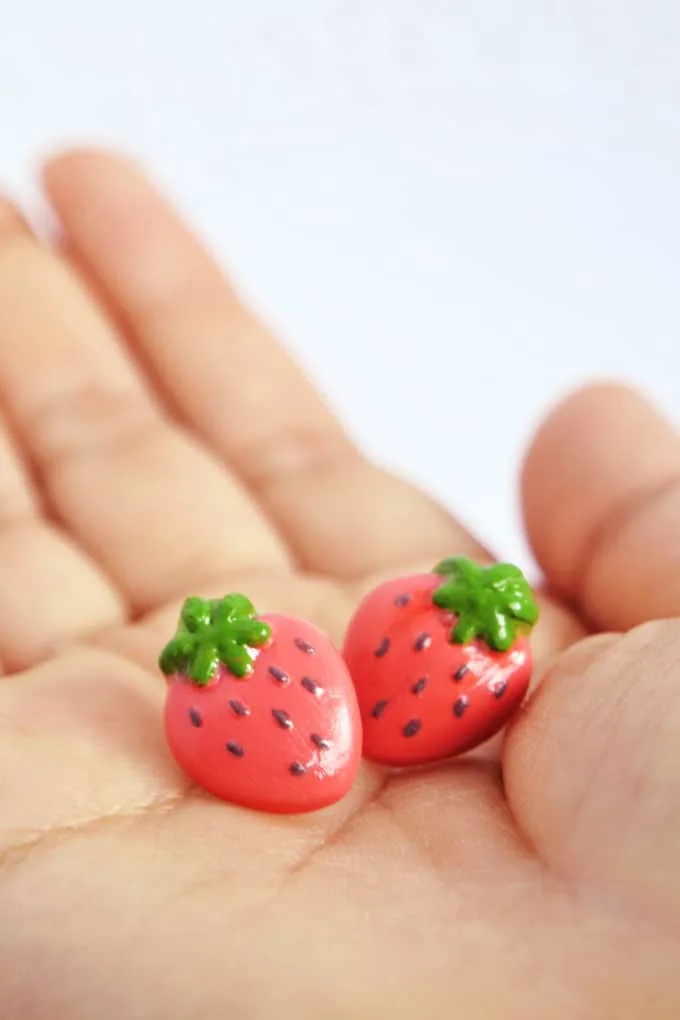
And you are done! If you aren’t into handmade earrings, they can easily be made into hair accessories by adhering the strawberries onto hairpins.
You can also make them into necklaces by switching out the earring posts with a pendant bail instead. I’m sure you’ll come up with some good ideas, too.

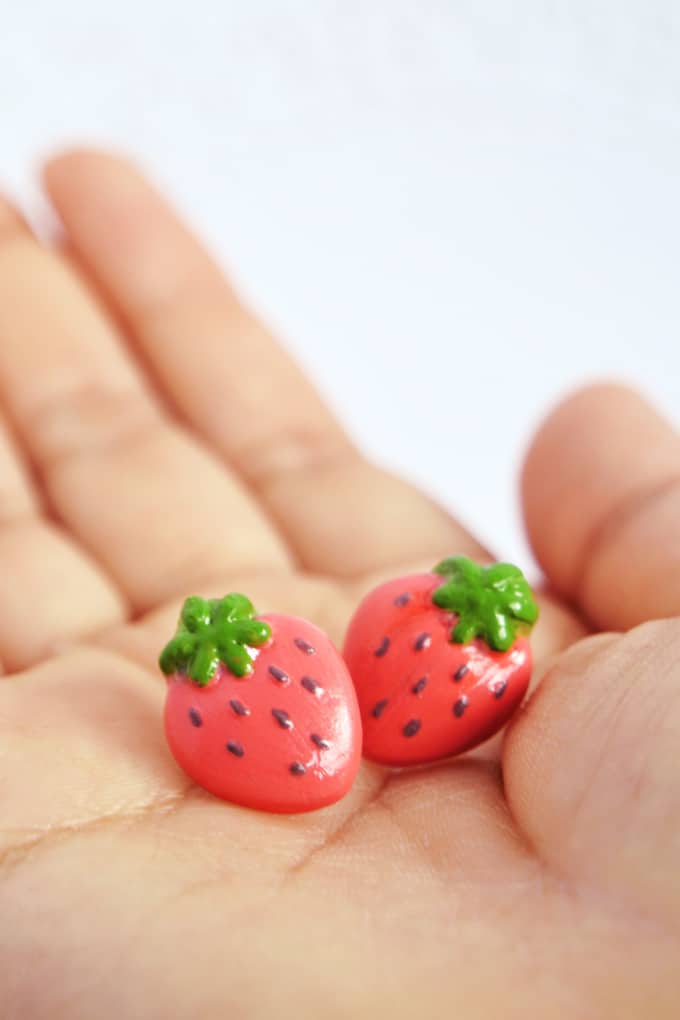
Perfect little accessory for that special little girl in your life, don’t you think? Or even as embellishments for your next summer project! In any case, these are fast, fun and flirty – and so enjoyable to make!
Hope you liked this handmade earrings tutorial! If so, I would love it if you visit me on my blog and follow any of my social media accounts. Happy crafting, friends!
Handmade Earrings
Learn how to make homemade earrings out of clay! This jewelry tutorial can be made into any shape.
Materials
- Silicone mold
- Baby powder
- Polymer clay
- Earring posts
- E-6000
- Mod Podge Dimensional Magic
- Acrylic paints
- Floral foam
Tools
- Paintbrush
- X-Acto knife or Box knife
Instructions
- Dust your mold with some cornstarch or baby powder.
- Knead and press a ball of polymer clay onto the strawberry mold. Release your clay from the mold and chill in the fridge for about 20 minutes to harden.
- After hardening, put it back in the mold and use a knife (coated with a bit of powder) and saw off the excess clay.
- After removing the excess clay, press your clay once again to the mold to flatten the back.
- Poke some holes on the back where you want to adhere your earring posts onto. Again, release the clay from the mold.
- Bake according to your polymer clay package's directions.
- Start painting the details of your strawberries. Use a pin for the details. Let dry.
- Attach the earring posts using E-6000 glue. Let dry.
- Coat with Dimensional Magic and let dry for several hours to finish.
Do you love these handmade clay earrings? I’d love for you to check out these other options with Mod Podge:
Jessica H.
Thursday 21st of May 2015
These are adorable!