This is one of those amazing gifts that the recipient will never expect – makeover a guitar with fabric, paint and decoupage medium!
Skills Required: Beginner. You’re going to be preparing a guitar for decoupage, painting, Mod Podging, and trimming. It helps to have experience with decoupage, and the biggest skill you need is patience.


Buuuut . . . it might be a good idea to learn how to play first, right? I’ve actually tried on several occasions to learn how to play the guitar, and it’s never quite worked out.
One of the issues is that I’m a Jimi Hendrix – I want to play left handed. So I’d to have to restring the guitar, and get someone to teach me that way, and well . . . that seems like a big mess.
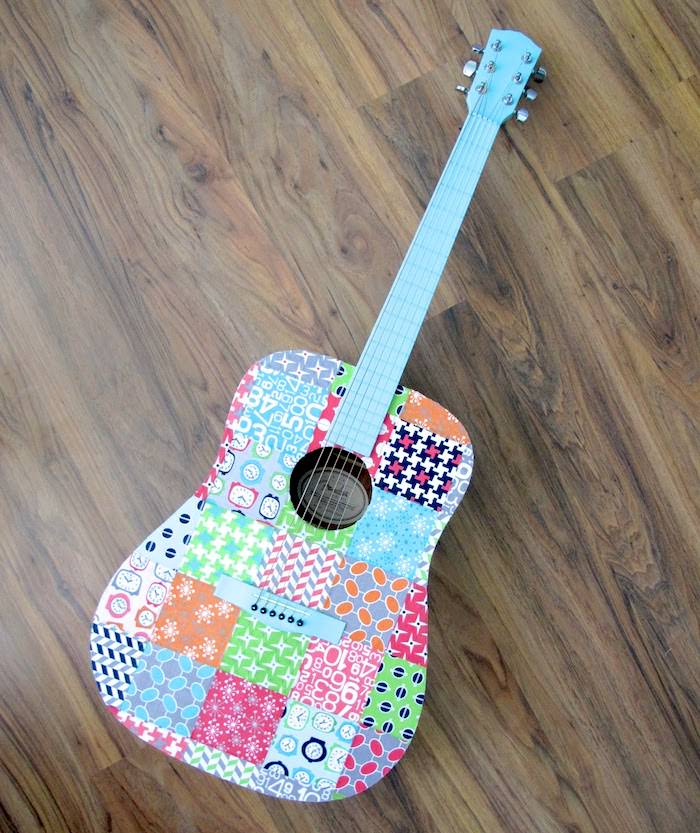

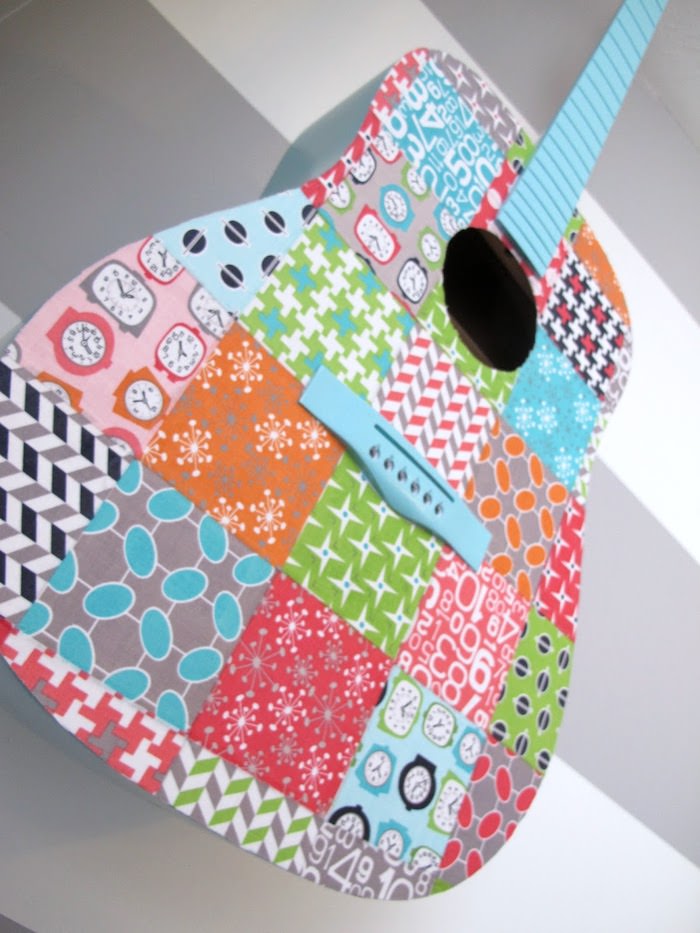
But If I did have a guitar, and if I did play it, I’d decoupage the socks off of it. I absolutely love this blue patchwork guitar from Lori. It’s so beautiful!
I’m not surprised her daughter loves it. And it matches a quilt that Lori made for her daughter as well, so it makes it even better.
If you want to learn more about this amazing guitar (and I’m not sure why you wouldn’t), visit her tutorial. You can also check out the how-to for this fun craft below.
Decoupage Guitar

Learn how to decoupage a guitar with fabric and Mod Podge! Make a beautiful instrument the easy way.
Materials
- Guitar
- Mod Podge Hard Coat
- Acrylic paint
- Spray primer
- Fabric - multiple designs
- Scrap paper
- Painter's tape
- Sandpaper (optional)
- Wax paper
Tools
- Tool set
- Paintbrush
- Ruler
- Craft knife or scissors
Instructions
- Remove the hardware and strings from the guitar and set aside.
- Tape a piece of paper inside the sound hole using the painter's tape.
- Spray the entire guitar with a coat of primer and let dry. Use the sandpaper if necessary and wipe away the dust.
- Paint the guitar using a paintbrush and let dry. Don't paint the front of the guitar.
- Lay your fabrics out on the wax paper and paint with a coat of Mod Podge (this will prevent fraying). Let dry.
- Cut the fabrics into squares using a craft knife and ruler.
- Mod Podge the fabrics to the front of the guitar using your brush. You can leave the fabrics to hang over the edges at this point. Let dry 15-20 minutes.
- Apply a top coat of Mod Podge to the fabrics. Let dry. Trim off the excess using a craft knife.
- Replace the hardware and the strings to complete your project.
Laura / Pet Scribbles
Tuesday 18th of February 2014
This guitar is amazing! I'm blown away that it also matches a quilt. That's like Mom of the Year!
Rachel
Monday 17th of February 2014
the guitar looks sexy actually.. I also tried to learn how to play guitar, but I have tiny hands and I can't reach the chords.. I haven't had money that time when I was eager to learn, but eventually forgot or just gave up even though I could buy a customized guitar.. I just jammed with my brother and my friends who knows how to play.. well, I kinda sing. ;)
Linda Maggs
Sunday 16th of February 2014
Thanks, Amy, for sharing this.... the guitar looks absolutely gorgeous!!