Learn how to make bottle cap magnets with Mod Podge. This is an easy craft idea for both kids and adults! Great for gifts and home decor.
Skills Required: None. Even if you’ve never crafted before, you can make these DIY bottle cap magnets. Young children made these, with the help of grown ups, so you can too.


If you’re looking for a gift idea today, then you are WAY late. I mean Christmas is tomorrow. But don’t worry, I’m not judging you. I’ve been in this predicament before myself. So I’m here to help with some easy to make fridge magnets!
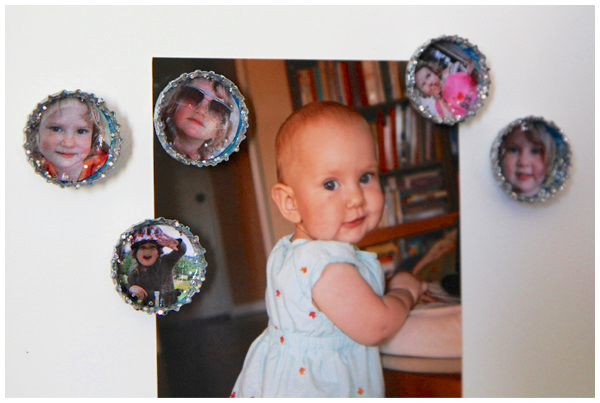
These personalized bottle cap magnets found at The Creative Salad are a great idea, and once you have the pictures it doesn’t take long to put them together. And guess what – they are a cute recycled craft as well, so you won’t be spending much money, if any!

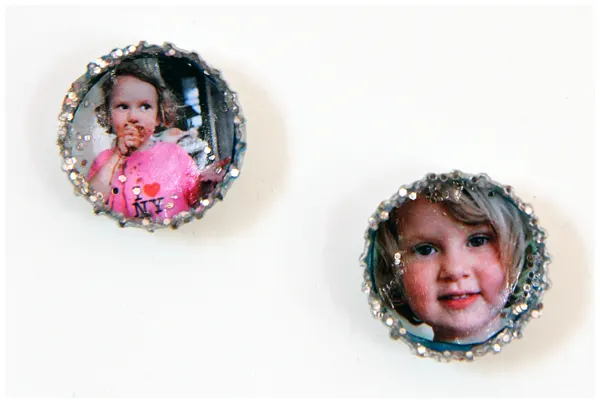
If you don’t have bottle caps, wood circles would work as well. Just hit these puppies with a bit of glitter and you are good to go! And who doesn’t love pictures of their children/grandchildren as a gift?
Learn how to make these little cuties below, step by step.
Bottle Cap Magnets
Learn how to make DIY magnets with bottle caps! You probably have the supplies in your home already. Easy for both kids and adults.
Materials
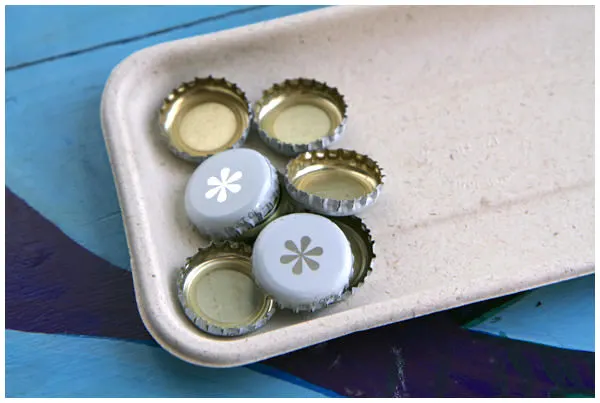
- Bottlecaps - 12
- Mod Podge - Gloss, Satin, or Matte
- Mod Podge Dimensional Magic (optional)
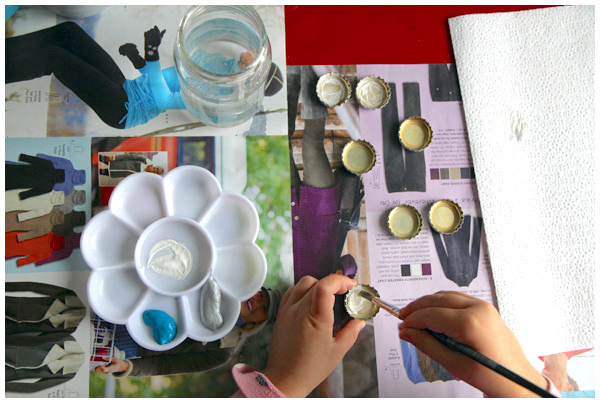
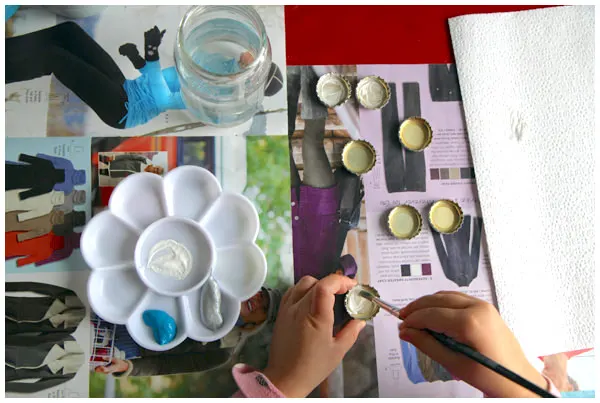
- Acrylic paint
- Magnets - 12
- Craft glue
- Hairspray (optional)
- Glitter (optional)
Tools
- Paintbrushes
- Printer and paper
- Scissors
Instructions
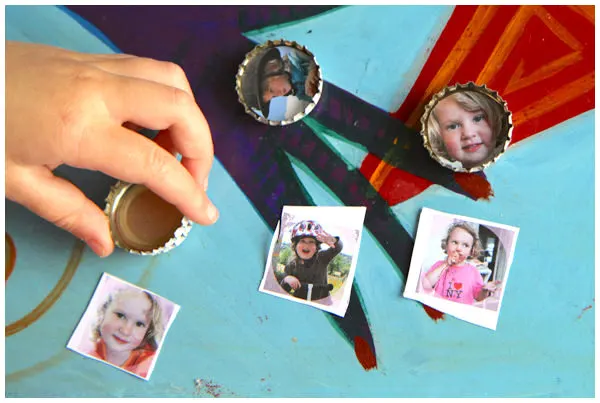
- Gather twist off bottle caps until you have enough to make several magnets.

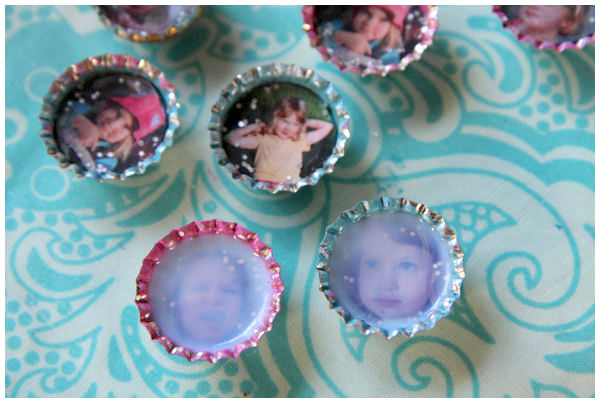
- Paint the outside of the bottle caps with various colors of acrylic paint and let dry. Give several coats until fully covered.
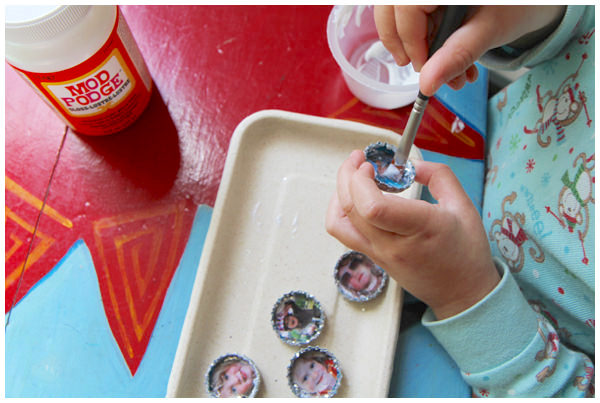
- Size your photos to fit and print them out. Spray seal both sides of the print out with hairspray if inkjet.

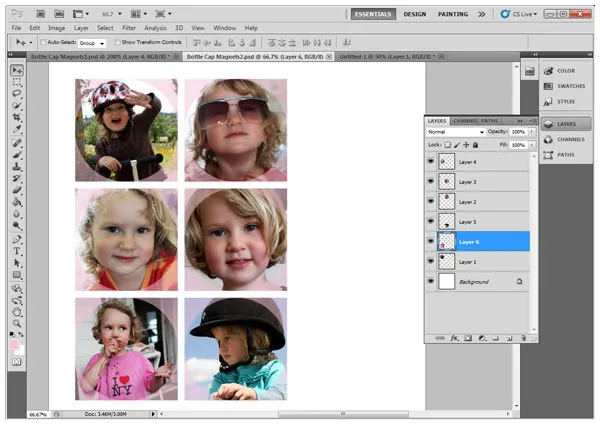
- Cut the photos to fit the bottle caps using scissors.

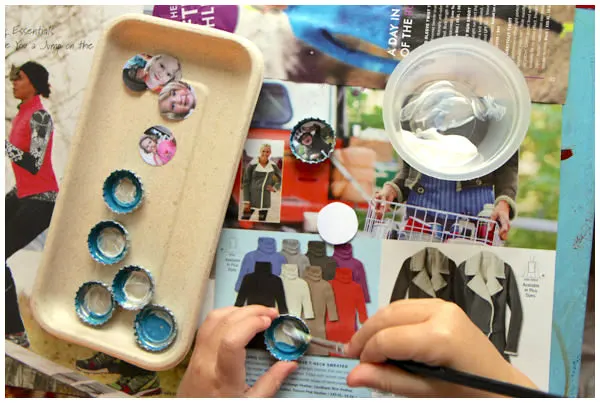
- Add Mod Podge to the inside of the bottle cap and press the photo down. Let dry. Add a top coat of Mod Podge and let dry.

- If desired, paint the edge of the caps and areas of the image with Mod Podge and sprinkle glitter. Let dry.
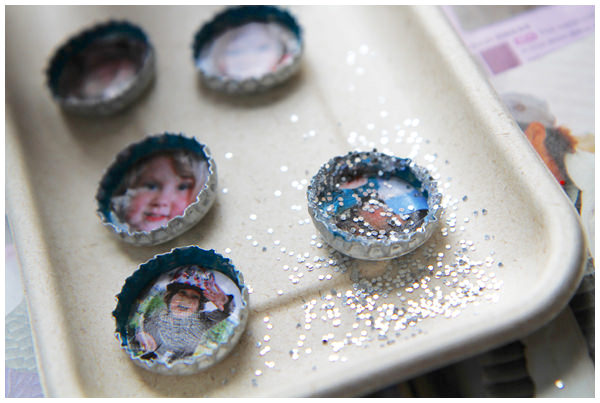

- Shake off the excess glitter and give the entire inside of the cap another coat of Mod Podge. Let dry.

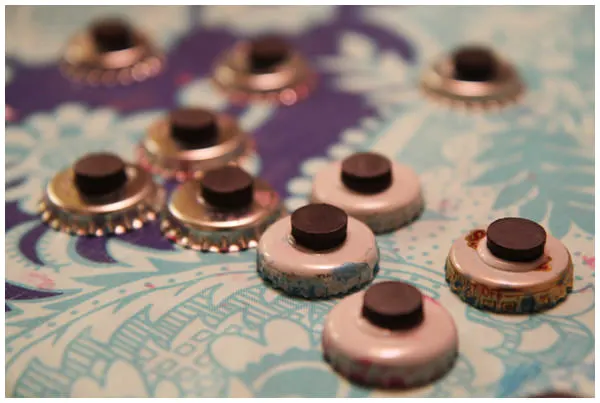
- Glue magnets to the back of the bottle caps with craft glue. Let dry.

- If desired, apply Dimensional Magic to the inside of the caps. Place in a safe spot for drying.
- Allow your magnets to dry overnight before using.

Notes
- If you can't print the photos out on laserjet, you can still use your inkjet printer. Simply seal both sides of the print out with hairspray. Spray both sides and let dry before Mod Podging; this prevents bleeding.
- When using Dimensional Magic, make sure that 1) you seal the Mod Podge well around the edge of the image inside the bottle cap and 2) you let the Mod Podge completely dry inside before applying the DM. Otherwise you'll get fogging.
- If you plan to make a lot of these, it helps to purchase a paper punch for ease of cutting out circles.
If you enjoyed these bottle cap magnets, I’d love for you to check out these other craft ideas:
Carrie
Tuesday 27th of December 2011
Thank you, thank you, thank you, Amy, for the feature! xoxo