Learn how to customize a vintage globe with your favorite images from children’s books – this is such a unique home decor project!
Skills Required: Beginner. You’ll be cutting out images and decoupaging them to a globe. It helps to have some experience with Mod Podge to prevent the paper from wrinkling on a round surface.
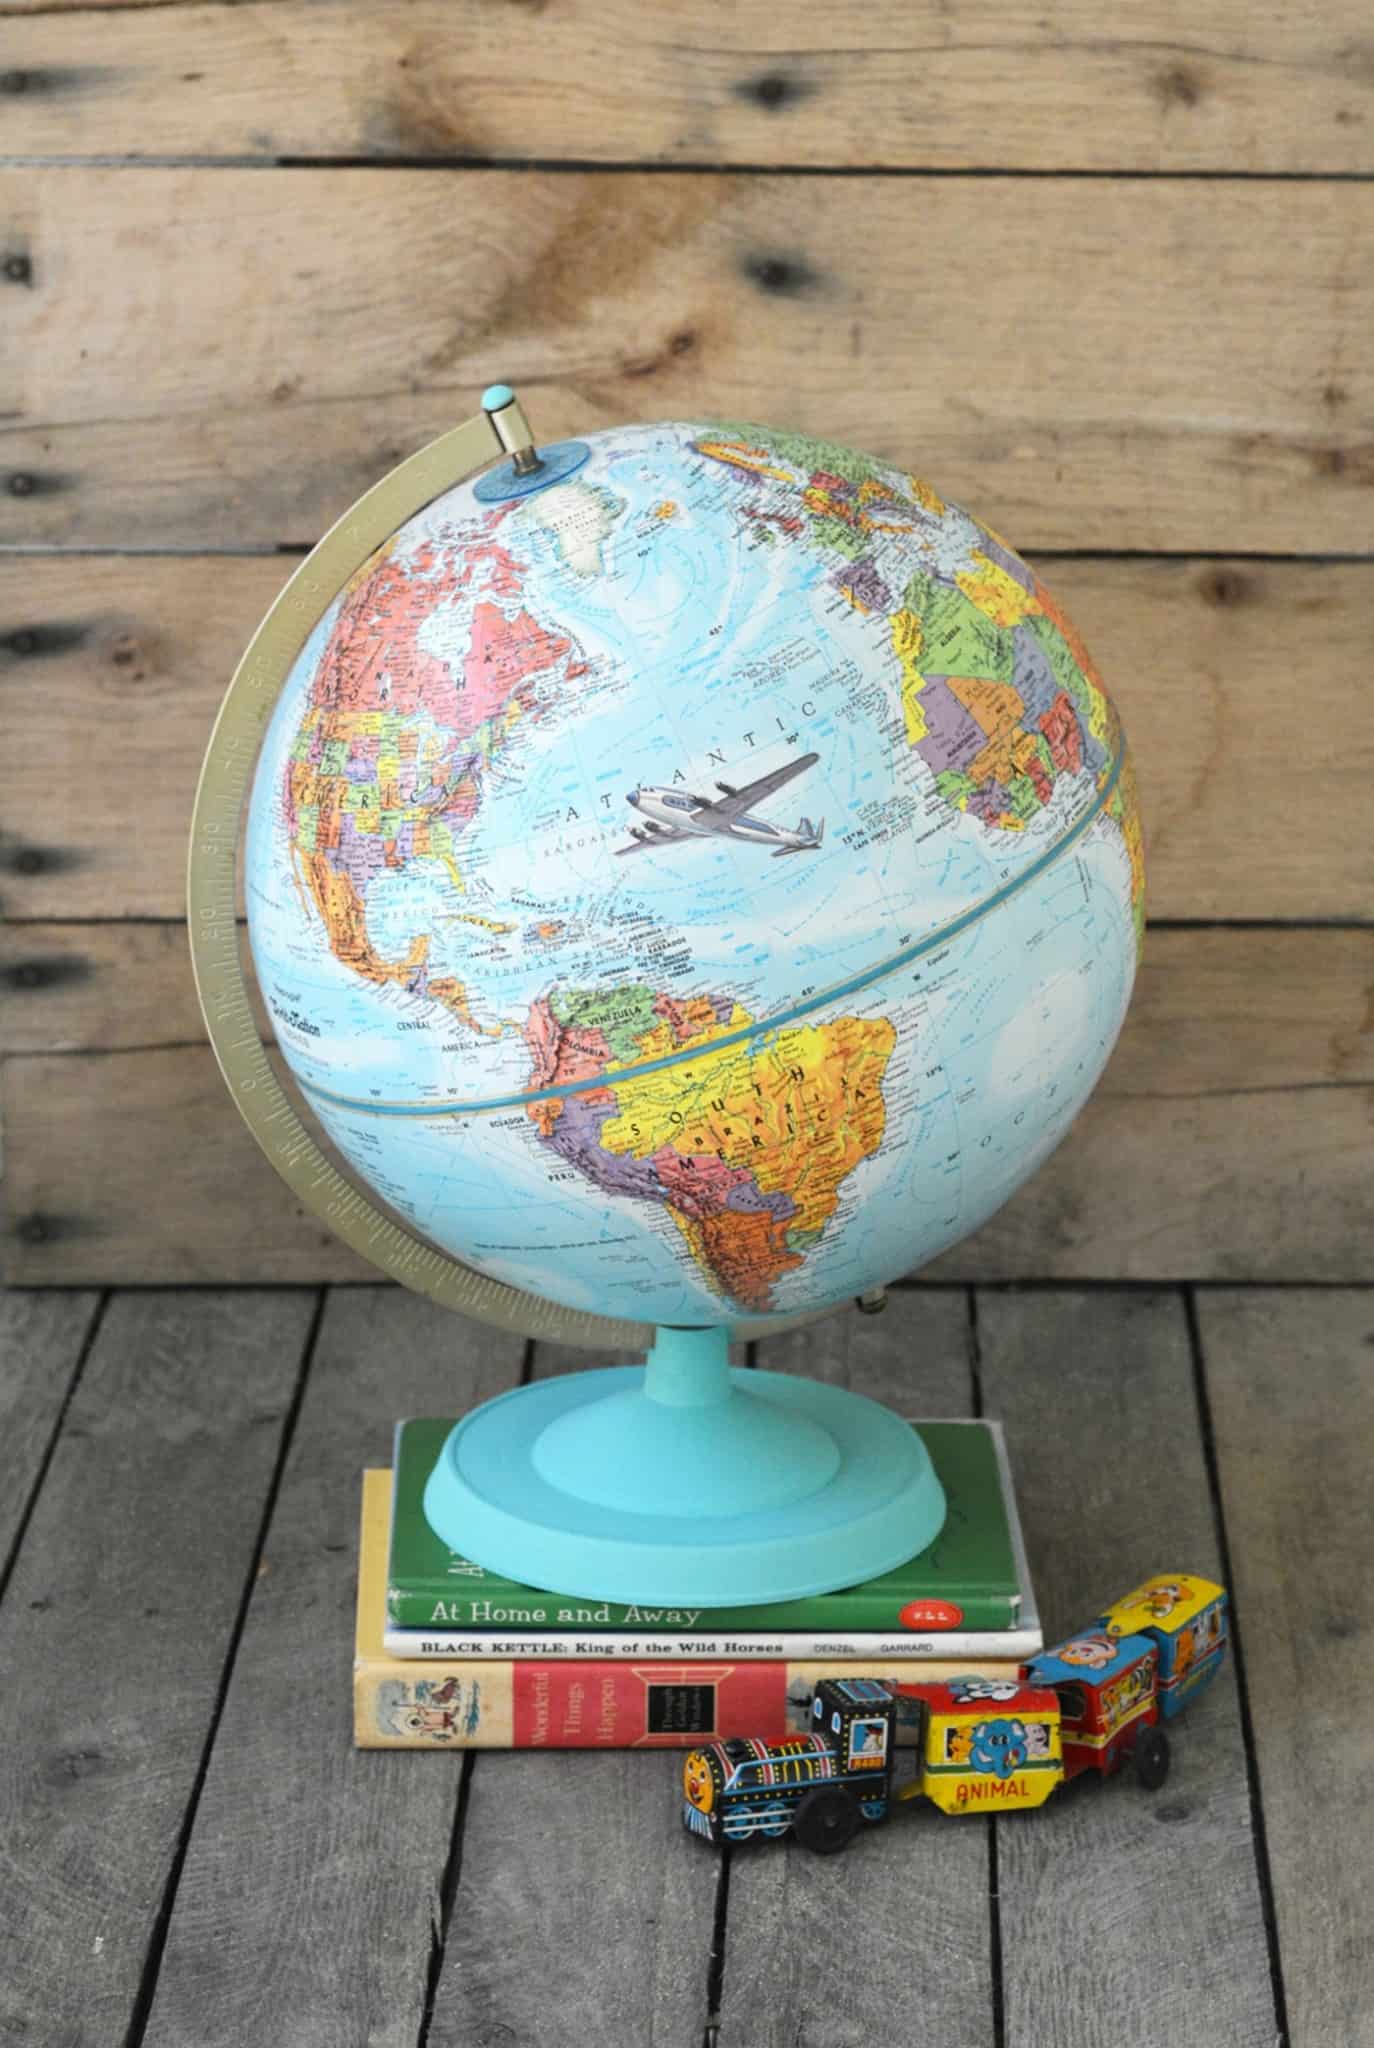

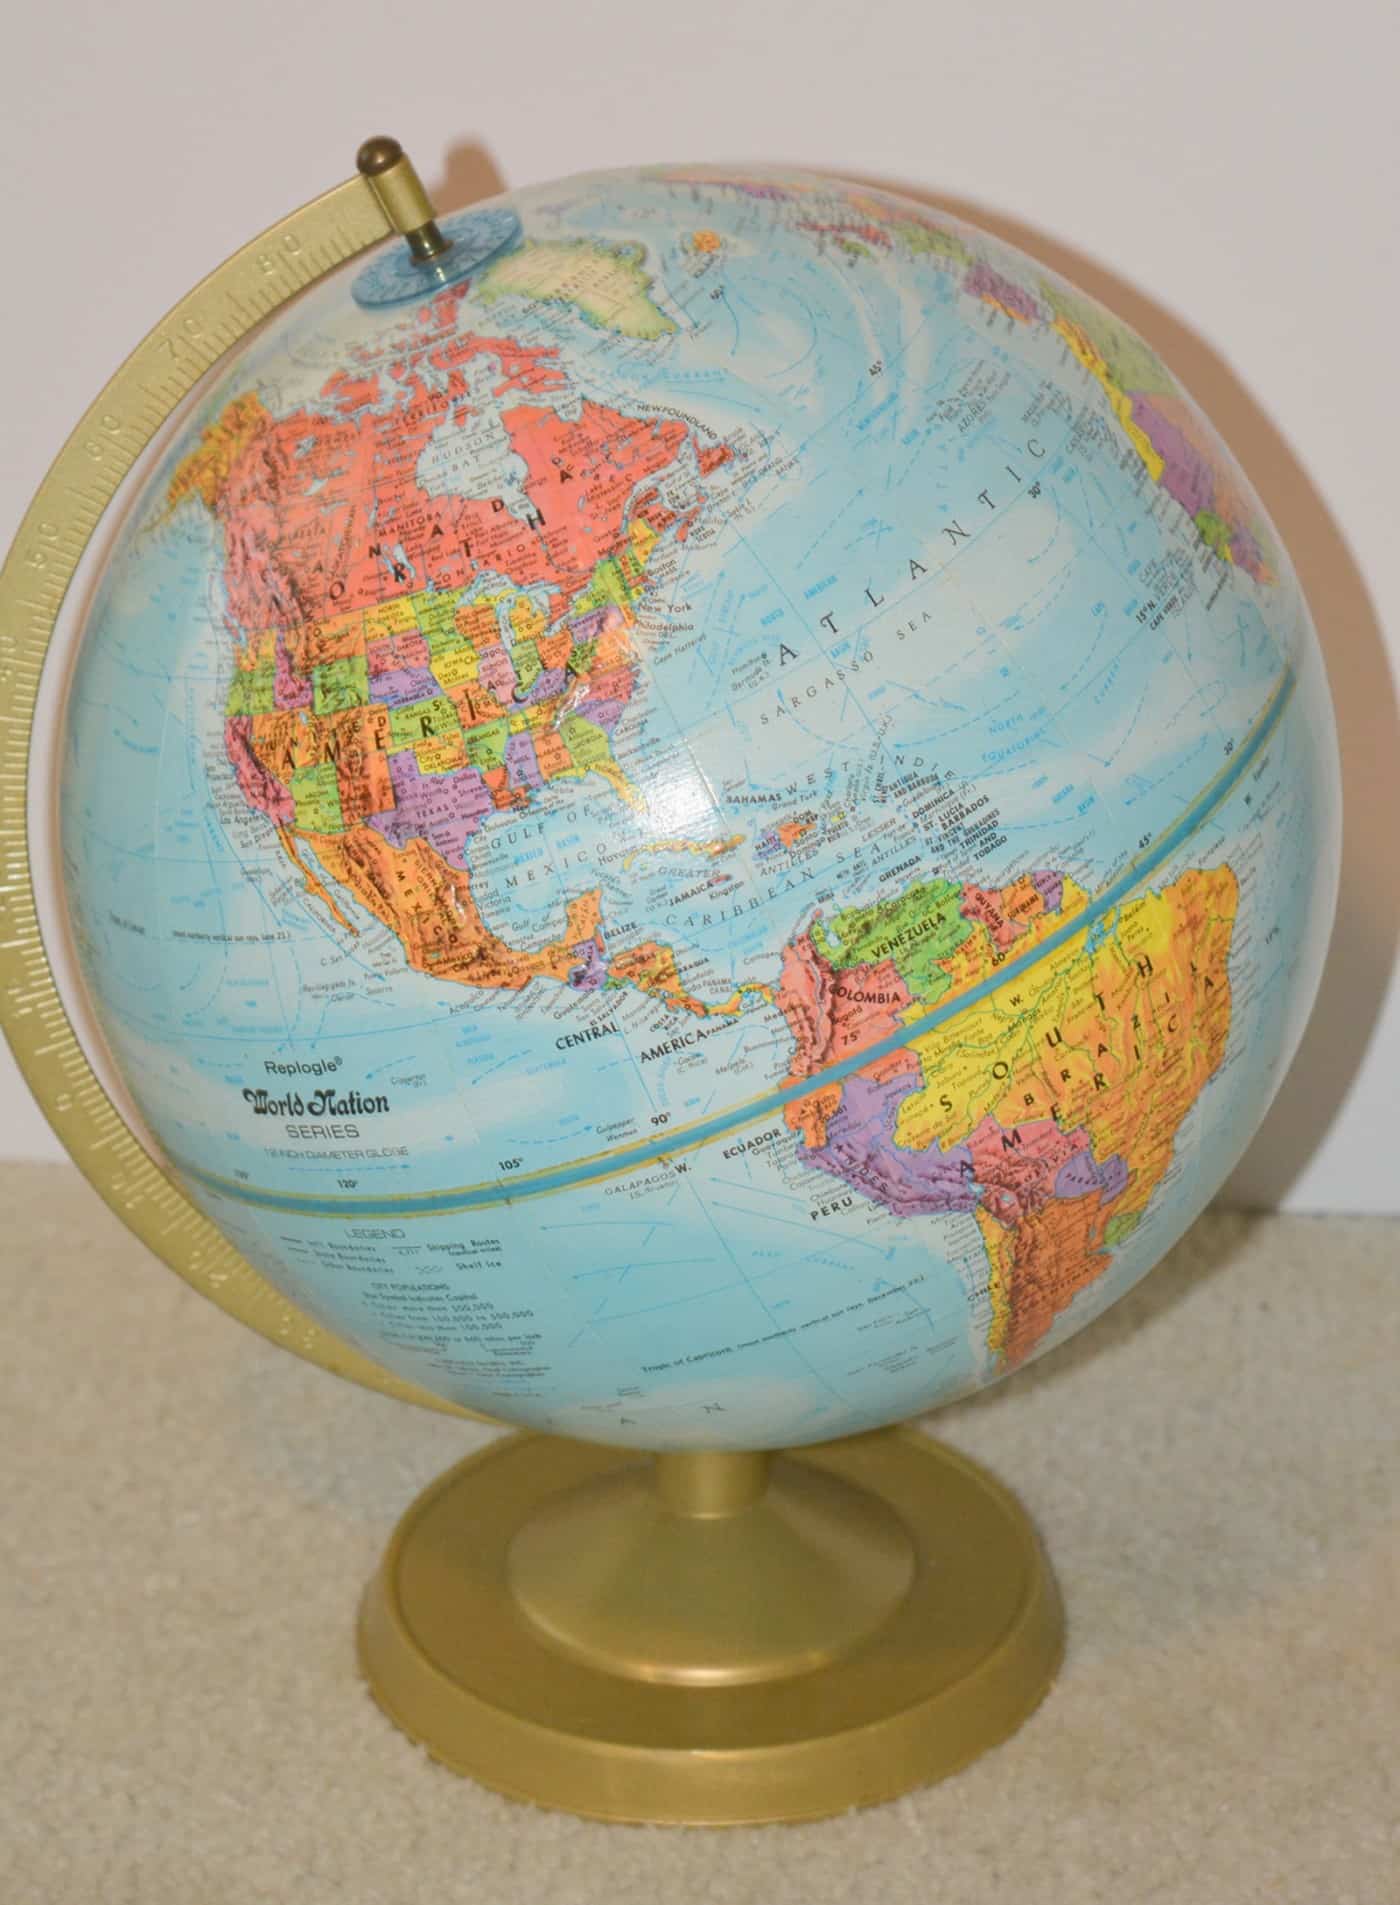
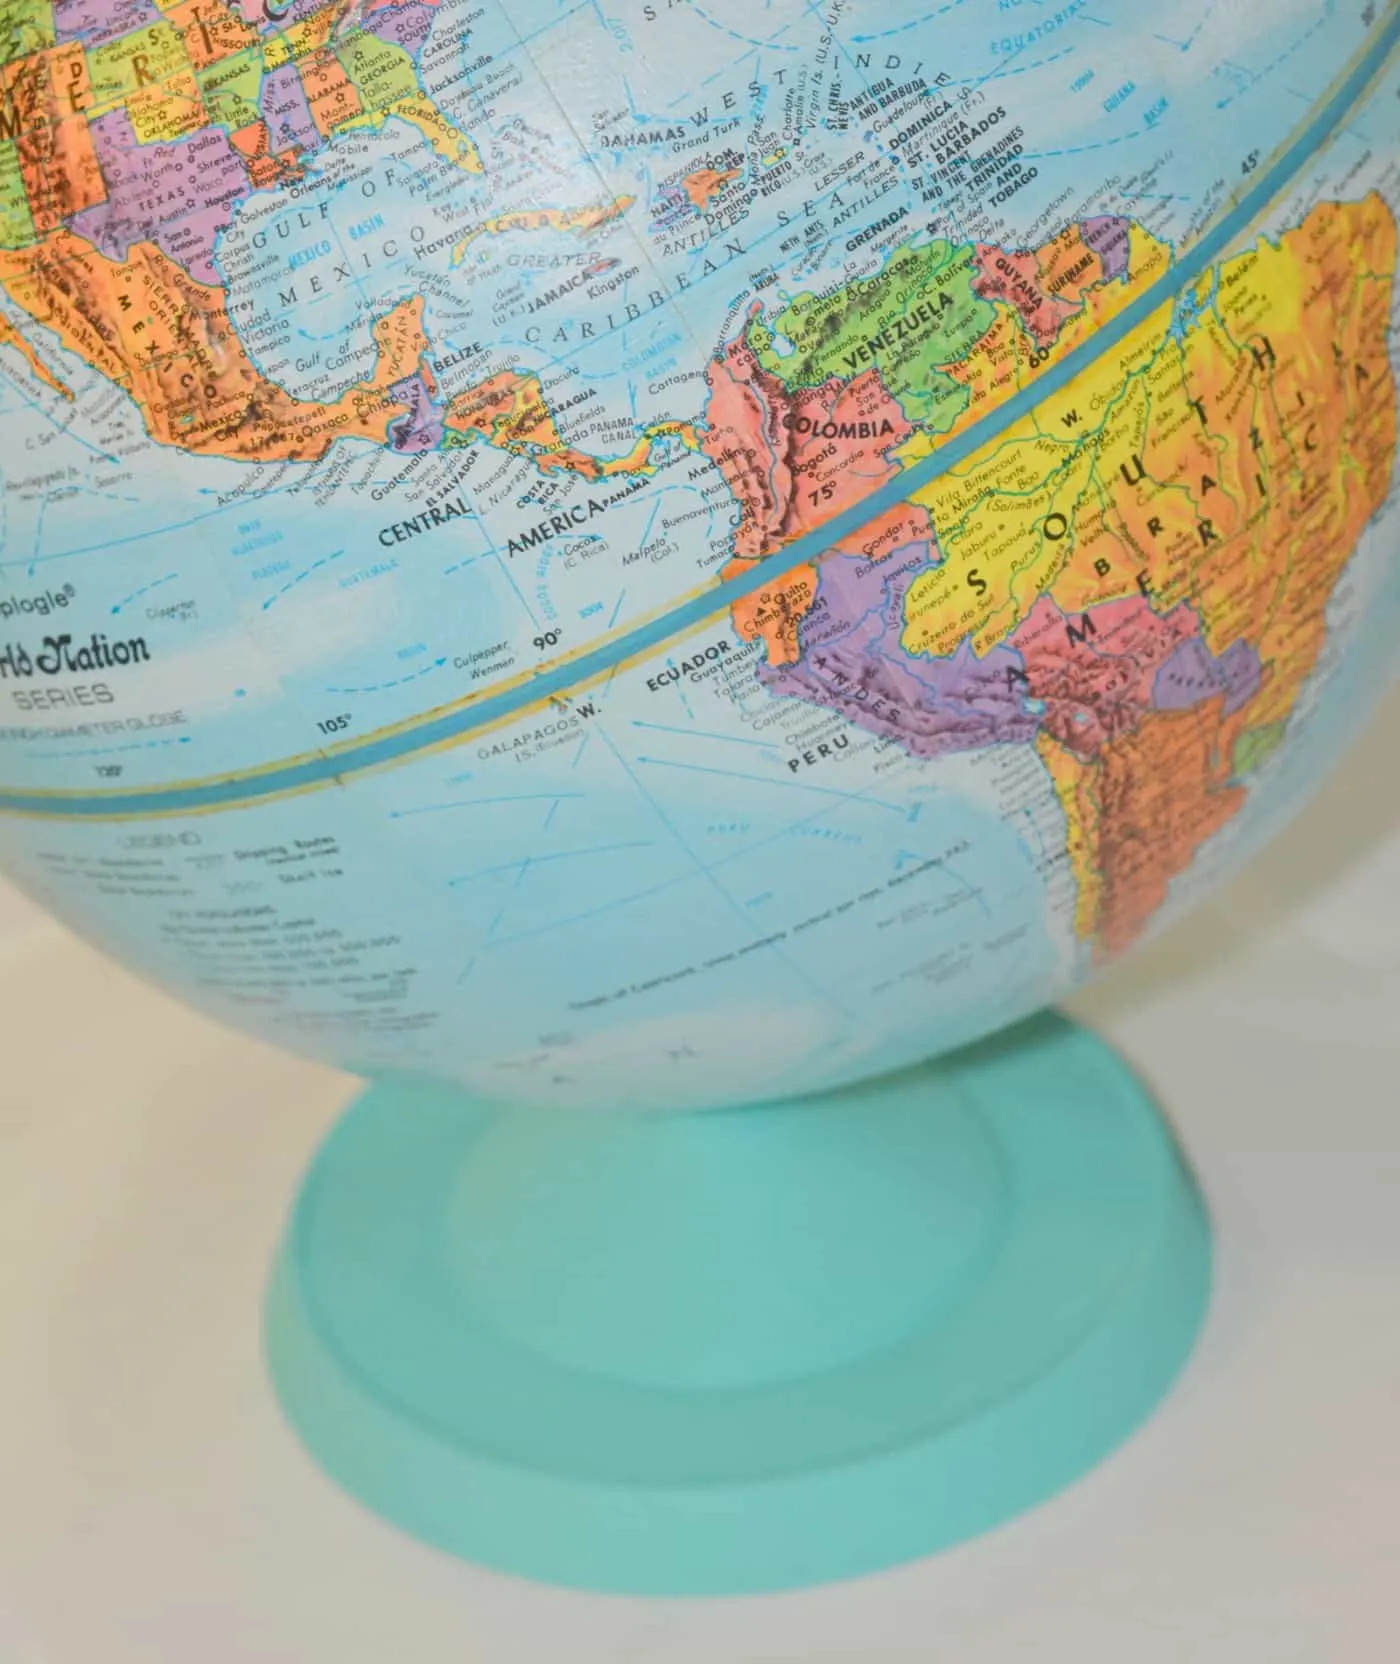
Hi guys! It’s Ashlee from My So Called Crafty Life, and today I am going to share an easy vintage upcycle with you all. I picked up this vintage globe at the last antique fair I went to this spring. I figured I could use it for some sort of unique home decor craft.

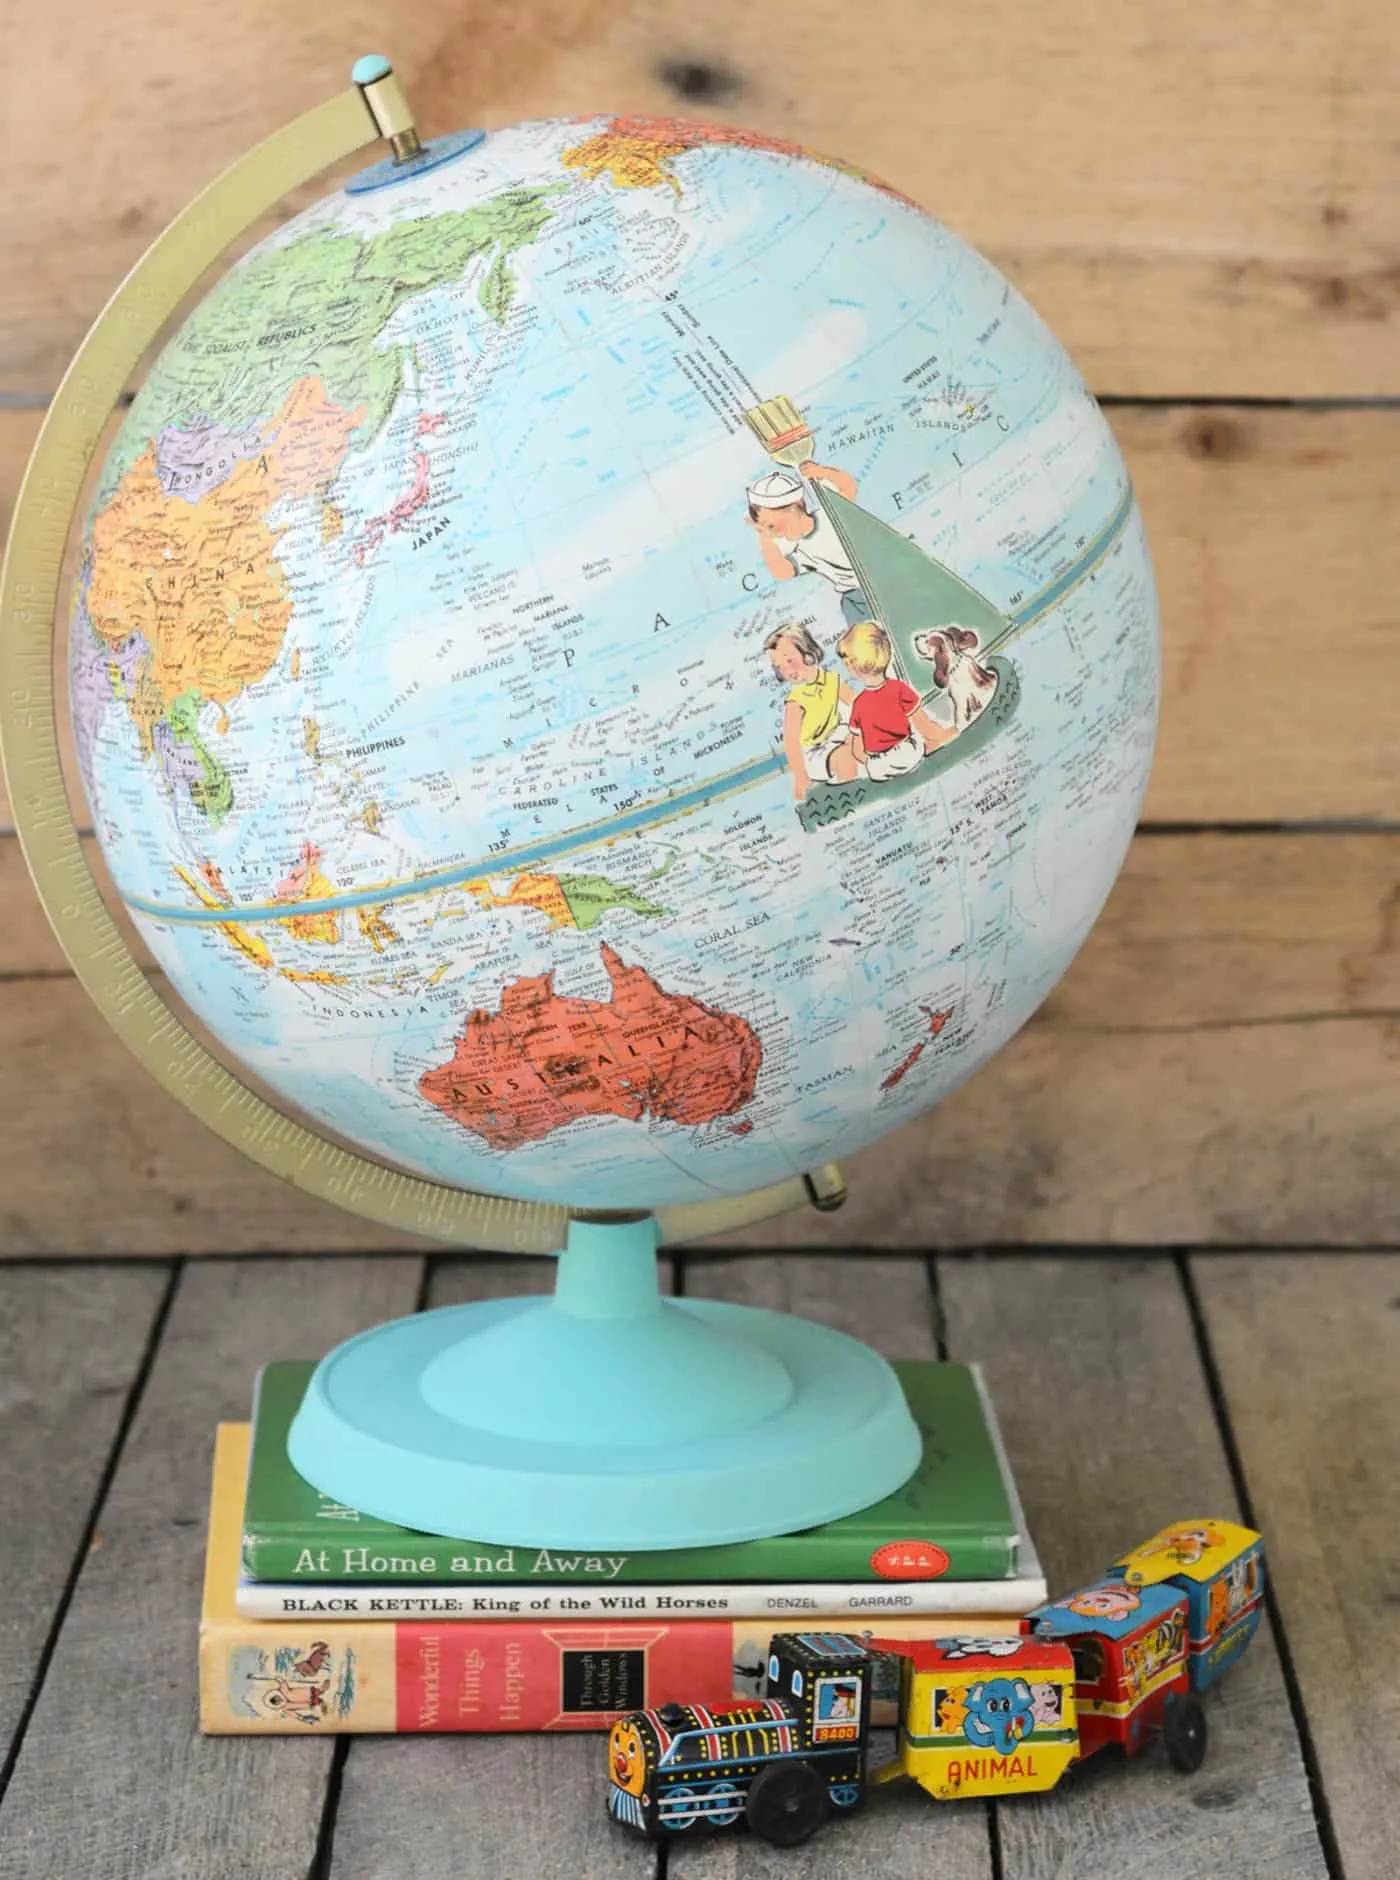
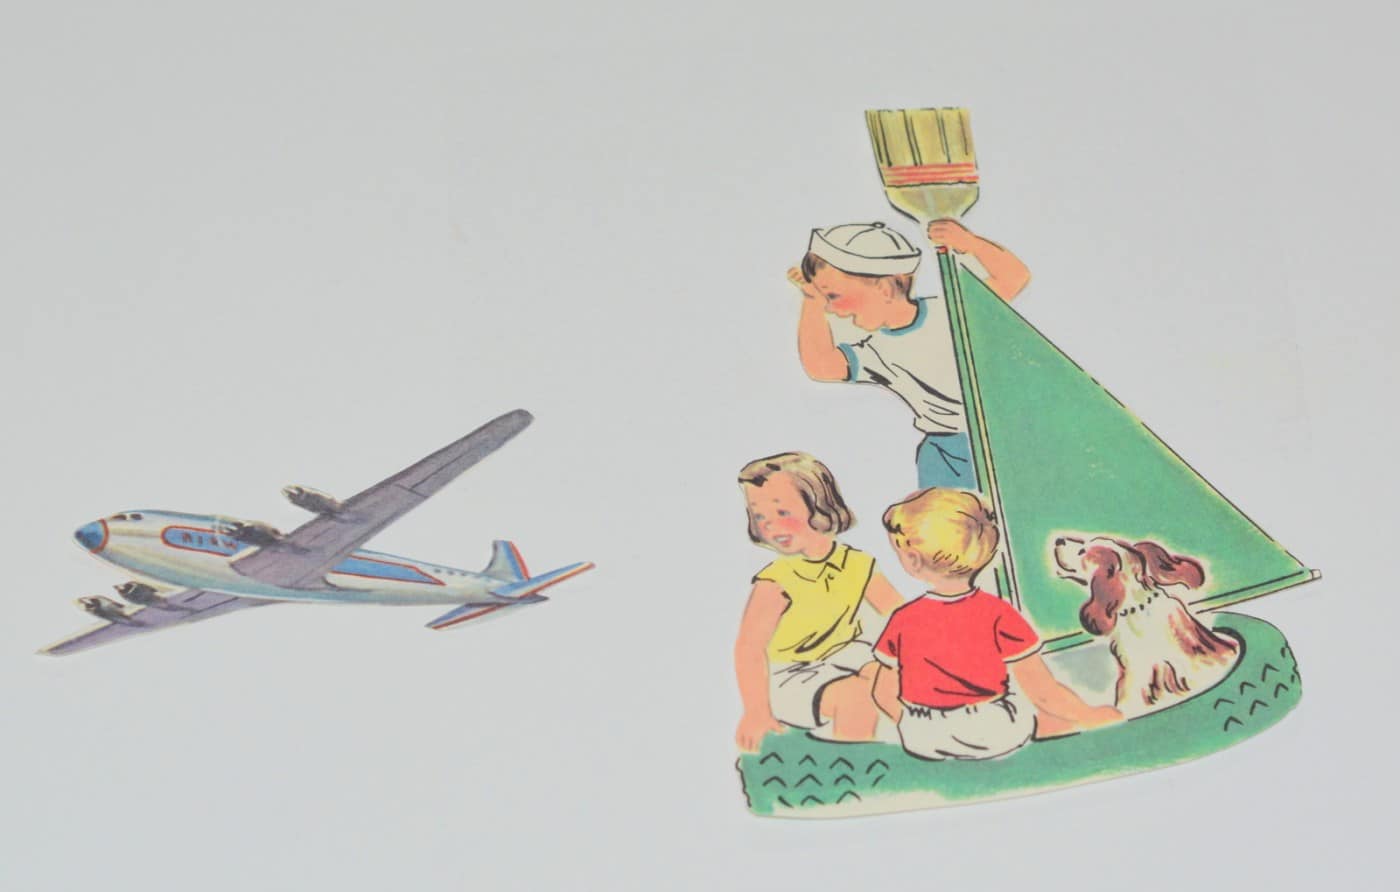
It was super dirty and the plastic bottom did not match the lovely brass guide bar. So I decided it needed a little paint, and I thought I would add a little extra charm with some adorable images cut from vintage early reader books I had.
I wanted to keep it colorful but also integrate it into my farmhouse decor. Let me know show you how I made this fun craft; it’s really easy.
Vintage Globe Revamp
Here’s What You Need:
- World Globe
- Craft Paint
- Kid’s Book Pages or Vintage Clip Art Prints
- Mod Podge Ultra Matte Chalk Medium
- Paintbrushes
- Scissors
Instructions:

The first thing you need to do is clean your globe.
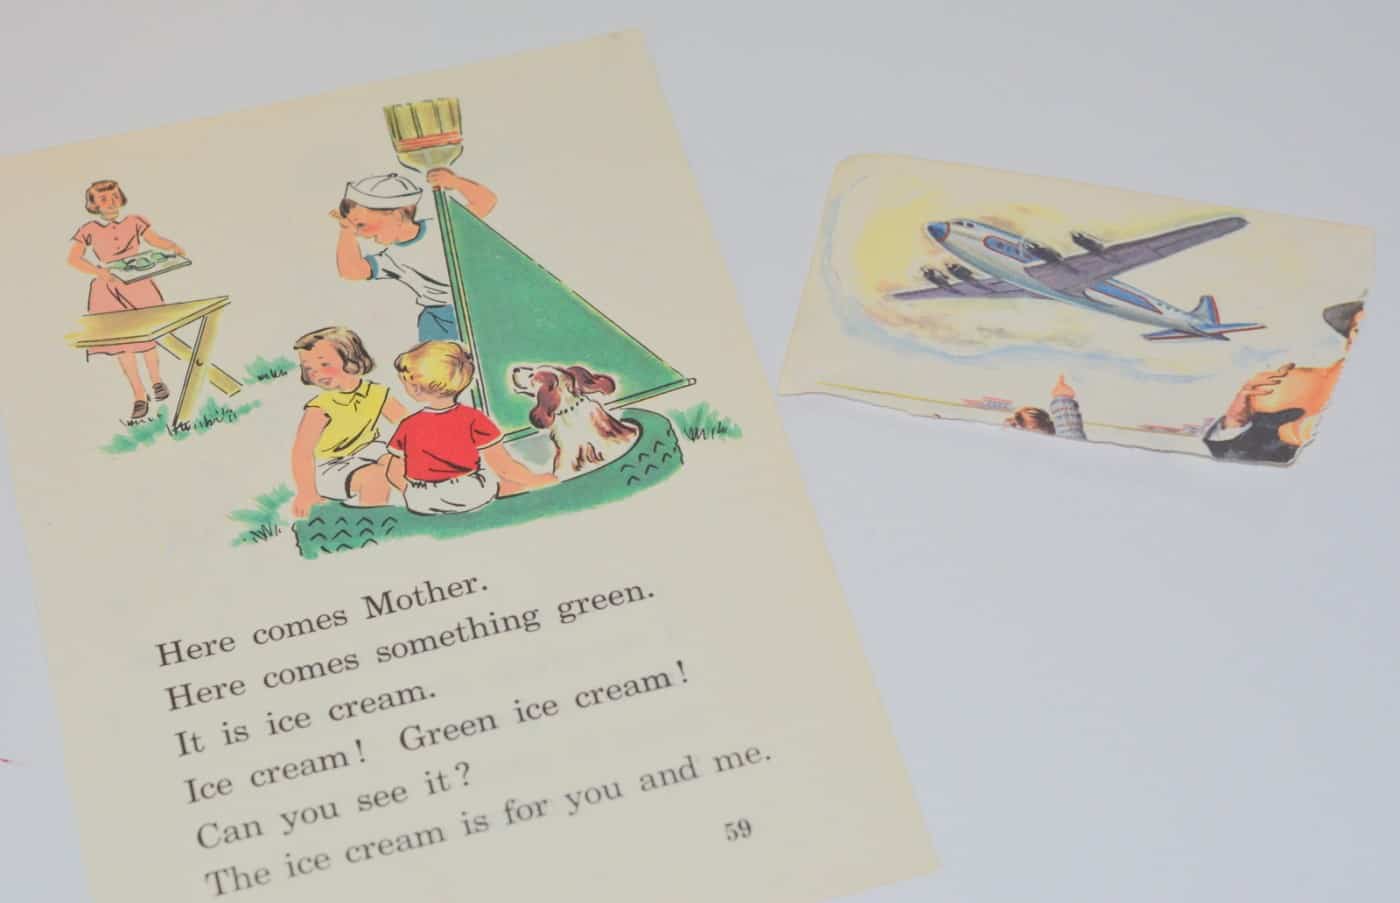
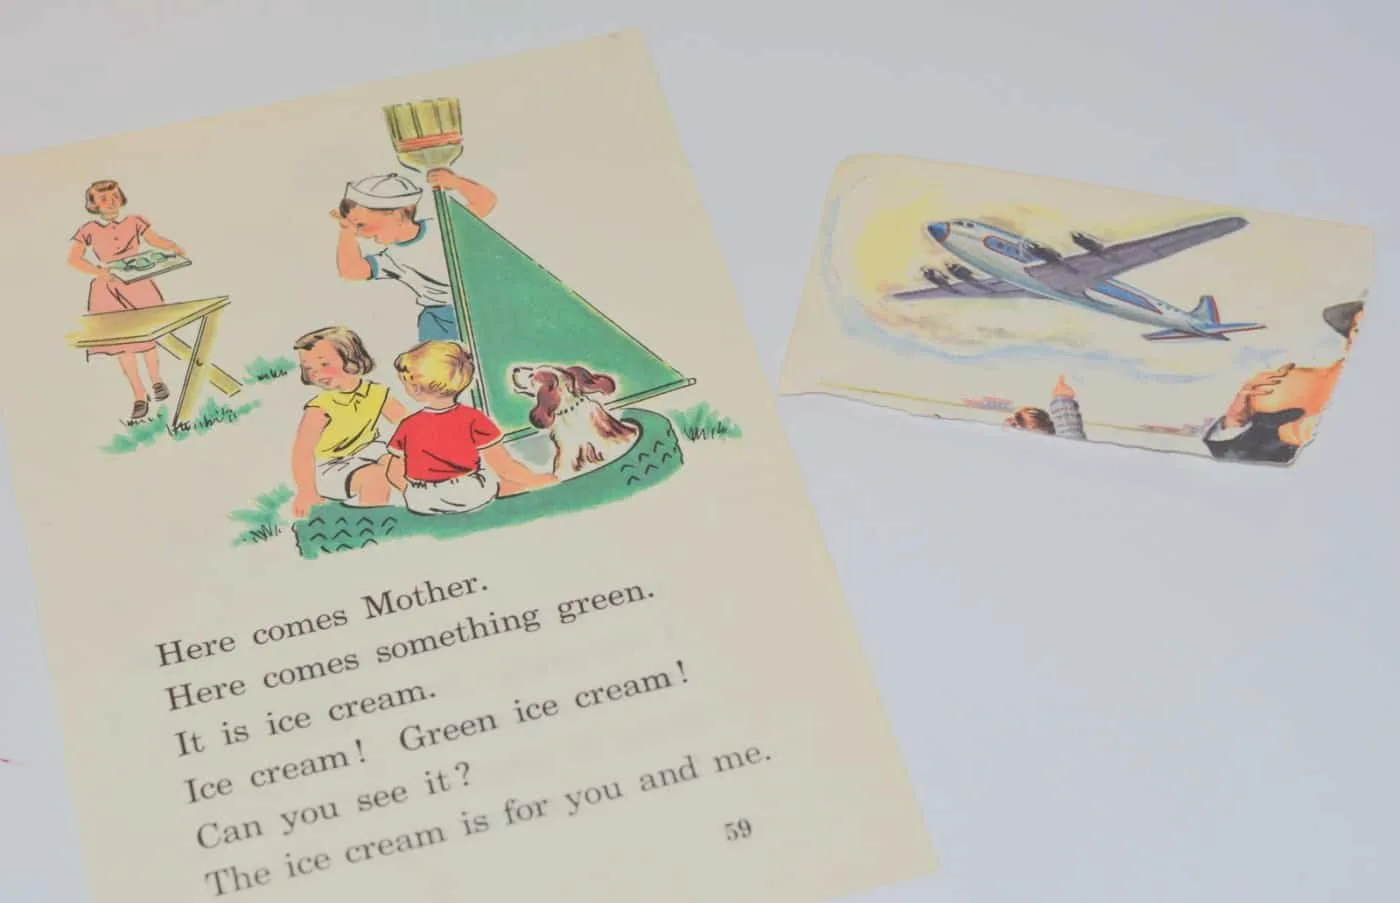
Cut out the images you want to decoupage on your globe.

Paint a little Mod Podge Ultra Matte Chalk onto your vintage globe where you want your image to be placed.

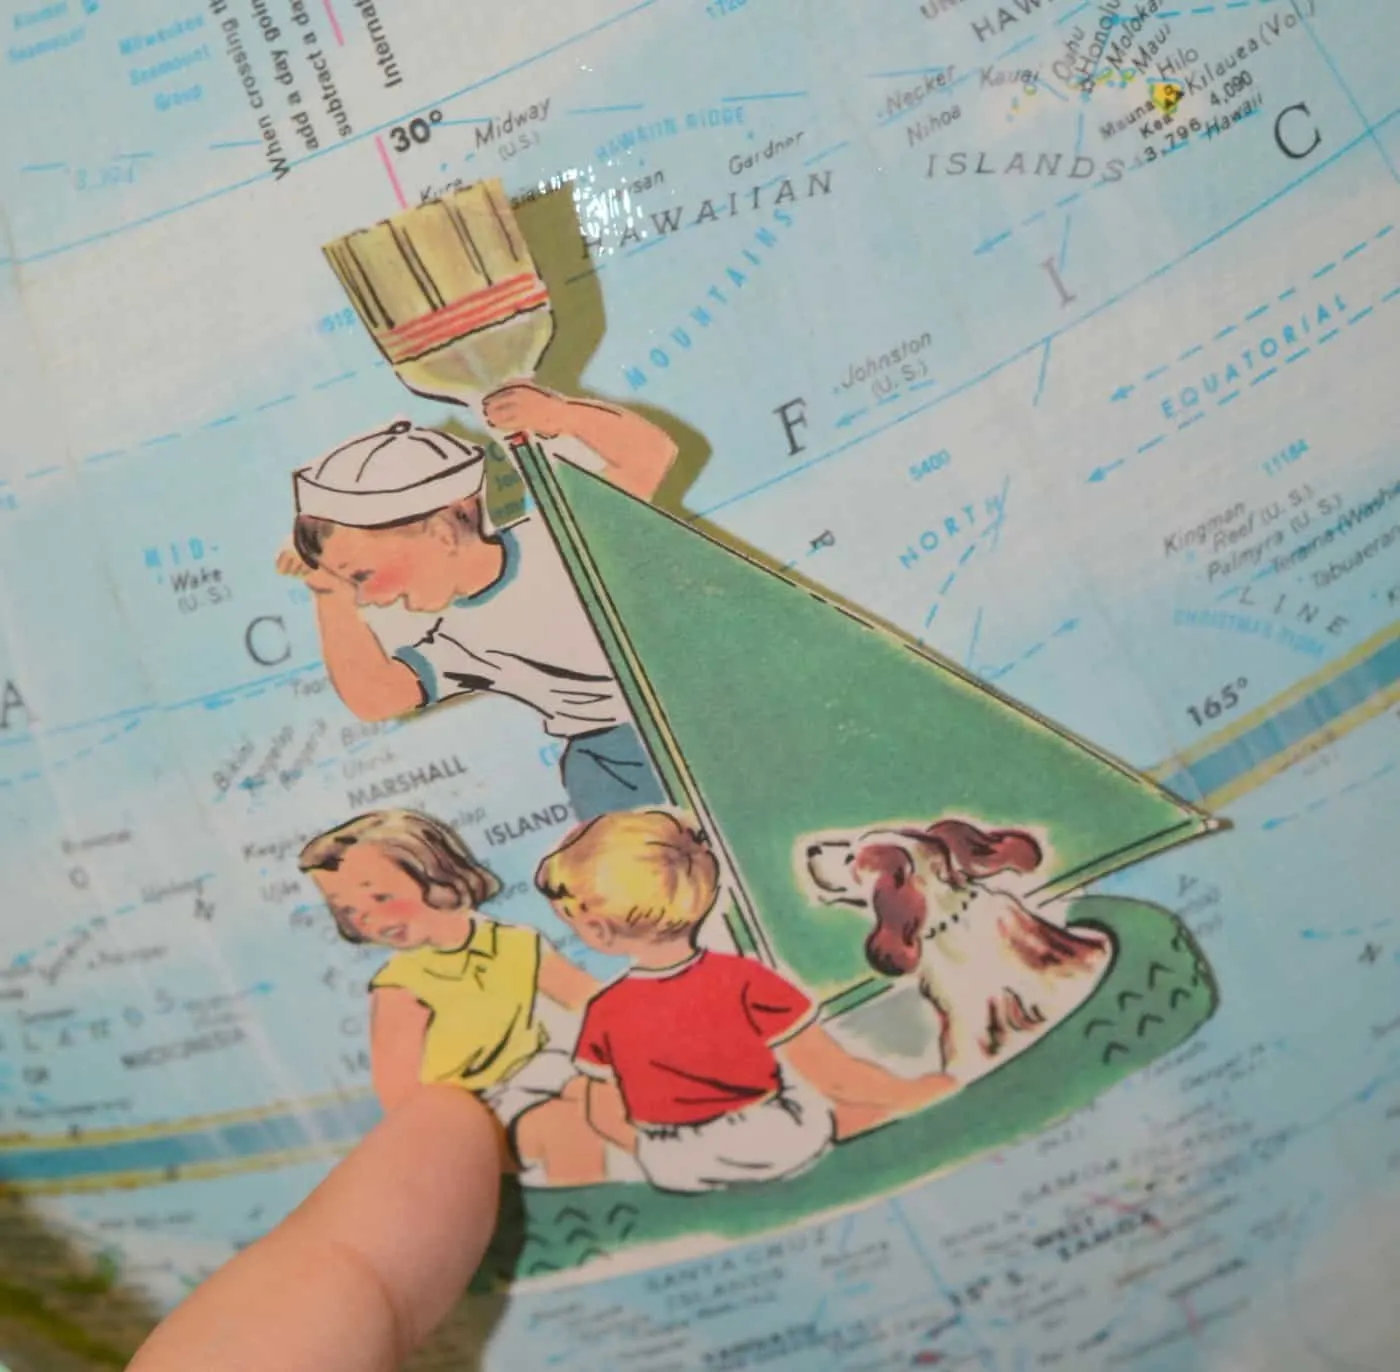
Then lightly press your image face up onto the medium onto the surface. Smooth out the paper image until it completely adhered. Repeat with any other images.


Now paint over the entire globe surface with the ultra matte medium. Set aside to dry.

Paint the base and cap of your globe with your choice of craft paint. Paint as many coats as you need to cover then set aside to dry. Then finish off the globe by painting a layer of the ultra matte chalk to seal the painted areas.
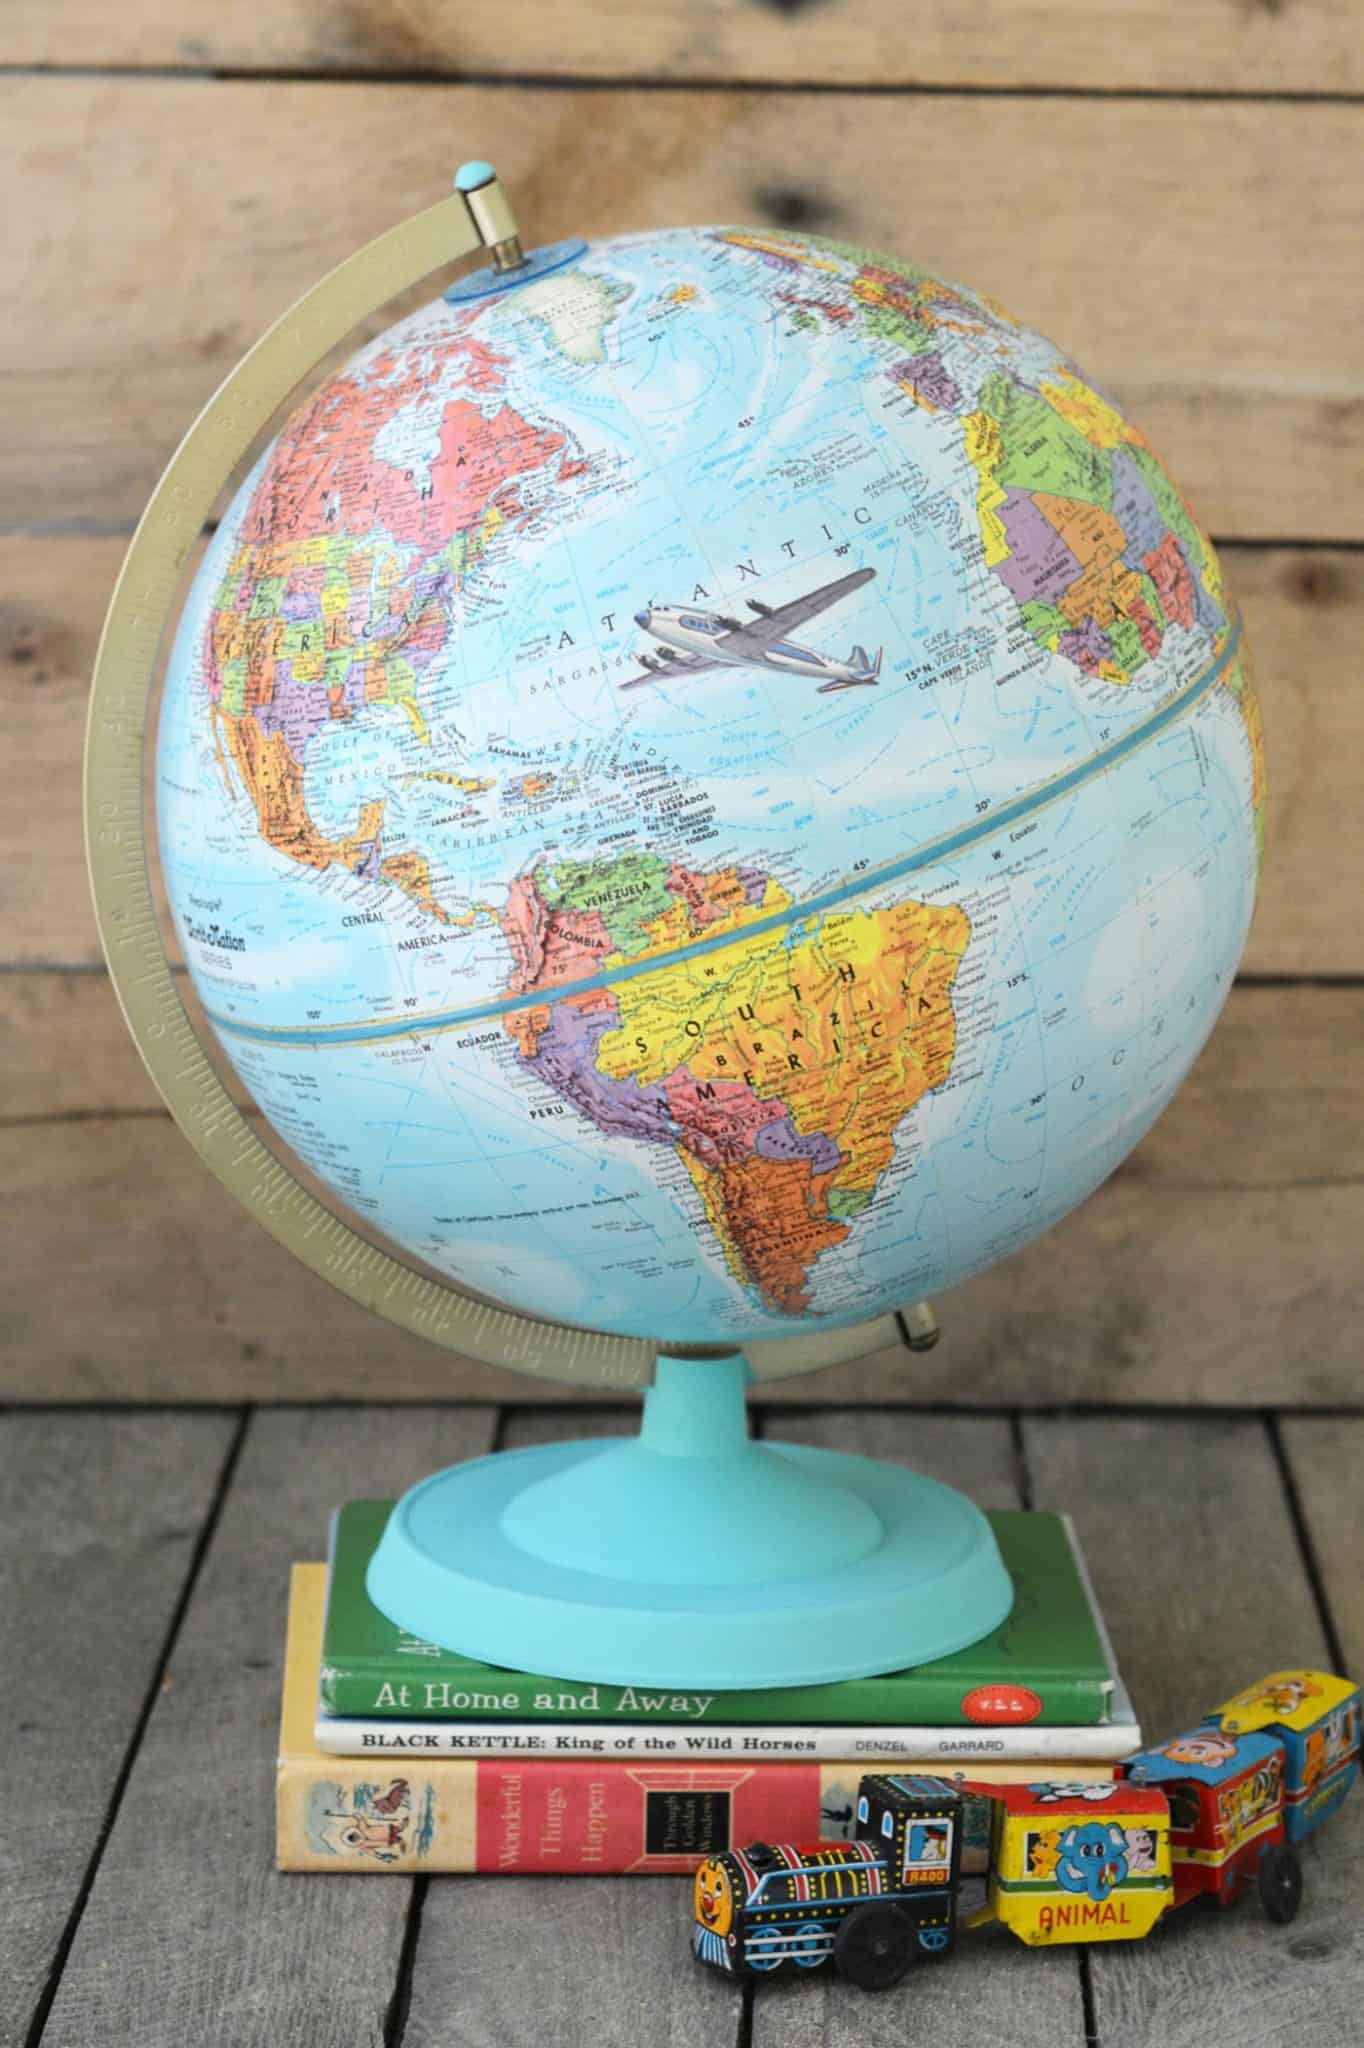

I really love how my vintage globe turned out! It lives in my living room on top of my vintage TV set, and it adds a lot of kitsch to my space! This is a really easy project that you can make in an hour or so including drying time.

You can use any kind of Mod Podge you like, but I chose the Mod Podge Ultra Matte Chalk to give that chalky look to the paint I used on the bottom and make my globe surface matte as well.

So if you have an old globe laying around your home or you find a thrifted one somewhere, grab it up and give it a little face lift. Let your imagination run free and make a unique piece you will love to display in your home!
If you all would like to see more of my work you can find me on my blog, My So Called Crafty Life! I’d also love for you to check out these other posts:
Walter Silva
Wednesday 29th of June 2016
This is really awesome! Now, I know what do with my old vintage kids books!
Janie
Thursday 16th of June 2016
Very clever way to upcycle into a unique globe. The idea to add vintage art is so smart