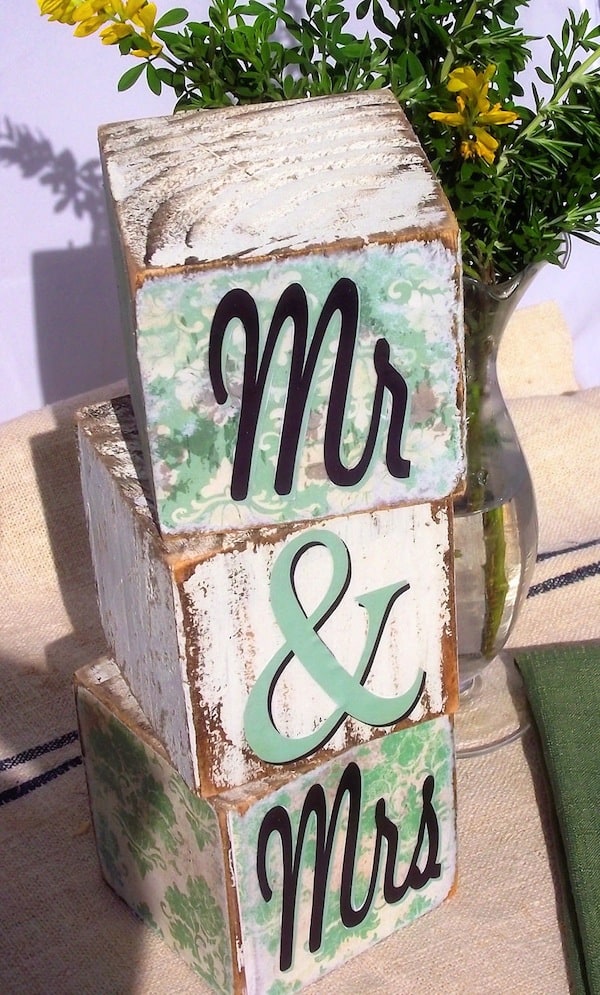
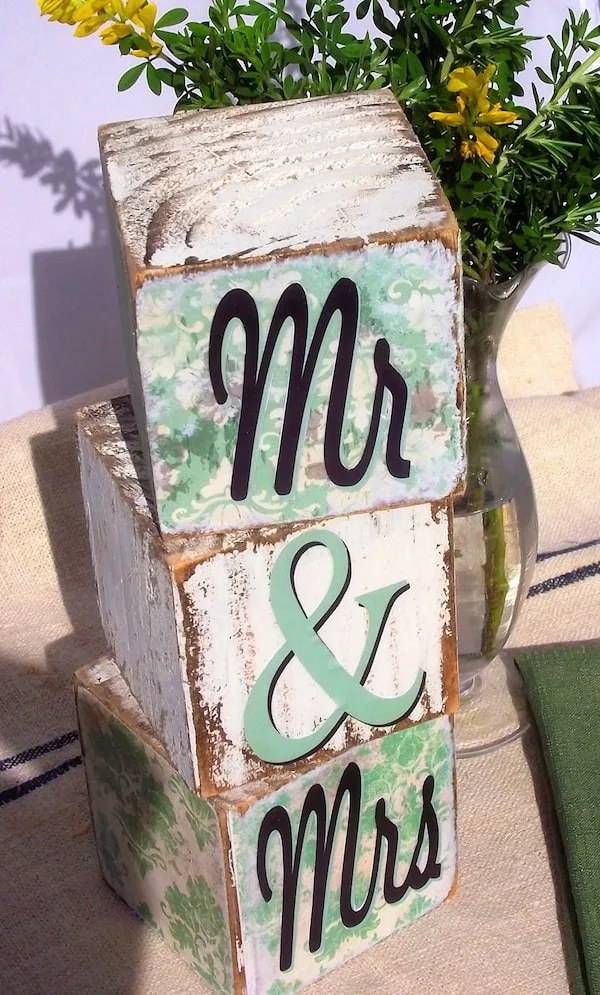
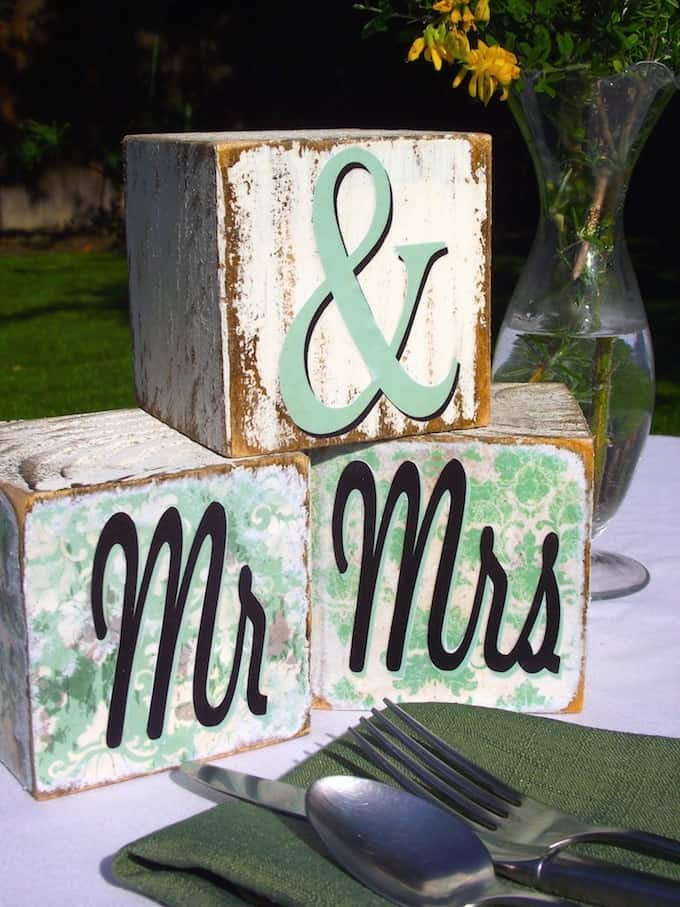
These Mr and Mrs blocks are very easy wedding decor – they make great centerpieces or even table numbers, and you can personalize to match your palette.
I love Man Podger David’s blocks that he is (now) famous for – and what I really like about them is that they are so versatile that you can use them at any event, from a kids’ party to a wedding.
Here’s an example of how you would use this decoupage idea for the latter, straight from David. You’ll love these Mr and Mrs blocks. They are such easy wedding decor!
Due to an “oops” moment in my workshop the other day I came across a variation on the tea light holders I make for my Etsy shop. I had messed up one of them and when I went to sand off the mistake the resulting shabby-chic/distressed look appealed to me so I started playing around.
My friend Julie is getting married and when she saw the “mistake” blocks she asked if I could do something similar for her wedding.

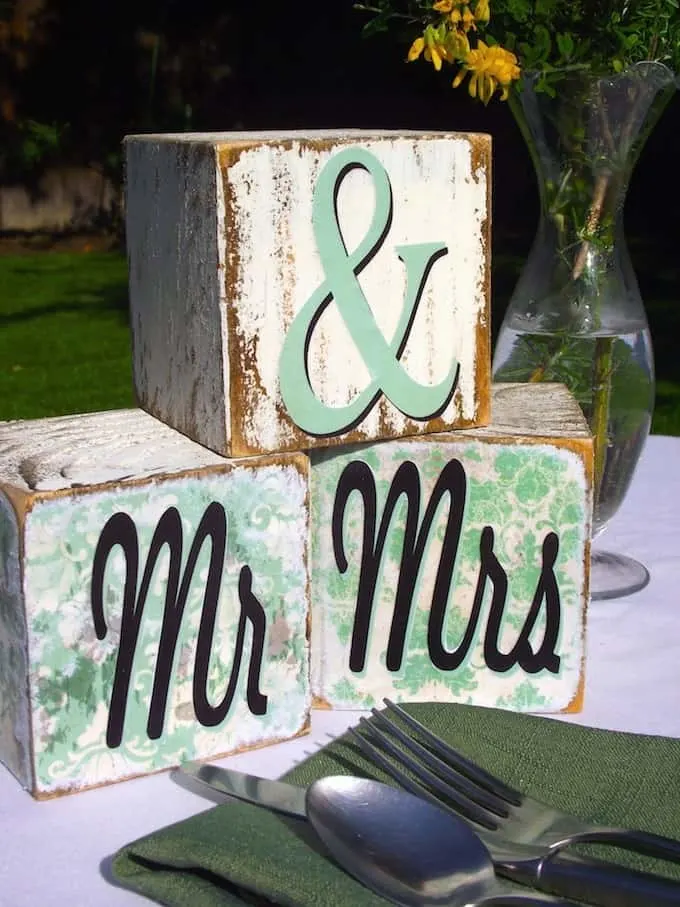
Easy Wedding Centerpieces
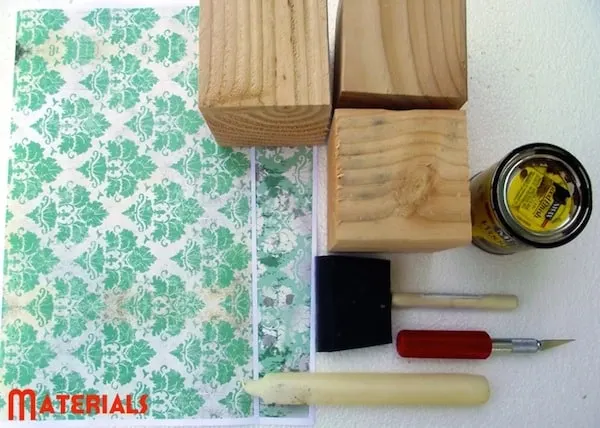
Gather These Supplies
- 4 x 4 posts cut down into 3.5 x 3.5 wood blocks
- Decorative Paper, 11 x 14
- Mod Podge Gloss
- Foam Brush
- Craft Knife
- Stain
- Paint (not pictured – any paint will work)
- Candle
- Disc sander or sandpaper
- Sealer (I used Minwax Water Based Polycryclic) – not pictured
Optional Tools
Stencils, stamps or embellishments

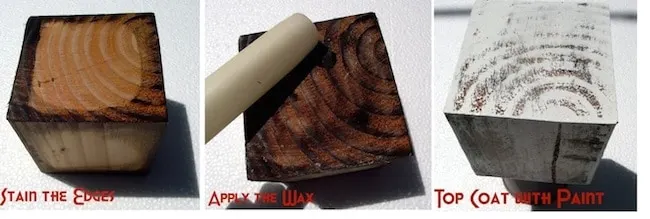
Using a rag I stained the edges and top of my blocks. I then rubbed over the stain with my candle using varying pressures. Next up I painted the blocks with a latex paint and set aside to dry.

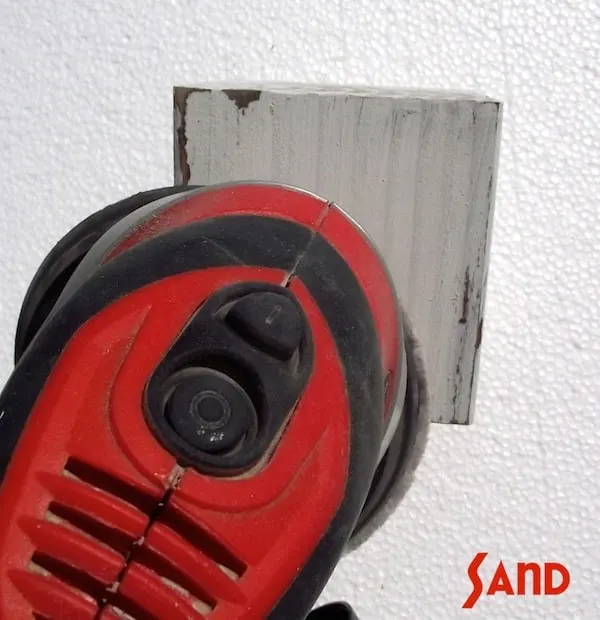
Once the paint was dry I took my disc sander and, using medium grit sandpaper, sanded away. The paint won’t stick to the wax so as you sand it off it reveals the stained wood underneath (note: you’ll gum up your sandpaper a bit doing this).
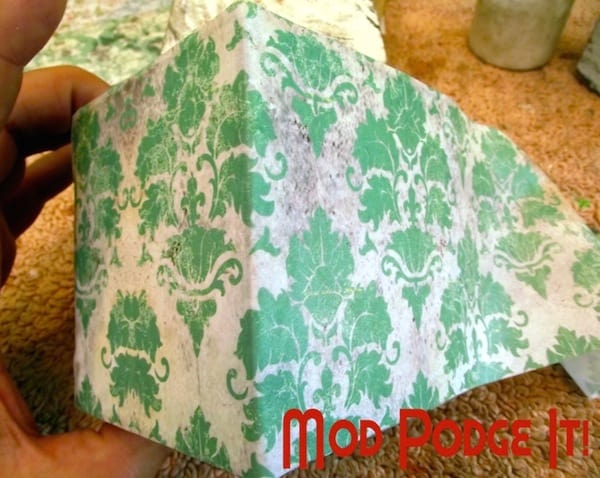
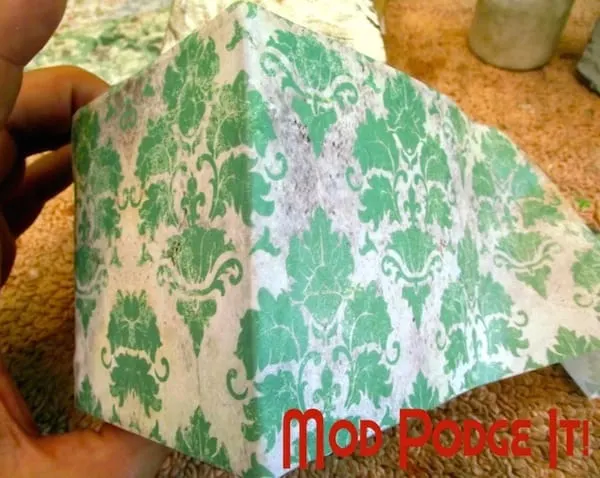
I then cut my paper down into 3.5” strips and coated my block with Mod Podge. Then I carefully worked my way around the block pressing the paper down and pressing out any bubbles as I went along. It didn’t have to be perfect as I was going for the “distressed” look in the end.
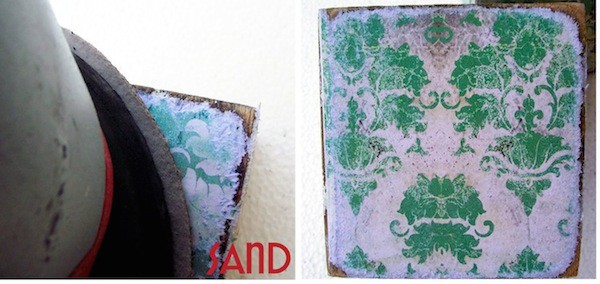
I repeated this step with another block but left the third un-mod-podged. After the Mod Podged paper had had plenty of time to dry, I trimmed the edges a bit with my craft knife and then went to town with the sander using varying pressure to sand away the paper and reveal the stain and paint below.

Next up I applied my cut shapes (you could use a stamp or stencils or whatever appealed) that I had printed on the computer and Mod Podged them to the blocks.
I then sealed the whole thing with two coats of a satin polycrylic which gives it a little more durability and a soft shine. These wedding blocks were my “tester” version – and I hope Julie likes them. They were such easy wedding decor!
NOTES
1) If you wanted to make these Mr and Mrs blocks into tea light holders similar to the ones I make for Etsy, you would need to use a drill press and various sized Forstner Bits. I doubted that most of you had drill presses so I didn’t include that in the tutorial.
2) I think on my next time around with these I will put the “Mr and Mrs” labels on all four sides of the blocks.
3) A little cork or felt glued to the bottom will protect furniture.
4) If you don’t have access to paper that will wrap all the way around the block just cut 3.5 x 3.5 squares and attach them to each side individually (you could do the top too) – when you sand away the corners and edges it will have the same effect.
If you enjoyed these unique rustic wedding blocks, I’d love for you to check out these other wedding ideas:
Nancy
Monday 4th of February 2013
I love this. Are you allowed to tell where you got the lettering; what size, or what stencils were used? Thanks!
Tara
Sunday 17th of June 2012
Do you melt the candle wax before applying or roll a cool candle on the block surface?
Amy Anderson
Sunday 17th of June 2012
Hi Tara! You do not melt the candle wax - just a room temp candle.
Jeannine @ The Concrete Cottage
Sunday 17th of June 2012
Great job! I've made blocks very similar to this and they're so fun. VERY PRETTY!!
Vanessa Barker
Wednesday 13th of June 2012
These are SO CUTE!! I'd love if you'd come link up at Tutorial Tuesday at Our Thrifty Ideas http://www.ourthriftyideas.com/2012/06/tutorial-tuesday-10.html
Shyanne @SHYbyDESIGN
Tuesday 12th of June 2012
I love wood block decor! I like to make photo puzzles with smaller blocks. Here is an example of mine,