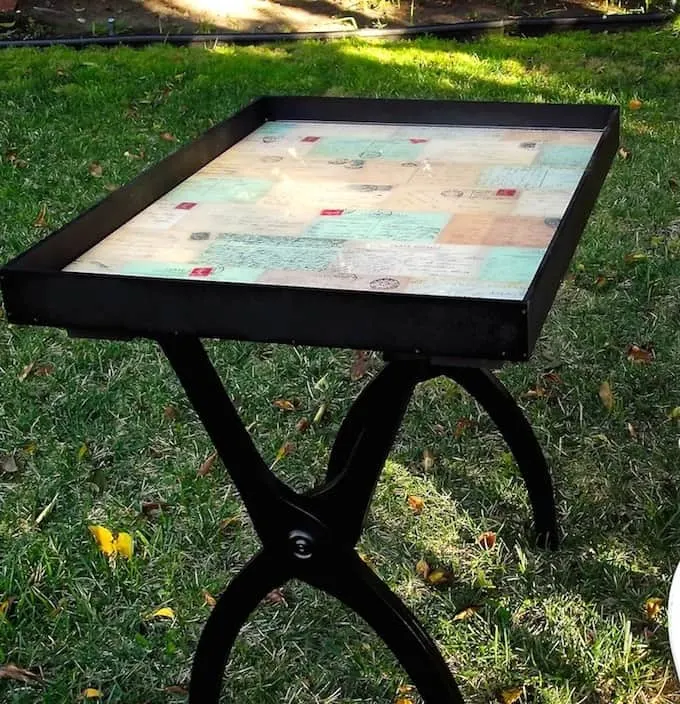
If you are into salvaged furniture, this DIY end table is perfect for you! It was made using an old luggage rack and cabinet door.

We’re getting into prime DIY time, my friends – and as a result, I have the Man Podgers chained out back making my Christmas gifts. I’m just kidding! I love David and Walter, and I want to thank both of them for being so amazing. I’m a lucky blogger.

This week David has taken a luggage rack and turned it into a DIY end table (with other such salvaged goodies as a cabinet door). Pretty cool, huh? I’m going to let him tell you all about it – so continue on to get the step-by-step tutorial straight from David.
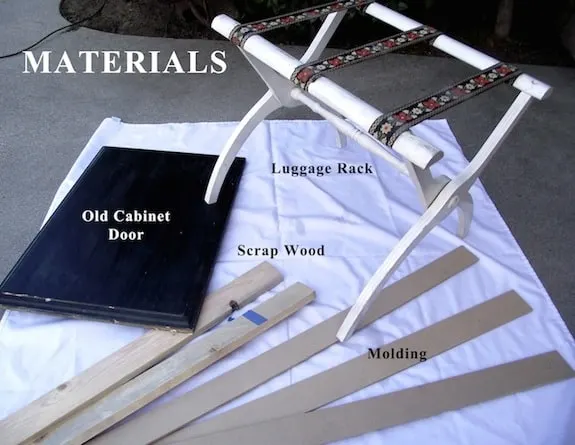
I had some random odds and ends that I bought at the Habitat for Humanity Resale Store – an old luggage rack ($4) and an old cabinet door ($1). I decided I could bring them together to make a useful and versatile DIY end table.

Luggage Rack Table
Gather These Supplies
- Luggage rack
- Mod Podge Gloss
- Cabinet door
- Molding (for the sides of the tray – any molding will do – mine was simple, plain lattice molding from Home Depot)
- 2 pieces of scrap wood
- Decorative paper
- Paint Screws
- Wood glue
- Finishing nails
- Foam Brush
- Envirotex Lite
- Useful (optional)
- Tools Clamps
- Drill
- Finish Nailer
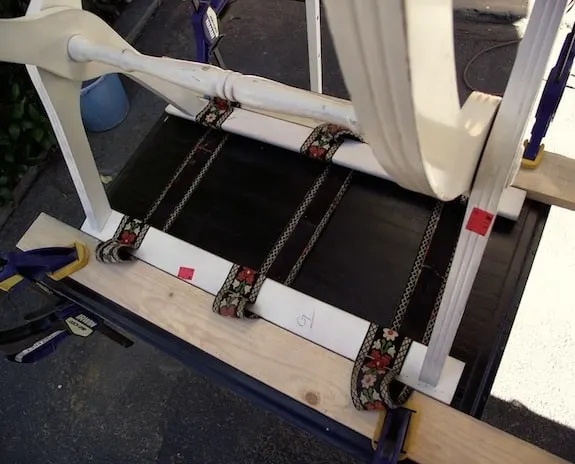
The first thing I wanted to do was set up the bottom of the tray so that it would rest on the luggage rack and stay in place. So I laid the cabinet door face down and placed the rack on top (after removing the fabric strips that hold the rack open).
I then placed my scrap wood pieces on either side of the luggage rack using clamps to hold them in place. Luggage racks are on the short side so this step allowed me to determine the height I wanted for the finished table.
I could make it taller or shorter by moving the scrap wood pieces either closer together or further apart.
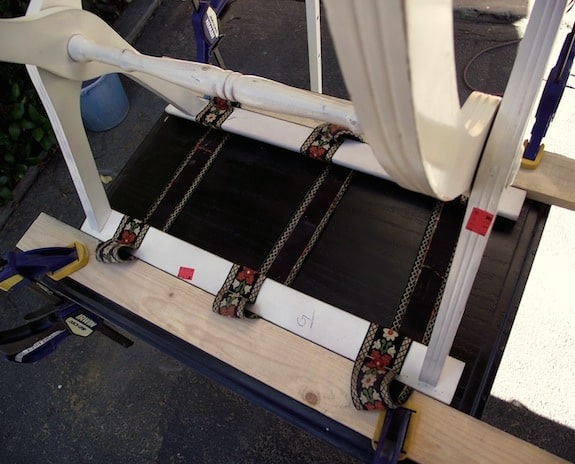
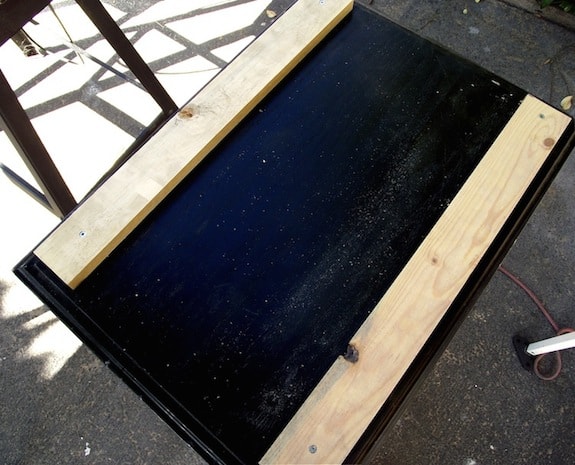
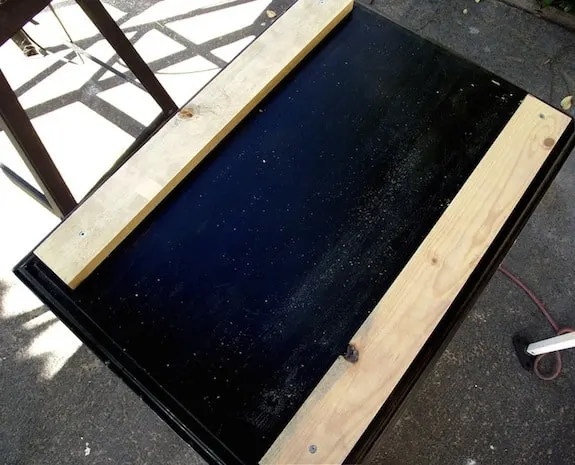
Once I had determined my desired height it was a simple matter of gluing and drilling the scrap wood into place.
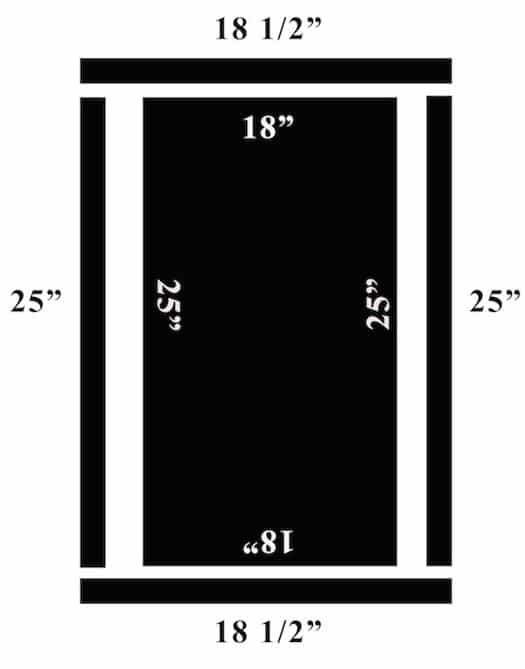
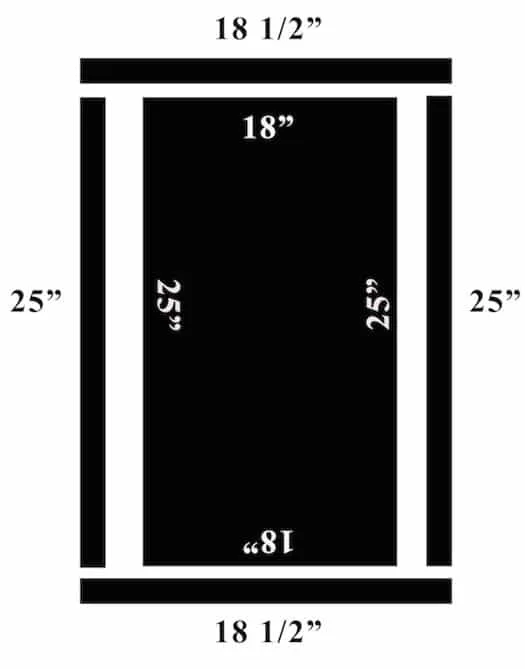
Next I cut the molding down to the size I needed. I decided I didn’t want to hassle with miter cut corners (I have a terrible time with those) and went for a very basic butt-joint configuration.
My door is 25” long by 18” wide, and my molding pieces are ¼” thick. I cut two pieces of the molding down to 25” and the other two pieces to 18 ½”. That way the two end pieces overlap the two side pieces.
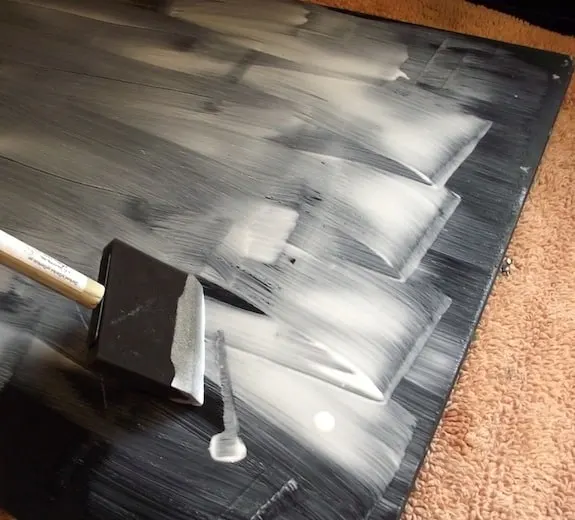
Next up, everything got a quick paint job. I wiped down the luggage rack with some mild detergent and then gave it a light sanding. Some black, satin spray paint made short work of everything – luggage rack, bottom of the door/tray and the molding pieces.
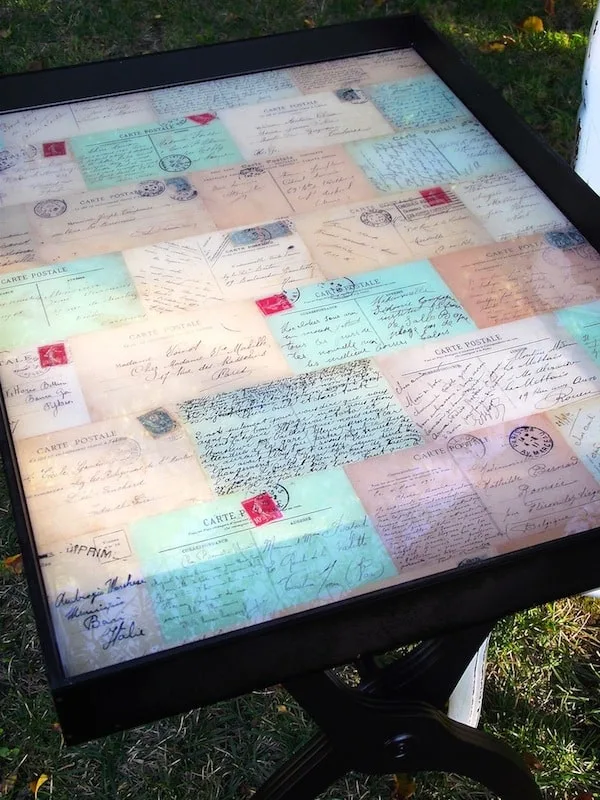
After the bottom of the door/tray was sufficiently dry it was time to decoupage the paper into place. Using my foam brush I covered the whole door with good layer of Mod Podge.

I then filled my sink with water and gave the paper a quick dip.

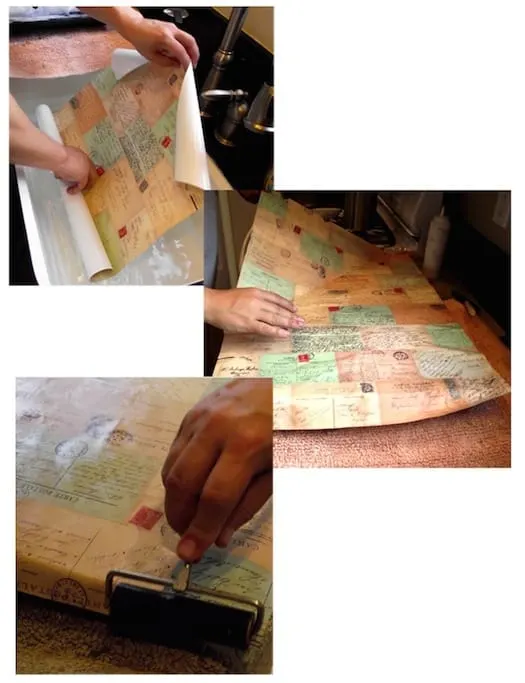
(Note: Dunking the paper is totally optional. I’ve found that it helps diminish the hassle of bubbles and such. The paper I was using was pretty thick and easily stood up to the water – you would want to test any paper you use to make sure it would hold up before launching in).
After letting excess water run-off I laid my dampened paper on the door/tray and started smoothing it out using both my wet hands as well as a brayer.
Once the paper had dried sufficiently (a couple of hours) I put a sealing coat of Mod Podge over the top.

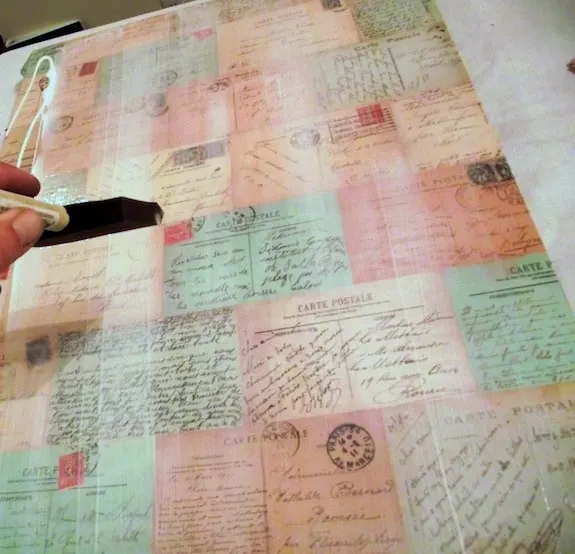
This is VERY important. In order to protect the paper from the Envirotex coating it needs to be totally sealed so make sure you’ve covered every inch and given it sufficient time to dry. I allowed that sealing coat to dry overnight just to be on the safe side.
After the tray had dried I used a sharp knife to trim away any overhanging paper.
Next I attached the molding to the sides. I ran a thin bead of glue down the side of the door/tray and then attached the molding using small finishing nails (I have an electric nailer but this is easily done by hand – I was just in a hurry).


I also glued and nailed the corners together to assure a snug fit. Now it was time for the Envirotex. I used some painters tape to seal off the all of the edges.
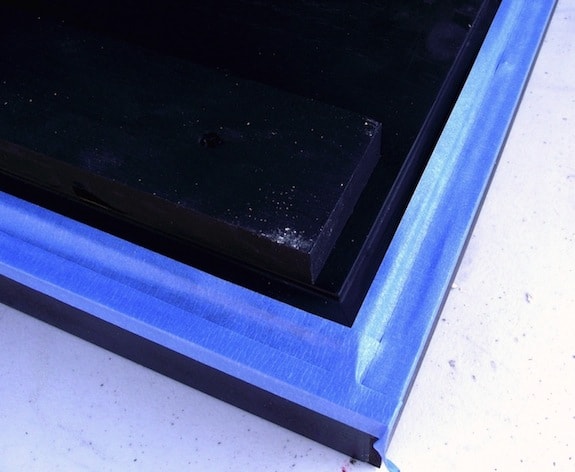

Envirotex is a liquid and when you pour it it will find any channel so if there is a gap between your molding and your tray it will trickle out.
The tape provides extra insurance to avoid drips or disasters. Also make sure to cover your work surface with a thick layer of newspaper or something.
You have to work quickly when Envirotex when you’re covering a large surface like this so I’m afraid I didn’t have time for pictures. It’s simple to work with just make sure you follow the manufactures directions closely.
Once poured I just set it aside in a dust free(ish) area and let it cure. After four hours I removed the tape and did a little touch up on the nail holes with a Sharpie.
I also used my staple gun to re-attached some cloth strips to the luggage rack so that it will remain open when I remove the tray.
And now I have a heat resistant and totally waterproof side table. If I want to break it down it’s just a matter of folding it up.
I opted not to add handles to my DIY end table, but if you’d like to it would be a simple matter of drilling holes in the side and popping them on.
This DIY end table is a pretty easy project and I hope you’ve enjoyed it. If you have any questions or if I’ve left something out don’t hesitate to ask – I will monitor the thread and get back to you as promptly as possible.
If you liked this table idea, I’d love for you to check out these other related posts:
margaret
Wednesday 1st of January 2014
just so I am clear (as I want to try this!) the cabinet door top and luggage rack legs are two separate pieces when this is finished.
The legs are not permanently affixed to the top, correct?
I think I may try to piano hinge one side of the luggage rack to the top so that they are one piece but can fold for storage or moving.
LOVE the look and functionality of this item!
thanks
Amy
Wednesday 1st of January 2014
Hi Margaret! Yes, two separate pieces. Then you can remove the tray to store it!
karen ho fatt
Saturday 24th of March 2012
Very nice work!Amazing what people come up with if you just give it some thought. Great recycling idea.
- Brittany aka Pretty Handy Girl
Thursday 10th of November 2011
Very nice Amy! I love how it turned out. I'd gladly add one of these to my guest room.
-Brittany aka Pretty Handy Girl
Jennifer
Thursday 10th of November 2011
Such a gorgeous makeover. I love it!
Vivienne @ the V Spot
Monday 7th of November 2011
This is phenomenal! I love it!